180
6.4 3D Tips
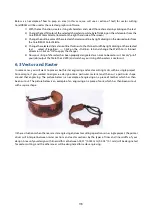
3D Mode is one of the functions of this laser engraver. Instead of traditional two dimensional graphic processing, 3D
Mode allows the naked eyes to visualize the curvatures of the 3D effect by applying 200 power levels technology to
create different depth of engraving. Although it is easy to produce 3D samples with this Engraver, production of the
3D graphic can be a hassle for our users.
Principle for 3D production by laser
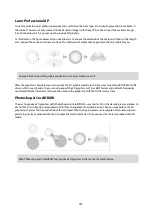
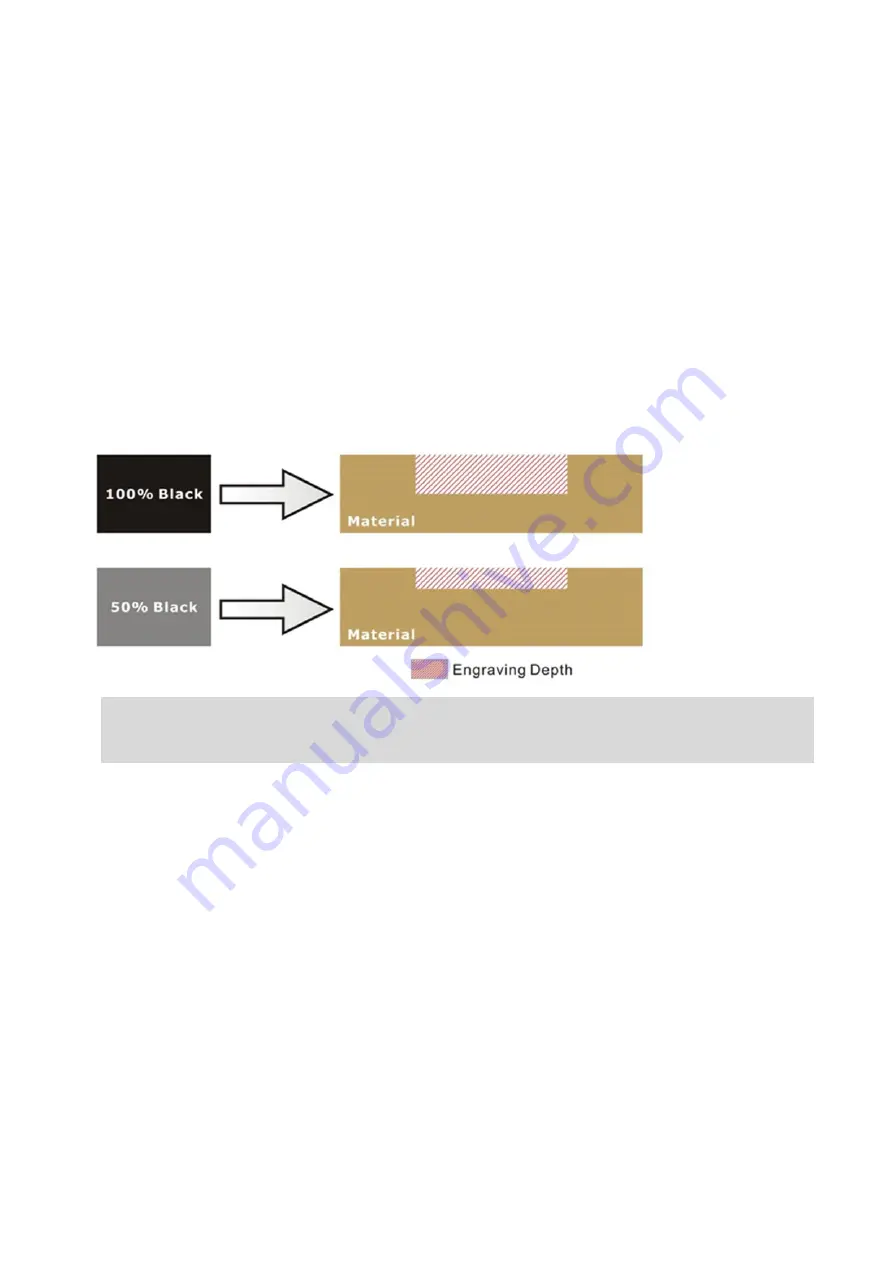
3D processing uses degrees of the gray level to adjust the output energy of the laser. Take the figures below as an
example. When the color of a certain block is set as 100% black, the laser output energy for processing will be at
100%. The processing depth will be fairly deep. When the gray level is set as 50% black, the laser output energy will
be adjusted to a smaller value accordingly so that the processing depth is not as deep.
By specifying the degrees of the gray level in this way, various energy output is achieved, and the 3D effects are
produced.
By specifying different levels of black in design software, the corresponding laser power energy will generate
different depths of engraving result.
Introduction to software for 3D graphic production
Many ways to produce 3D graphics are available. If you are familiar with or frequently use one of the 3D software in
the market like Laser Type, EngraveLab, 3D Studio etc., you may use it for the production of 3D graphics. After
completion, save the 3D images as one of the formats that is compatible with the Laser Engraver (such as JPG or
BMP) and let the machine begin the engraving. If you are not familiar with any 3D software, some editing software
specific for laser in the market also have 3D mode functionality, which could be a handy tool for you to produce 3D
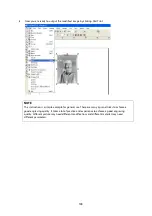
objects. Of course, you may also use Photoshop or CorelDRAW, which you might be using on daily basis, for the
production of 3D objects. Ways to produce 3D graphics with these software are not the same. In the following
section, we will give you simple illustrations with respect to how these software work.
Summary of Contents for LV-290
Page 1: ......
Page 25: ...23 3 Chapter 3 Mechanical Overview Front View Top View Right View Left View Rear View...
Page 34: ...32...
Page 35: ...33...
Page 36: ...34...
Page 41: ...39...
Page 42: ...40...
Page 50: ...48 3 Click Next 4 The installation would be finished in few seconds...
Page 74: ...72 5 1 4 Graphic Control Panel Navigation Chart...
Page 185: ...183...
Page 187: ...185...
Page 199: ...197 Cutting edges achieved with the different lenses...
Page 211: ...209 9 Chapter 9 Basic Troubleshooting...
Page 213: ...211 10 Chapter 10 Appendix Glossary Specification Sheet...
Page 216: ...FA01785 R1 190805...


