■
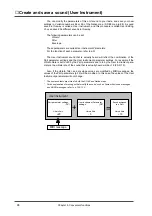
Creating and saving a Patch (User Patch)
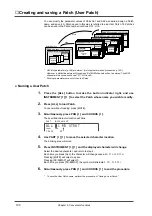
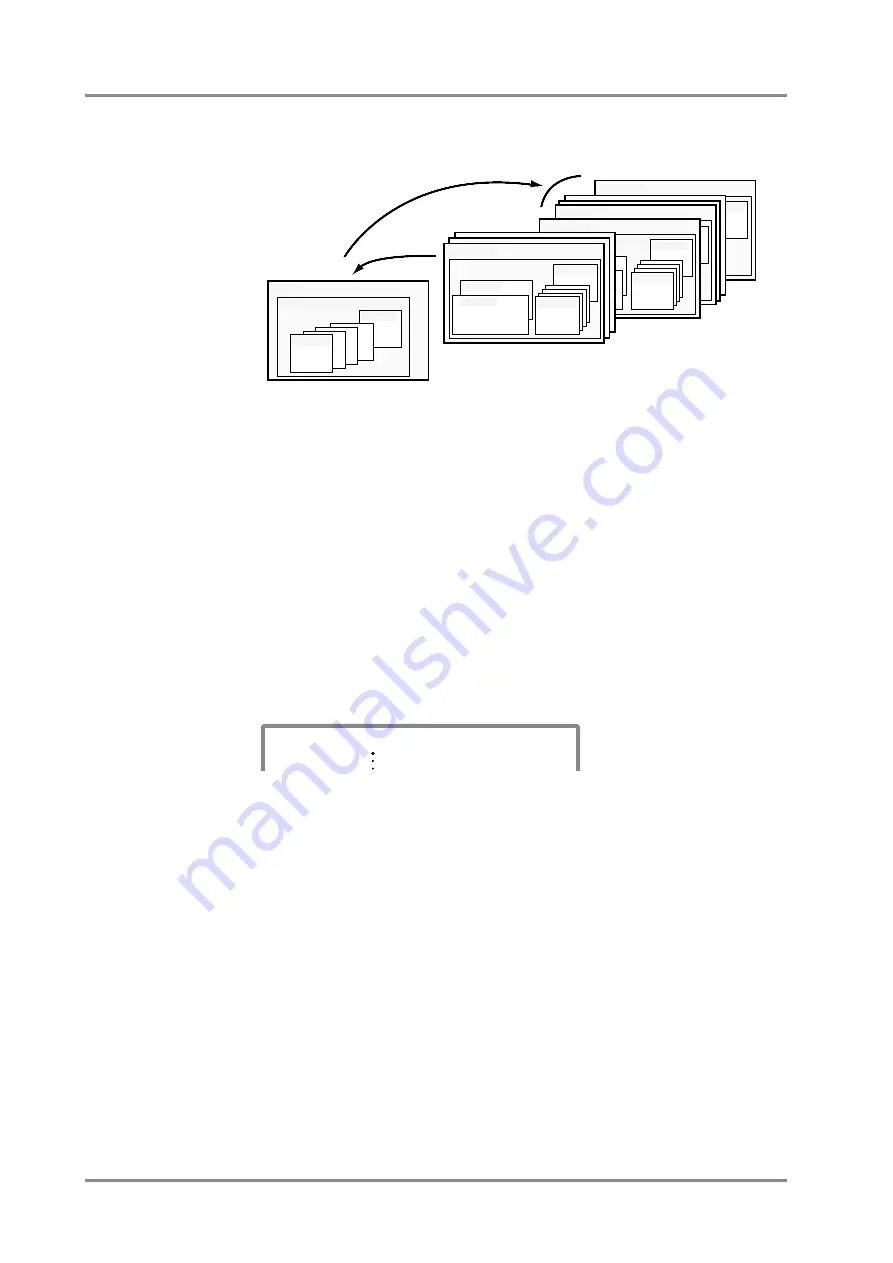
You can modify the parameter values of Parts A01 and A02 as desired, assign a Patch
name, and save it. A Patch saved in this way is referred to as a User Patch. 16 Patches
can be saved in the Patch number locations U01 - U16.
*
All Patch parameters (p.194) are stored. (List of parameters and procedures, p.150)
However, a distinction between GroupA and B of MIDI channels will not be stored. The MIDI
channel will be saved as channel “A**” of Group A
*
Drum set parameters are not stored in a Patch.
●
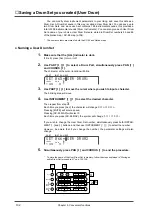
Naming a User Patch
1.
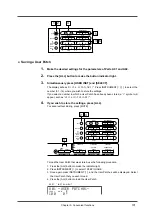
Press the [ALL] button to make the button indicator light, and use
INSTRUMENT [
l
l
l
l
][
r
r
r
r
] to select the Patch whose name you wish to modify.
2.
Press [ALL] to load Patch.
To cancel without loading, press [MUTE].
3.
Simultaneously press PAN [
r
r
r
r
] and CHORUS [
r
r
r
r
].
The specified character location will blink.
4.
Use PART [
l
l
l
l
][
r
r
r
r
] to move the selected character location.
The blinking area will move.
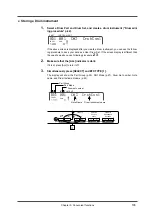
5.
Press INSTRUMENT [
l
l
l
l
][
r
r
r
r
] and the displayed character will change.
Select the desired character, and return to step 4.
Each time you press [ALL], the character will change case as
A
→
a
→
A
→
a
.
Pressing [MUTE] will select a space.
Pressing [SC-55MAP] will select 0.
Each time you press [SC-88MAP], the symbol will alternate
&
→
(
→
&
→
(
.
6.
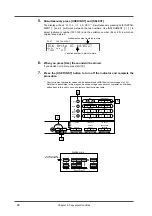
Simultaneously press PAN [
r
r
r
r
] and CHORUS [
r
r
r
r
] to end the procedure.
*
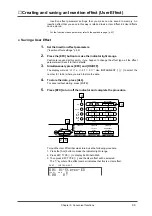
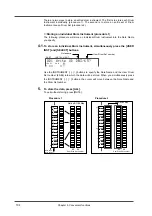
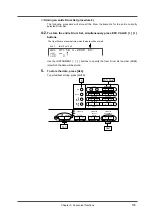
To save the User Patch name, perform the procedure of “Saving a User Patch.”
Default
Value
Patch
Parameters common to all Parts
Part A01
Part B16
Default
Value
Patch Name :
-SOUND Canvas-
Load
Default Setting
Patch U16
Part B16
Patch Name : -
USER PATCH16-
Patch U01
Patch Name :
-USER PATCH01-
Patch 128
Parameters common to all Parts
Part A03
PartB16
Patch 001
Part A01
Part A03
Part A02
Instrument
Effect
Part Parameter etc.
Part B16
Default
Value
Write
Patch Name :
EPILOGUE
Patch Name :
RB STRAT
Default
Value
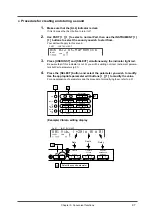
PART
INSTRUMENT
ALL
100
0
LEVEL
PAN
ˇ
1 RB STRAT
Chapter 5. Convenient functions
100
Summary of Contents for SoundCanvas SC-88 Pro
Page 9: ...Chapter 1 Try out the unit Quick start Chapter 1...
Page 18: ...Chapter 1 Try out the unit 16...
Page 19: ...Chapter 2 Parts and parameters Chapter 2...
Page 47: ...Chapter 3 System Effects Chapter 3...
Page 57: ...Chapter 4 Insertion Effects Chapter 4...
Page 97: ...Chapter 5 Convenient functions Chapter 5...
Page 121: ...Chapter 6 Using the unit with a personal computer Chapter 6...

