69
4. A wide variety of Operations
Aligning Automatically
When you make the setting for reading crop marks when sending cutting data from the computer, alignment is per-
formed with the presence or absence of crop marks determined automatically. For information on how to make the
setting, refer to the documentation for the software you're using.
1
Align the crop marks with the blade protector and load a
media.
2
When you send data, alignment is performed automatically,
then cutting starts.
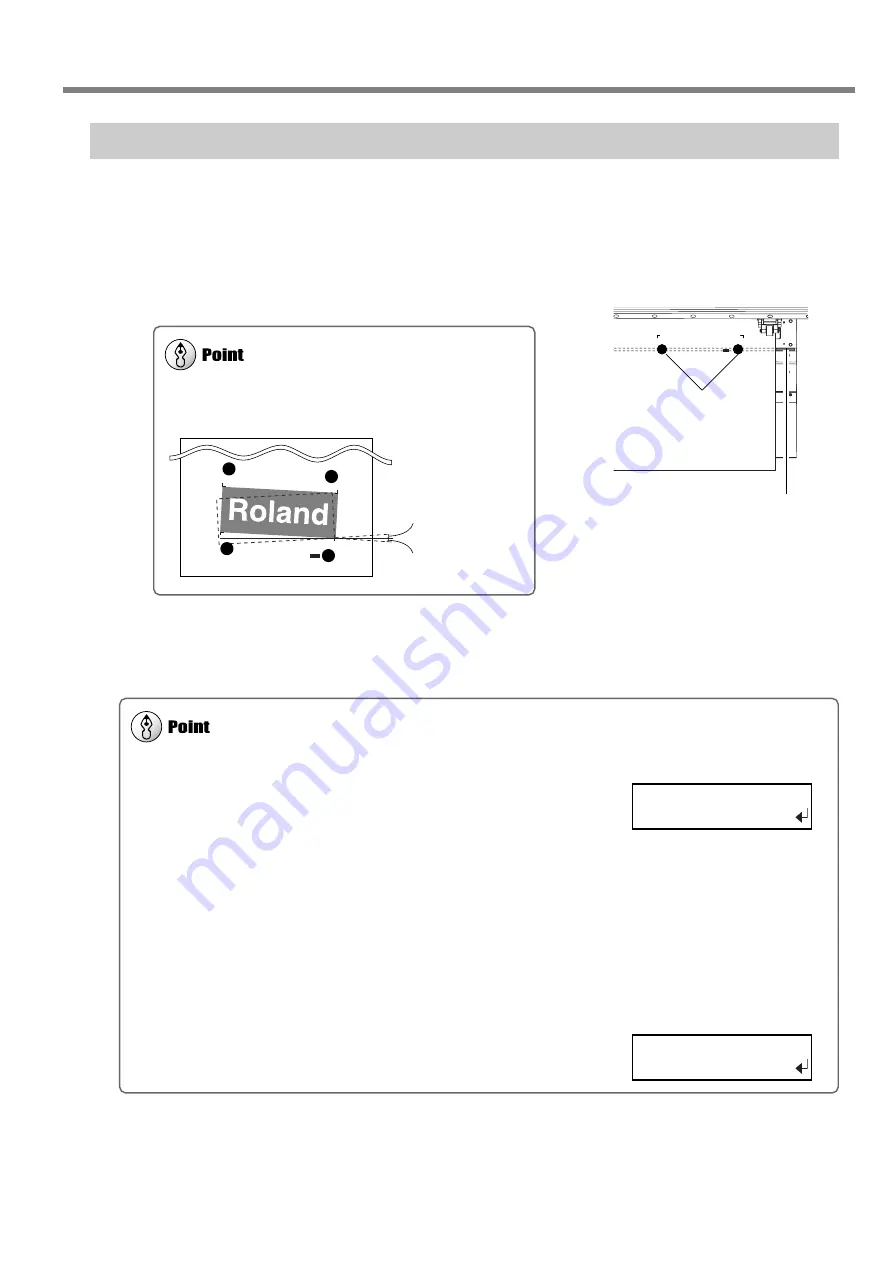
A
Alignment cannot be performed if the line connecting the left
and right crop marks is slanted by 5 degrees or more. Adjust the
positioning of the loaded media.
Blade protector
Crop marks
Within 5 degrees
Within 5 degrees
If Automatic Alignment Cannot Be Performed
If the machine fails to detect the crop marks, the screen shown at right appears
and operation stops.
If this happens, press the [ENTER] key, then take action as follows.
(a) The media is slanted at too great an angle, or its loaded location is misaligned.
Try redoing steps 1 and 2 described above.
(b) The media may not be suitable for automatic crop-mark detection.
Perform alignment manually.
Lengthy media is prone to large error due to warping and the like, making it unsuited to cutting alignment. We recommend
dividing the image data into segments that are as short as possible, then performing output separately for each segment.
To perform alignment by hand, refer to the next section, "Aligning Manually."
To Stop Detection
To stop crop-mark detection while in progress, follow the steps below.
1. Press the [PAUSE] key. The screen shown in the figure appears.
2. Press the [ENTER] key.
4-5 Reloading the Media and Performing Cutting
CANCEL CROPMARK
DETECTION?
CROPMARK ERROR
NOT FOUND
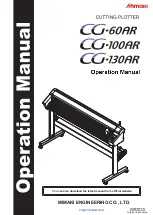
Summary of Contents for SP-300
Page 48: ...46 2 Basic Operation MEMO ...
Page 58: ...56 3 Performing Output MEMO ...
Page 93: ...91 6 About the Menus This chapter provides detailed item about the operation menus ...
Page 109: ...107 8 Appendix ...
Page 115: ...R3 031201 ...


