3
Deutsc
h
Françai
s
Italiano
Español
Por
tug
uês
N
eder
lands
English
Panel Descriptions
Name
Description
Page
8
Pads [1]–[12]
When you press these pads, you’ll hear the samples that are assigned to the pads.
If the [SELECT] button is lit, the pads will select patterns.
9
[START/END/LEVEL] button
Use this button when you want to change the playback start/end points of a sample or to
adjust its volume.
&
[TIME/BPM] button
Use this button when you want to specify a sample’s playback time or BPM (tempo).
[TAP TEMPO] button
You can change the tempo by pressing this button several times at the desired timing.
To temporarily stop the production of sound, hold down the [SHIFT] button while you press
the [TAP TEMPO] (PAUSE) button.
10
[LO-FI] button
Switches the sample’s playback quality (standard/lo-fi).
[STEREO] button
Specifies whether you’ll be sampling in monaural or in stereo.
[GATE] button
Switches between Gate playback (the sample will play only while you hold down the pad)
and Trigger playback (the sample will alternate between play and stop each time you press
the pad).
[LOOP] button
Switches between Loop playback (the sample will play repeatedly) and One-Shot playback
(the sample will play only once).
[REVERSE] button
Switches to Reverse playback, in which the sample will play backward.
11
[BANK] buttons
Use these buttons to switch between sample or pattern banks.
12
[SHIFT] button
Use this button to make various settings.
&
13
[HOLD] pad
This pad allows you to have a sample keep playing even after you take your finger off the
pad.
[EXT SOURCE] pad
This pad plays the sound of the external (line or mic) input.
&
[SUB PAD] pad
This pad plays the sample of the pad you struck most recently.
14
[MIC] button
This button switches the mic input on/off.
15
Internal mic
This is the SP-404A’s built-in mic. If you connect your own mic (sold separately) to the MIC
jack of the top panel, this internal mic will not function.
16
17
18
19
20
21 22
23
24
25
26
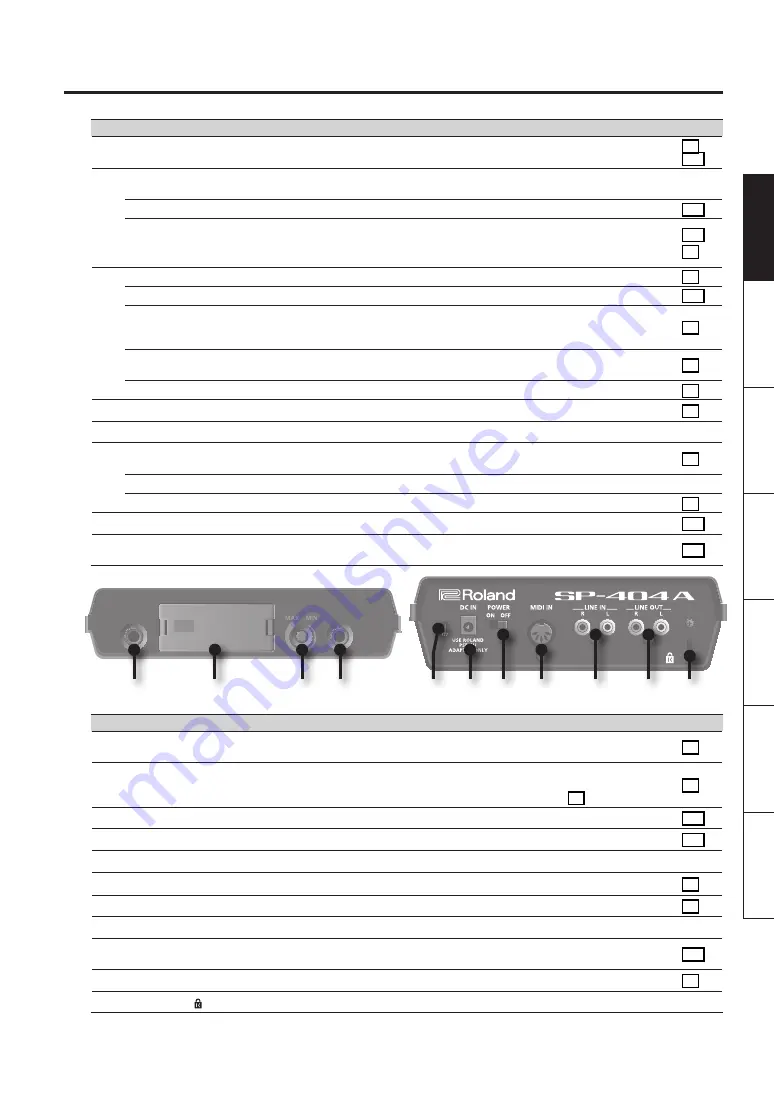
Name
Description
Page
16
PHONES jack
You can connect stereo headphones here to listen to the same sound as from LINE OUT
jacks.
17
SD card slot
Insert an SD card here. There is a cover on the SD card slot, and this cover is fastened in
place with a screw when the SP-404A is shipped from the factory. Remove the screw as
described in “Remove the card lock screw to detach the card cover!” (p. 7).
18
[MIC LEVEL] knob
This adjusts the volume of the SP-404A’s internal mic or a mic connected to the MIC jack.
19
MIC IN jack
You can connect a mic (separately sold) to this jack.
20
Functional ground terminal
If necessary, connect this terminal to an external electrical ground.
–
21
DC IN jack
Connect the included AC adaptor here.
22
[POWER] switch
This turns the power on/off.
23
MIDI IN jacks
You can connect a MIDI device to this connector.
&
24
LINE IN jacks
Here you can connect your portable music player or other audio source device from which
you want to sample.
25
LINE OUT connector
Connect your amplified speakers or mixer system here.
26
Security slot ( )
http://www.kensington.com/
–
Summary of Contents for SP-404A
Page 26: ...MEMO...


