background image

4

About Batteries

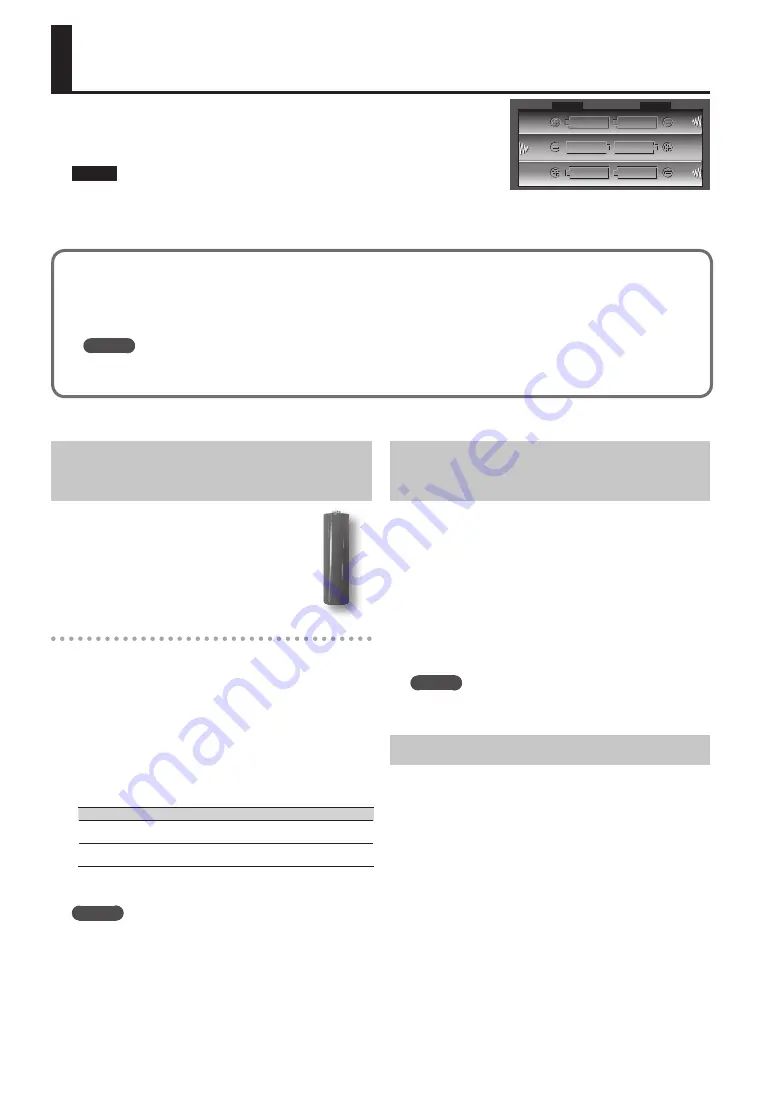
Remove the battery compartment cover located on the bottom of the SP-

404A, and insert the batteries in the correct polarity (direction) as marked 

inside the battery compartment. Then close the cover securely.

NOTE

•  Battery handling


If you handle batteries improperly, you risk explosion and fluid leakage. Make sure that you carefully observe all of the items related to 

batteries that are listed in “USING THE UNIT SAFELY” and “IMPORTANT NOTES” (leaflet “USING THE UNIT SAFELY” and Owner’s manual (p. 25)).

• 

When turning the unit over, be careful so as to protect the buttons and knobs from damage. Also, handle the unit carefully; do not drop it.

When the batteries run low

When the batteries run low, the display’s illumination will turn off, and the dot in the lower right of the display and 
the [SHIFT] button will start blinking. If the batteries run down completely, “

L o

” appears in the display and no further 

operations will be possible. If this occurs, replace the batteries immediately.

MEMO

When the remaining battery capacity decreases, the sound may be distorted when the [VOLUME] knob is in certain 

positions. If this occurs, replace the batteries.

Types of Batteries That Can Be Used 

with the SP-404A

You can use the following types of batteries 

with the SP-404A.  

Do not use any other type of batteries.

• 

Alkaline AA SIZE Dry Battery

• 

Ni-MH AA SIZE Rechargeable Battery

Specifying the type of batteries used

You’ll need to specify the type of batteries you’re using 

(alkaline or Ni-MH rechargeable). The SP-404A will 

calculate its remaining battery power based on the setting 

you make here.

1. 

While holding down the [SHIFT] button, turn on 

the power .

2. 

Turn the [CTRL 3] knob to specify the type of 

batteries you’re using .

The [REC] button will blink when you turn the knob.

Value

Description

A L

Alkaline battery

n i

Rechargeable Ni-MH battery

3. 

Press the [REC] button to confirm the setting .

MEMO

This setting will be remembered even while the power 

is turned off. 

Checking the Remaining Battery 

Power

1. 

Make sure that the [SELECT] button is unlit .

If it’s lit, press the [SELECT] button to turn it off.

2. 

Press the [REMAIN] button .

While you hold down the button, the remaining battery 

power is indicated by the number of BANK buttons that 

are lit. If only the BANK [A/F] button is lit, it’s time to 

replace the batteries. A while after this indication, the 
display will indicate “

L o

,” and it will no longer be possible 

to operate the SP-404A.

MEMO

When the power is on with the AC adaptor connected, 

all of the [BANK] buttons will be lit.

About Sleep Mode

If you’ve selected the “

S L P

” (sleep) setting in “Display 

illumination and sleep settings” (

&

PDF), all of the SP-

404A’s buttons will go out when it has not been operated 

for approximately five minutes, and it will enter Sleep 

mode. This will extend the battery life when operating on 

batteries.

Summary of Contents for SP-404A

Page 1: ...laying Samples 8 Applying Effects 10 Playing Patterns 11 Adjusting the Tempo 12 Recording Samples Basic Operation 13 STEP 1 Connecting Equipment 13 STEP 2 Sampling 15 Deleting a Sample 18 About SD Car...

Page 2: ...rn s tempo During sampling this will light red if the level of the audio signal is excessive p 16 PDF 6 SELECT button Press this when you want to play or record a pattern p 11 LENGTH button Specifies...

Page 3: ...gs PDF 13 HOLD pad This pad allows you to have a sample keep playing even after you take your finger off the pad p 9 EXT SOURCE pad This pad plays the sound of the external line or mic input PDF SUB P...

Page 4: ...Alkaline AA SIZE Dry Battery Ni MH AA SIZE Rechargeable Battery Specifying the type of batteries used You ll need to specify the type of batteries you re using alkaline or Ni MH rechargeable The SP 4...

Page 5: ...arately Audio cables sold separately AC adaptor LINE OUT jacks DC IN jack LINE IN jacks If you re using headphones sold separately connect them here Place the AC adaptor so the side with the indicator...

Page 6: ...er to this unit will be turned off automati cally after a predetermined amount of time has passed since it was last used for playing music or its buttons or controls were operated Auto Off function If...

Page 7: ...prevent damage to the buttons and controls Also you should try to orient the unit so no buttons or controls get damaged Never insert or remove an SD card while this unit s power is on Doing so may co...

Page 8: ...the sample bank To select bank F Press the A F button twice so it starts blinking How many samples can play simultaneously The SP 404A can play 12 monaural samples or 6 stereo samples simultaneously W...

Page 9: ...ssed most recently the current pad You can change the sample settings by pressing these buttons With the factory settings the samples in some banks of the included SD card are protected and cannot be...

Page 10: ...the filter s resonance CTRL 3 drU DRIVE Adjusts the amount of drive distortion For details on each effect refer to Effect List PDF Applying an effect to multiple samples Normally the effect will be a...

Page 11: ...What is a pattern bank A pattern bank is a set of twelve patterns assigned to the pads The SP 404A has ten pattern banks A J Use the A F E J buttons to switch pattern banks To select F Press the A F...

Page 12: ...s how to change the playback tempo of the pattern 1 Press the TIME BPM button so it s lit MEMO If the SELECT button is lit you ll be changing the pattern s tempo If the SELECT button is extinguished y...

Page 13: ...layer turntable cannot be connected directly to the SP 404A If you want to connect a record player you must use an audio amp that will accept a connection from a record player or use a phono equalizer...

Page 14: ...this button unlit Using the built in mic If you want to use the built in mic don t connect anything to the MIC IN jack The built in mic won t operate if a mic is connected to the MIC IN jack Howling...

Page 15: ...L button 3 Press the BANK E J button so it s blinking If the button is lit bank E is selected press the E J button once again so it s blinking Pads to which you can sample will blink 4 Press the pad 1...

Page 16: ...of your audio source e g portable music player MEMO If the volume of your device is not adjustable and the PEAK indicator stays lit set the SP 404A s input gain to 10 dB PDF If you re using a mic tur...

Page 17: ...l end If the display indicates FUL In the following cases the display will indicate FUL and sampling will end automatically When there is no remaining free space on the SD card When the sample current...

Page 18: ...hat can be deleted will blink Select a bank Protected banks p 21 are indicated as Prt and cannot be selected Pads that can be deleted will blink 3 Press the pad that you want to delete The selected pa...

Page 19: ...t and the DEL button will blink MEMO If you decide not to format the card press the CANCEL button 3 Press the DEL button The DEL button will light and formatting will begin During the formatting proce...

Page 20: ...l blink MEMO If the memory is protected p 21 the display will indicate Prt Protected and the backup load operation cannot be executed If there is no backup data on the SD card the display will indicat...

Page 21: ...s of banks A J MEMO Protection will be cancelled for the factory set samples and patterns This setting is retained even while the power is turned off Protecting an Individual Bank 1 Press the SELECT b...

Page 22: ...m support The FCTRY folder contains the factory set preset data 5 Insert the SD card into the SP 404A and while holding down the CANCEL REMAIN and DEL button buttons turn on the power The display will...

Page 23: ...tern or backup data to delete There is no backup data to load There is no WAV or AIFF to import Err Error Invalid data was found and it was repaired or deleted FUL Memory Full Processing could not be...

Page 24: ...note Pattern Length 1 99 measures Recording method Realtime Loop Recording with shuffle quantize function Effects 29 types Pads 12 Sub pad x 1 Controllers Control Knob x 3 Display 7 segments 3 charact...

Page 25: ...wn the needed information Although we will do our utmost to preserve the data stored in your unit when we carry out repairs in some cases such as when the memory section is physically damaged restorat...

Page 26: ...MEMO...

Reviews: