28
Chapter 3: Performing Cutting
3-2 Cutting
Let's look at the basic cutting method while creating the sticker indicated to the right.
Follow the operations in the order indicated below.
Step 1: Load Material
Procedure
➊
Turn the machine off.
➋
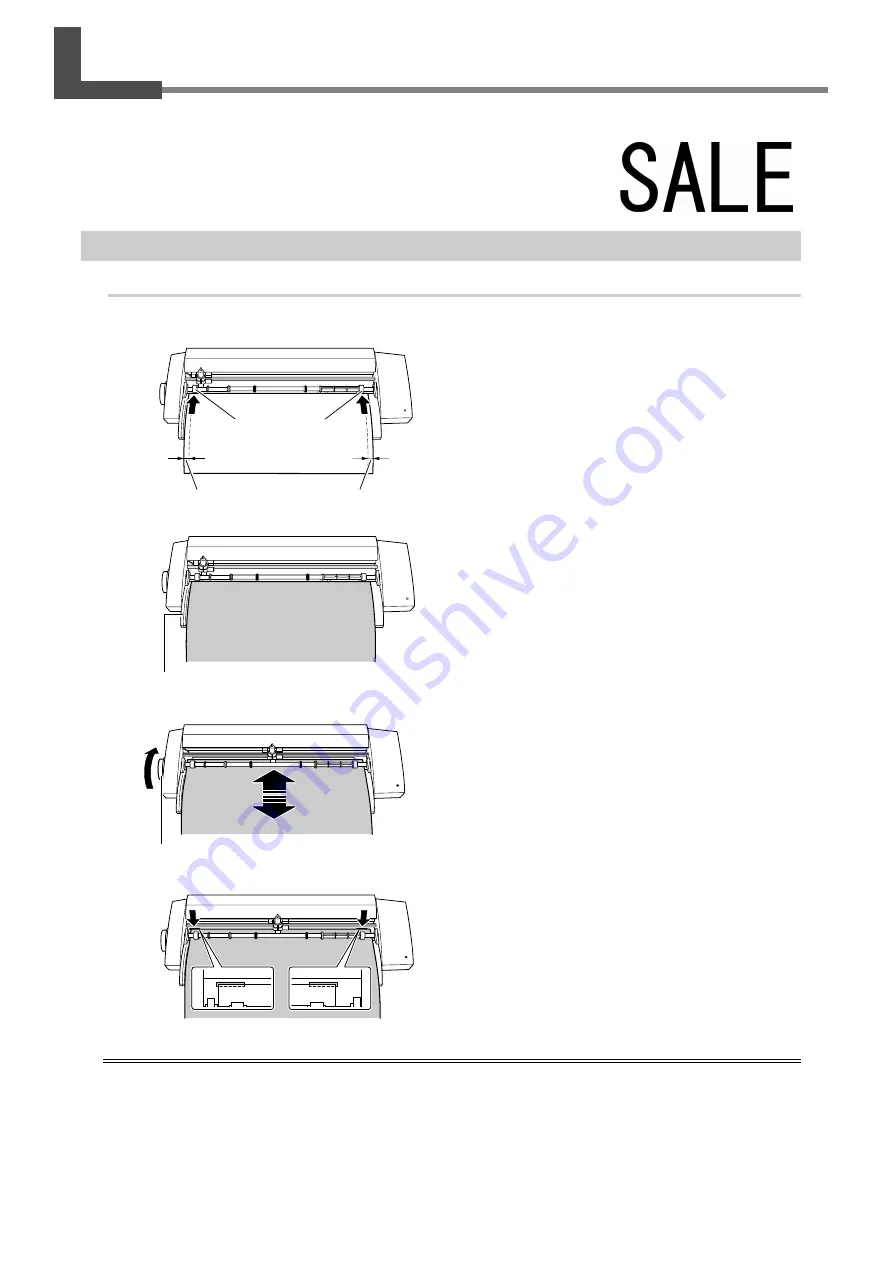
Verify that the material is narrow enough to be
loaded and that it touches the pinch rollers.
If you are using the SV-15 model, adjust the pinch
rollers to the material width and then advance the
material to touch the pinch rollers.
☞
p 29 "Changing Loadable Material Width (for SV-15)"
➌
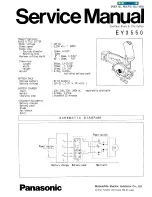
Verify that the left edge of the material is paral-
lel with the guide line.
* If it is not, trim the excess material from the edge of
the material that is touching the pinch rollers until
the left edge is parallel with the guide line.
➍
Turn the sheet feed knob and move the mate-
rial into the machine and then back out. Verify
that the material does not come loose.
* Reload the material if it becomes skewed or if it
comes loose.
➎
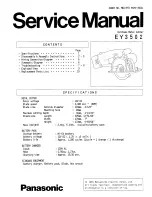
Align the material edge with the marks at the
back of the blade protector.
Loading the Included Test-use Material
The direction to load the included test-use material differs depending on the machine model.
SV-15/12 ··· Sideways (Landscape)
SV-8 ··· Lengthwise (Portrait)
If you are using the SV-15 model, change the loadable material width to 280 to 305 mm (11 to 12 in.).
☞
p 29 "Changing Loadable Material Width (for SV-15)"
Guide line
Sheet feed knob
Pinch roller
Make the material edges even
Summary of Contents for Stika SV-12
Page 13: ...11 Chapter 1 Setup Preparation...
Page 19: ...17 Chapter 2 Installing Software This section describes how to install the included software...
Page 26: ...24...
Page 29: ...3 1 What to Know Before Cutting Chapter 3 Performing Cutting 27...
Page 49: ...47 Chapter5 Maintenance This describes how to clean the machine and replace the blade...
Page 54: ...52...
Page 55: ...53 Chapter 6 Appendix...
Page 63: ......


