


15
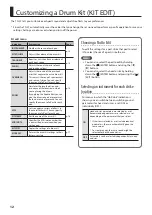
Customizing a Drum Kit (KIT EDIT)
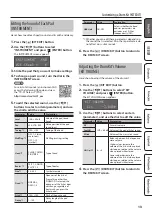
Adjusting the Stereo Feel of the Drum Kit
(OVERHEAD)
Here’s how to adjust the sound of the overhead mics that
capture the entire drum kit.
This adjusts the sound’s spaciousness and sense of stereo.
You can specify the amount of effect for each pad.
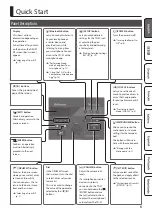
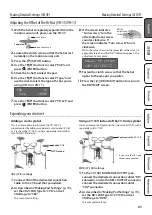
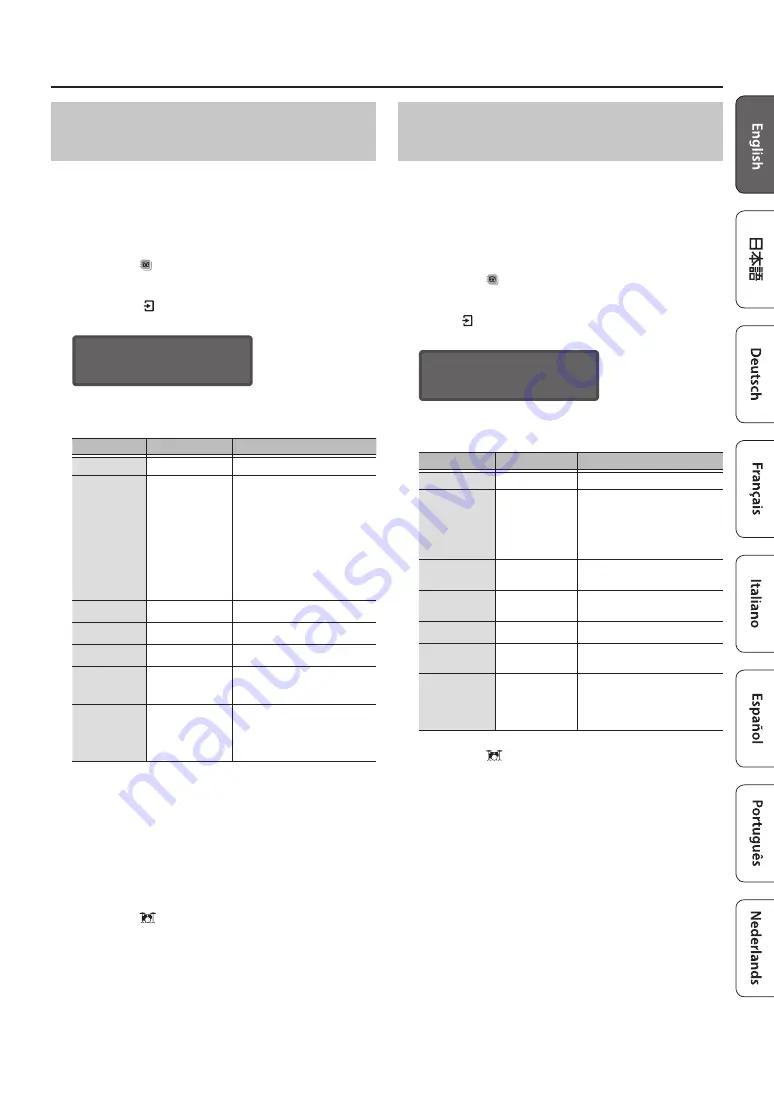
1
Press the [ ] (KIT EDIT) button.
2
Use the [
C
][
A
] buttons to select “OVERHEAD,”
and press [ ] (ENTER) button.
The OVERHEAD screen appears.
OVERHEAD
ON/OFF ONÀ
3
Use the [
C
][
A
] buttons to select an item
(parameter) and use the dial to edit the value.
Parameter
Value
Explanation
ON/OFF
ON, OFF
Turns the effect on/off.
Type
STD-1, STD-2,
WIDE, CLEAR,
WARM, DRY,
MILD, BRIGHT,
OTHER-1–4
*1
When you edit this
parameter, all settings other
than the overhead Level
are changed to the optimal
values.
To quickly obtain the sound
you want, select the desired
template and then edit the
settings.
Mic
TYPE1–10
Type of mic
Width
1–5
Distance between mics
Level
-INF–+12.0dB
Volume of overhead
Send
-INF–+6.0dB
Amount of overhead applied
to each pad
H&R Link
ON, OFF
Selects whether the head
and rim parameters are
edited as a set (ON) or
independently (OFF).
*1: Depending on the settings of each parameter, the
template name might not match the effect. Also, if
the default settings of the template do not match
the current values, an “*” is shown for the template
setting.
If you changed the template when the “*” is shown,
the values will return to the default values of the
template.
4
Press the [
] (DRUM KIT) button to return to
the DRUM KIT screen.
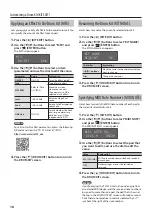
Adjusting the Reverberation of the Drum
Kit (ROOM)
Here’s how to simulate the reverberation and resonance of
the location in which you’re playing the drums.
By applying the Room effect you can give the drum sound
a more natural feel and a sense of presence. You can specify
the amount of effect for each pad.
1
Press the [ ] (KIT EDIT) button.
2
Use the [
C
][
A
] buttons to select “ROOM,” and
press [ ] (ENTER) button.
The ROOM screen appears.
ROOM
ON/OFF ONÀ
3
Use the [
C
][
A
] buttons to select an item
(parameter) and use the dial to edit the value.
Parameter
Value
Explanation
ON/OFF
ON, OFF
Turns the effect on/off.
Type
STUDIO1-1–4,
STUDIO2-1–4,
CLUB-1–4,
STAGE-1–4,
HALL-1–4
Type of room
Distance
0–6
Sense of distance for the
room’s reverberation
Time
-64–0
Reverberation time of the
room
Level
-INF–+6.0dB
Volume of reverb
Send
-INF–+6.0dB
Amount of room applied to
each pad
H&R Link
ON, OFF
Selects whether the head
and rim parameters are
edited as a set (ON) or
independently (OFF).
4
Press the [
] (DRUM KIT) button to return to
the DRUM KIT screen.
Summary of Contents for TD-07
Page 30: ......


