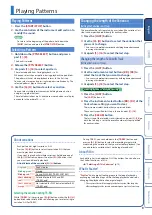
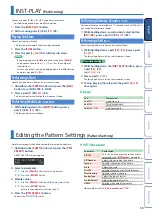
background image

13

INST-PLAY 

(Performing)

You can use pads 

[1]

 (BD)–

[11]

 (RC) to perform in real time.

Your performance does not modify the pattern.

1. 

Press the 

[INST PLAY]

 button.

2. 

Perform using pads 

[1]

 (BD)–

[11]

 (RC).

Playing Sub Steps

Here’s how to play sub steps.

This lets you play duplets, triplets, and quadruplets.

1. 

Press the 

[SUB]

 button.

2. 

Press the pad 

[1]

[16]

 that will play sub steps.

MEMO

By holding down the 

[SUB]

 button and turning the 

[VALUE]


knob you can choose from 1/2, 1/3, or 1/4 as the number of 

step divisions.
You can also play a sub step by holding down the 

[SUB]

 button 

and pressing a pad 

[1]

[16]

.

Performing a Flam

Here’s how to perform a flam on an instrument’s tone.

1. 

Hold down the 

[SHIFT]

 button and press the 

[SUB]


button to set SUB STEP to FLAM.

2. 

Press a pad 

[1]

 (BD)–

[11]

 (RC).

This lets you perform a flam on the instrument’s tone.

Performing Weak Beats 

(WEAK BEATS)

1. 

While holding down the 

[SHIFT]

 button, press a 

pad 

[1]

 (BD)–

[11]

 (RC).

This lets you perform weak beats.

Performing Alternate Sounds 

(ALT INST)

For sounds whose name includes a 

“/”

 character, such as 707Bass1/2, 

you can perform alternate sounds.

1. 

While holding down an instrument select button 

[BD]

[RC]

, press a pad 

[1]

 (BD)–

[11]

 (RC).

Performing a Roll 

(ROLL)

Here’s how to perform a roll on an instrument’s tone.

1. 

While holding down a pad 

[12]

[13]

, press a pad 

[1]

[11]

.

This lets you perform a roll on the instrument’s tone.

Alternate method

1. 

While holding down the 

[INST PLAY]

 button, press 

a pad 

[12]

[13]

.

Pad 

[12]

[13]

 is lit.

2. 

Press a pad 

[1]

[11]

.

This lets you perform a roll on the instrument’s tone.

3. 

To stop playing the roll, press the pad 

[12]

[13]


once again.

Roll speed

Pad

Explanation

Pad [12] 

Sixteenth note

Pad [13] 

Thirty-second note

Pad [12] + [13] 

Sixty-fourth note

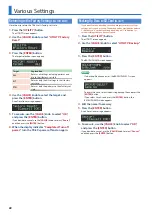
Editing the Pattern Settings 

(Pattern Setting)

Here’s how to specify the kit and tempo that are used by a pattern.

1. 

Hold down the 

[SHIFT]

 button and press the 

[PTN 

SELECT]

 button.

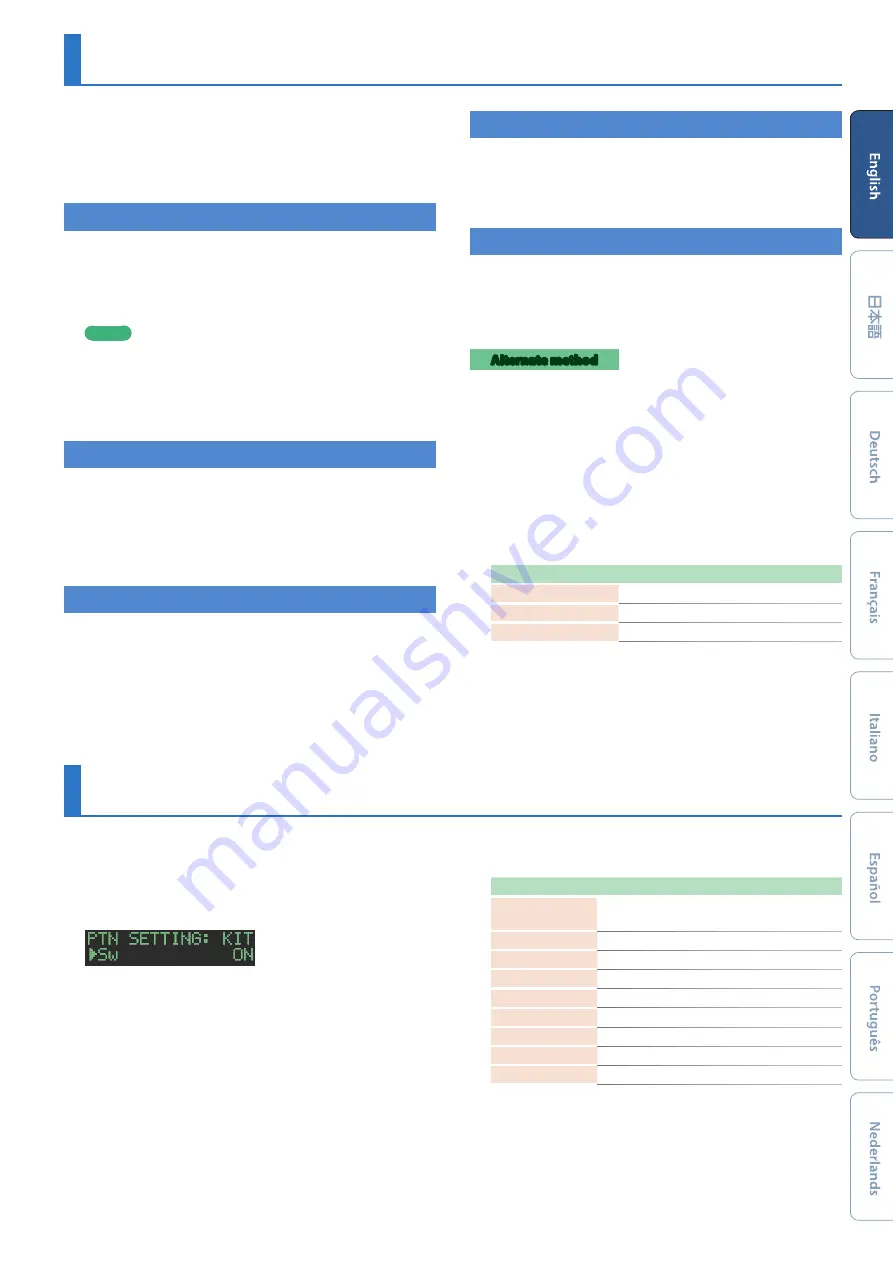
The PTN SETTING screen appears.

2. 

Select a parameter.

2-1. 

Use the 

[VALUE]

 knob to select a parameter.

2-2. 

Press the 

[ENTER]

 button.

3. 

Modify values.

3-1. 

Use the 

[VALUE]

 knob to edit the parameter value.

3-2. 

Press the 

[ENTER]

 button.

Return to the parameter selection (step 2).

4. 

Press the 

[PTN SELECT]

 button.

You exit the PTN SETTING screen.

PTN SETTING parameter

Parameter

Explanation

KIT:SW

Turn this on if you want to use the kit that’s 

selected by the 

“KIT:Number”

 parameter.

KIT:Number

Selects the kit used by the pattern.

Tempo

Specifies the tempo of the pattern.

Scale

Selects the scale.

Shuffle

Specifies the amount of shuffle (bounce).

Flam Spacing

Specifies the flam spacing.

ScatterType

Selects the type of scatter.

ScatterDepth

Adjusts the depth of scatter.

NAME

Specifies the name of the pattern.

&

  For details, refer to 

“Reference Manual”

 (PDF).

Summary of Contents for TR-8S

Page 1: ...ation about MIDI messages To obtain the PDF manual 1 Enter the following URL in your computer https www roland com support 2 On the Support menu choose Owner s Manuals 3 Choose TR 8S as the product na...

Page 2: ...precautions that were supplied with the external memory device Do not remove the device while reading writing is in progress To prevent damage from static electricity discharge all static electricity...

Page 3: ...14 Editing a Kit s Settings KIT Edit 14 Detailed Reverb Settings 14 Detailed Delay Settings 14 Master Effect MASTER FX 15 Assigning Parameters to the CTRL Knobs CTRL SELECT 15 Assigning a Different Fu...

Page 4: ...ON knob operation data MOTION is played back for each instrument MOTION REC button If REC is selected knob operation data MOTION is recorded for each instrument INST PLAY button Use the pads 1 13 to p...

Page 5: ...t related to the ASSIGNABLE OUT TRIGGER OUT jacks phone jacks 9 Common section 2 Display Shows pattern names and various settings WRITE button Saves the pattern kit system settings Parameters of the p...

Page 6: ...plying undue stress to the jack anchor the power cord using the cord hook as shown in the illustration B POWER switch This turns the power on off Introduction p 7 C USB port Use a commercially availab...

Page 7: ...is jack Introduction Before turning the unit on off always be sure to turn the volume down Even with the volume turned down you might hear some sound when switching the unit on off However this is nor...

Page 8: ...ays the instruments of the currently selected kit Variation Pattern 1 1 8 16 A C B D E G F H Fill in 1 Fill in 2 Kit 1 128 Instrument x 11 BASS DRUM A pattern plays the inst of the kit Variation Patte...

Page 9: ...ress the LAST button The LAST button is lit 2 Press the instrument select button BD RC of the track whose setting you want to clear The instrument select button that you pressed blinks The currently s...

Page 10: ...Use the VALUE knob and the ENTER button to select the copy destination A confirmation message appears 5 To copy use the VALUE knob to select OK and press the ENTER button If you decide to cancel use...

Page 11: ...2 you can input alternate sounds 1 While holding down an instrument select button BD RC press a pad 1 16 Alternate sounds Although one sound is assigned to each pad sounds instrument s tones whose na...

Page 12: ...from theTrack Deleting only a portion If you press the CLEAR button during playback the step of the track selected by the instrument select button is deleted from the pattern only while you re holdin...

Page 13: ...olding down a pad 12 13 press a pad 1 11 This lets you perform a roll on the instrument s tone Alternate method 1 While holding down the INST PLAY button press a pad 12 13 Pad 12 13 is lit 2 Press a p...

Page 14: ...nce Manual PDF MEMO 5 5 When you switch kits the position of the knobs might differ from the values of the kit for such cases you can choose whether knob movement changes the sound immediately or only...

Page 15: ...can select in step 2 of Assigning Parameters to the CTRL Knobs CTRL SELECT p 15 Playing Multiple Instruments Layered GROUPING for Layer You can create a group of multiple instruments and play their la...

Page 16: ...it KIT COPY 1 Hold down the COPY button and press the KIT button The KIT COPY screen appears 2 Use the VALUE knob to select the copy source and press the ENTER button 3 Use the VALUE knob to select th...

Page 17: ...a User Sample SAMPLE 1 Press the SAMPLE button The SAMPLE button and the BD RC button that had been selected in TR REC are lit and the SAMPLE screen appears 2 Use the VALUE knob to select the user sam...

Page 18: ...ase numerals 6 When you ve finished inputting characters press the ENTER button You return to the screen of step 2 the name that you input is shown Saving the Pattern Kit or System Settings WRITE Here...

Page 19: ...press the CLEAR button This lets you erase the pattern of the selected instrument Only the selected variation is affected If playing back in TR REC or INST REC 1 During playback press the CLEAR button...

Page 20: ...the TEMPO display TapTempo Here s how to tap input the tempo 1 While holding down the SHIFT button press the ENTER button three or more times The tempo is specified as the average timing at which you...

Page 21: ...and you exit the UTILITY screen Assigning an Instrument to the ASSIGNABLE OUT TRIGGER OUT jacks 1 Hold down the SHIFT button and press the KIT button The setting screen appears 2 Use the VALUE knob to...

Page 22: ...display indicates Completed Turn off power turn the TR 8S s power off and on again Backing Up Data to SD Card BACKUP If you want to make a backup save the data patterns kits system settings before you...

Page 23: ...R button 3 These are used to modify values 3 1 Use the VALUE knob to edit the parameter value 3 2 Press the ENTER button Return to the parameter selection step 2 4 Press the lit UTILITY button The UTI...

Page 24: ...mount of MIDI messages that are being transmitted MIDI Offline The MIDI IN connection was broken Check that there is no problem with the MIDI cable connected to the TR 8S s MIDI IN and that the MIDI c...

Reviews: