35
Compositing Two Pictures
Compositing Using Picture-in-Picture
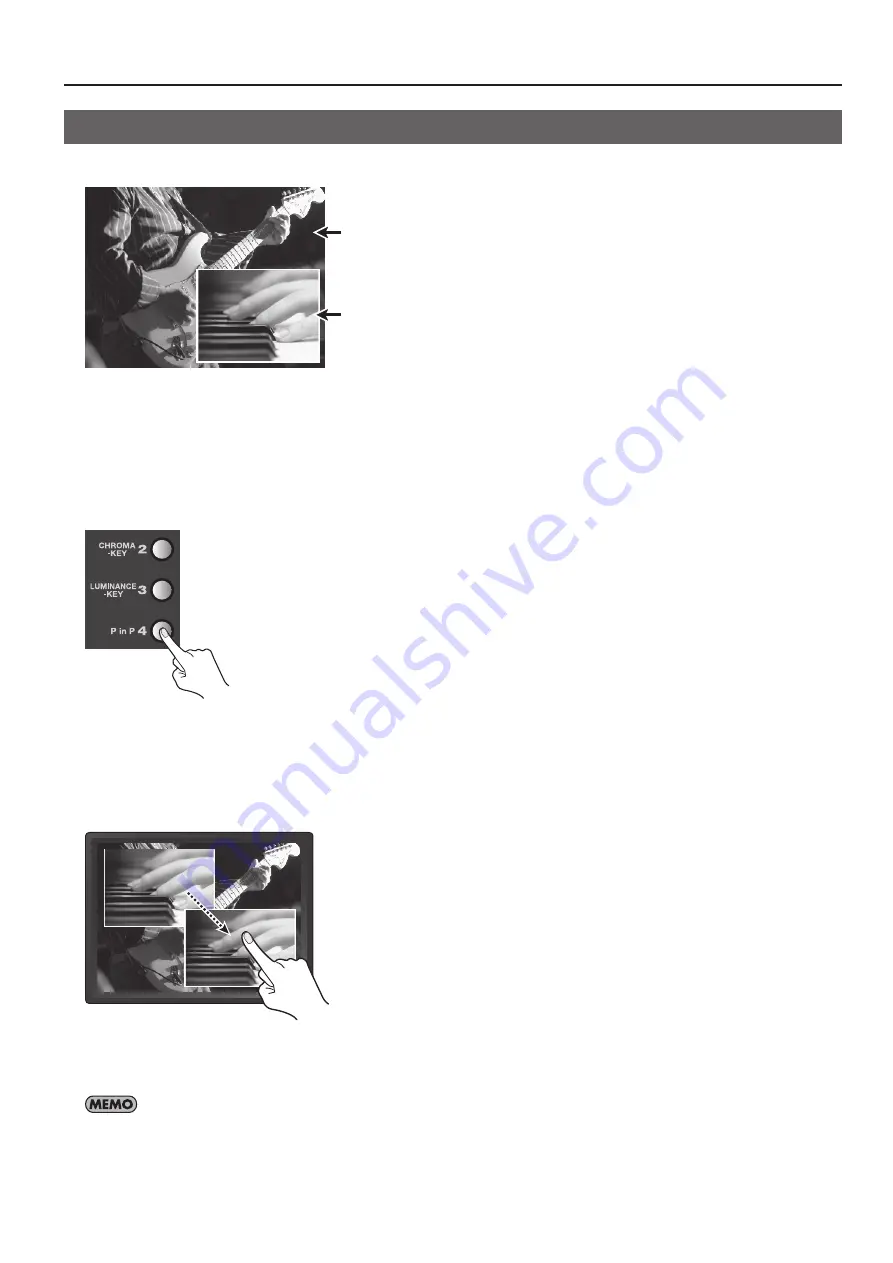
Compositing that overlays an inset screen on a background is called “Picture-in-Picture” (PinP).
fig.PinP-image.eps
Background
Inset Screen
1. Choose the background picture.
Use the A-Bus input selectors to select the channel of the background.
2. Select the video to display as the inset screen.
Use the B-Bus input selectors to select the channel to be displayed as the inset screen.
3. Perform compositing.
Press the B-Bus [P in P] Effect button to make it light up.
fig.press-PinP.eps
4. Change the size of the inset screen.
Turn the B-Bus Effect Control dial to change the size of the inset screen.
5. Change the position of the inset screen.
Press the [OUTPUT] MONITOR button to display the composited results on the built-in monitor. You can change the position of the
inset screen by sliding your finger on the touch panel.
fig.adjust-inset-position.eps
6. Adjust the display level of the inset screen.
You can adjust the display level of the inset screen by moving the video fader forward or backward. Moving it all the way to the
B-Bus end displays the inset screen at a level of 100%. Moving it all the way to the A-Bus end makes the inset screen disappear.
You can also use the PinP menu (p. 41) to make settings for the position and size of the inset screen. You can save up to eight sets of settings at
the PinP menu (EFFECTS 142 through 149). To save settings, press the [MENU] button to display the menu, then press the on-screen [PinP 1 - 4] or
[PinP 5 - 8] button. Selecting [SAVE CURRENT PinP] lets you save the current settings to the corresponding number.
Summary of Contents for V-4EX
Page 2: ...2 ...
Page 47: ...47 Appendices ...
Page 48: ...48 Appendices ...
Page 49: ...49 Appendices ...
Page 51: ...51 Appendices Slide Normal Slide Sequential ...
Page 52: ...52 Appendices Stretch ...
Page 62: ...62 ...
Page 63: ...63 ...
Page 64: ......


