background image

8

Feb.2004

CHECKING THE VERSION 
NUMBER

1.

Turn the power on while holding down [DRUM KIT], [LEVEL/PAN], 
and [AMBIENCE] button.

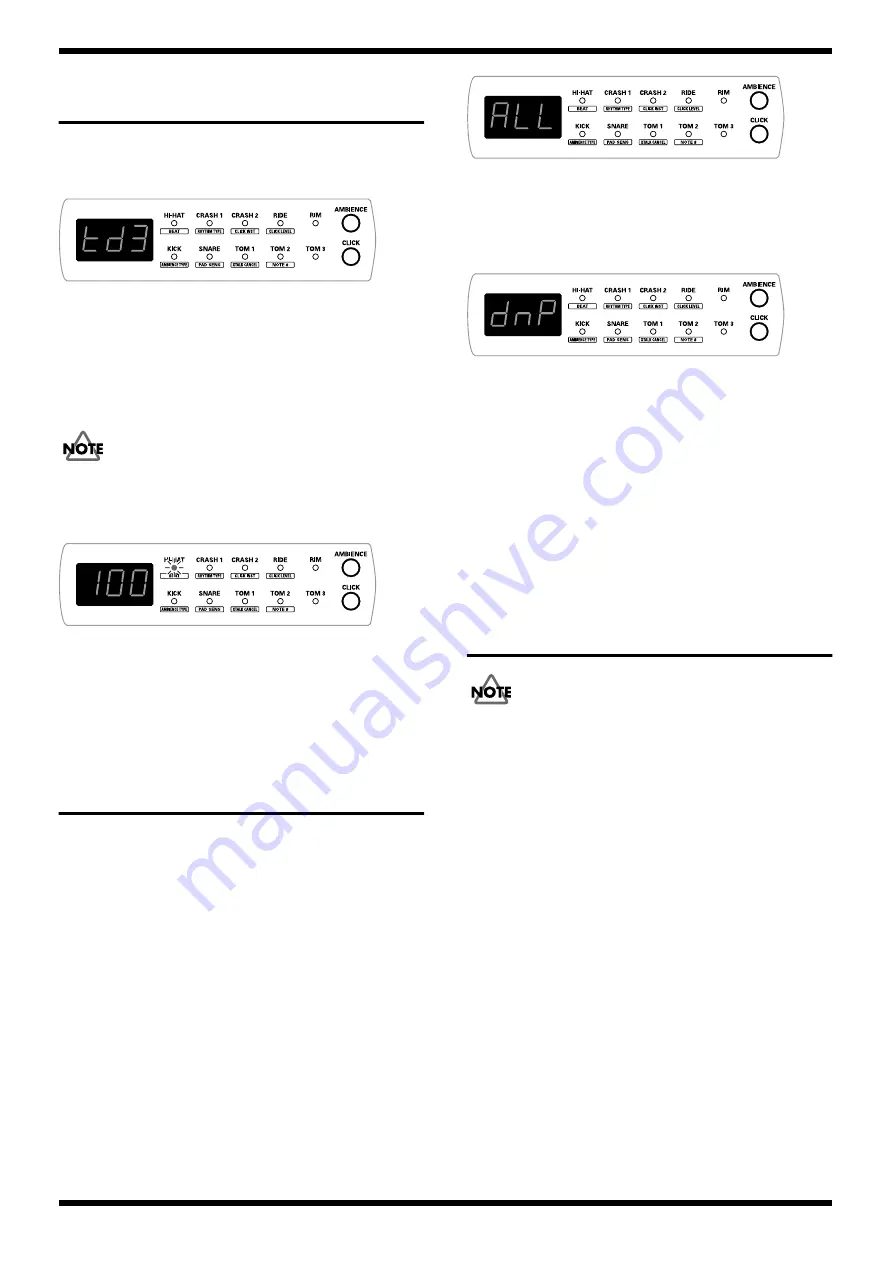
fig.ver1

2.

Press [AMBIENCE] button.

3.

Press [CLICK] button.

4.

Upon entering Test mode, the [DRUM KIT] button lights up, and the 
[INST] button and [HI-HAT] LED flash.

At this time, the CPU version is indicated in the seven-segment LEDs.

The unit will not enter Test mode if the wrong buttons are pressed or if the 
buttons are pressed in the wrong sequence.

Start the procedure over from the beginning.

fig.ver2

5.

Press [INST] button.

At this time, the WAVE ROM version is indicated in the seven-segment 
LEDs.

6.

To exit the software version display, turn off the power.

USERS DATA SAVE AND 
LOAD

Bulk dump

You can save all of the TD-3’s drum kits, general settings, and more to an 
external MIDI sequencer.

Use the external sequencer as you would when recording musical data, 
following steps on the TD-3 as shown below.

1.

Connect the TD-3’s MIDI OUT connector with a MIDI cable to the MIDI 
IN connector of the external sequencer.

2.

While holding down [DRUMKIT],turn the TD-3’s power on.

3.

“bulk duMP” appears in the scroll display, then “ALL” is displayed, and 
[DRUMKIT] flashes.

4.

Press [+] or [-] button to select the content to be saved (“ALL”).

fig.bulk1

5.

Start the recording process of the external sequencer.

6.

Hold down [DRUMKIT] to begin transmitting the data.

“dnP” appears in the display while the data is being transmitted.

fig.bulk2

7.

Be sure that the transmission is finished, then stop recording with the 
external sequencer.

8.

Turn the TD-3’s power off.

Bulk load

1.

Connect the TD-3’s MIDI IN connector with a MIDI cable to the MIDI 
OUT connector of the external sequencer.

2.

Press [DRUM KIT] to display the drum kit number.

3.

Press  “PLAY” on the sequencer to transmit the data to the TD-3.

TEST MODE

Perform “9. Factory Reset” at the end of Test mode.

The User memory is cleared in this procedure; bulk dump the data in the User 
memory to back it up before entering Test mode.

Test items

Test items

TRIGGER LED

1.Version Test

[HI-HAT]

2.Device Test

[CRASH1] 

3.MIDI Test

[CRASH2]

4.Switch & LED Test

[RIDE]

5.Hihat Pedal Test

[RIM]

6.Trigger Test

[KICK]

7.Trigger Switch Test

[SNARE]

8.Sound Test

[TOM1]

9.Factory Reset

[TOM2]

Summary of Contents for V-Drums TD-3

Page 1: ...AS 17058227E0 Feb 2004 TD 3 TABLE OF CONTENTS SPECIFICATIONS 2 LOCATION OF CONTROLS 3 LOCATION OF CONTROLS PARTS LIST 3 EXPLODED VIEW 4 EXPLODED VIEW PARTS LIST 4 PARTS LIST 5 PACKING VIEW 7 PACKING...

Page 2: ...11 16 D x 2 3 8 H inches Weight 550 g 1 lb 4 oz excluding AC Adaptor Accessories Owner s Manual English C5100016 Owner s Manual Japanese C5100015 AC Adaptor ACI 120C 00905767 AC Adaptor ACI 230C 01018...

Page 3: ...6 POTENTIOMETER 9M M ROTARY POT RK09K12A0D0K 1 8 02341712 JACK EXT TERMINAL 6 5M M JACK MONO HTJ 064 10I 2 9 C7100033 CASING PANEL SHEET 1 10 DIODE LED 7SEG ELT 512SURWA S530 A3 1 11 03230656 DIODE LE...

Page 4: ...OP SX1H B CLR 8 7 C4800005 PCB ASSY MAIN BOARD ASSY 1 8 C4800006 PCB ASSY PANEL BOARD ASSY 1 9 C6400013 MISCELLANEOUS SHIELD SHEET 1 10 C7100034 MISCELLANEOUS INSULATING SHEET 1 11 C5400058 WIRING CAB...

Page 5: ...TERMINAL 02897312 HTJ 035 22D 3 5M M JACK JK1 on MAIN 1 02897334 HTJ 064 10D 6 5M M JACK STEREO JK5 JK6 JK7 JK8 JK9 JK400 on MAIN JK3 JK4 JK5 JK6 JK7 on PANEL 6 5 02341712 HTJ 064 10I 6 5M M JACK MONO...

Page 6: ...R 1 MISCELLANEOUS C7100034 INSULATING SHEET 1 12199599 GROUNDING TERMINAL M1699 4 40232123 NITTO ACETATE TAPE 5 BLACK W20MM 30M 1 C6400013 SHIELD SHEET 1 ACCESSORIES STANDARD C5100015 OWNER S MANUAL J...

Page 7: ...ER B 1 4 C5000044 PAD JOINT A 2 5 C5000045 PAD JOINT B 2 6 C5000047 PAD TRAY A 1 7 C5000049 PAD TRAY B 1 8 C5000046 PAD TRAY C 1 9 C5000024 PAD UPPER 1 10 TD 3 1 11 00905756 AC ADAPTOR ACI 100C 100V 1...

Page 8: ...nnector of the external sequencer 2 While holding down DRUMKIT turn the TD 3 s power on 3 bulk duMP appears in the scroll display then ALL is displayed and DRUMKIT flashes 4 Press or button to select...

Page 9: ...still underway press the COACH and EDIT buttons simultaneously Following this the unit advances to the next test when the button is pressed press the EDIT button to enter the selected test To return...

Page 10: ...t up and a sound plays Hold down the pedal and confirm that 127 is indicated in the seven segment LED then release the pedal and confirm that 0 is indicated Fully Pressed Down fig test9 Released fig t...

Page 11: ...teps 1 through 6 press the EDIT button to advance to the next test 9 Factory Reset fig test18 1 Press the EDIT button Factory Reset begins 2 When all tests in Step 1 through 9 are finished all of the...

Page 12: ...PANEL BOARD EEPSDA EEPSCK AD AD JK3 JK4 JK5 JK6 JK7 JK5 JK6 JK7 JK8 JK9 CRASH2 IC23 IC25 IC18 IC27 MIDI IN MIDI OUT JK300 JK301 IC1 IC8 IC6 IC7 IC3 IC12 IC19 IC16 IC22 JK3 SW3 JK1 JK400 JK1 JK2 Q15 IC...

Page 13: ...14 Feb 2004 CIRCUIT BOARD MAIN fig main comp View from components side...

Page 14: ...15 TD 3 fig main foil View from foil side...

Page 15: ...6F 4 5 6 IC2A TC74VHC86F 1 2 3 IC2E TC74VHC86F 14 7 R5 NIU R10 NIU RA13 EXBV8V JV 0 1 8 2 7 3 6 4 5 R16 NIU R20 NIU R19 47 R32 100 C38 15p X1 CX 49G 7 2MHz 1 2 C28 3900p C1 0 1 C8 0 1 C6 RV2 V M R 10...

Page 16: ...4EUA 1 3 2 Q1 DTA114EUA 1 3 2 Q2 DTA114EUA 1 3 2 Q3 DTA114EUA 1 3 2 Q5 DTA114EUA 1 3 2 C75 1000p C76 1000p C77 1000p R38 100k C56 100p C57 100p C58 100p C59 100p R37 100k C50 0 1 C51 0 1 IC10E 11 10 I...

Page 17: ...37 NIU R96 1k C129 1000p IC22 TA78L05F IN 3 OUT 1 C O M 2 L38 SBCP 87221H 220uH C118 0 01 L25 C117 0 01 L26 NIU L24 JK1 HTJ 035 22D 1 2 3 C79 0 01 C80 0 01 C133 0 1 D1 RB051L 40 1 2 D2 RB051L 40 1 2 D...

Page 18: ...1 0 01 JK5 HTJ 064 10D 1 2 3 JK6 HTJ 064 10D 1 2 3 JK7 HTJ 064 10D 1 2 3 JK8 HTJ 064 10D 1 2 3 JK9 HTJ 064 10D 1 2 3 IC18F HD74LV14ATELL 13 12 IC27B HD74LV14ATELL 3 4 IC27G HD74LV14ATELL 14 7 DA8 MA14...

Page 19: ...24 Feb 2004 CIRCUIT BOARD PANEL fig panel comp View from components side...

Page 20: ...1 2 L E D 4 1 2 L E D 3 1 2 L E D 1 1 2 L E D 7 1 2 L E D 9 1 2 L E D 5 1 2 L E D 1 0 1 2 L E D 8 1 2 L E D 1 2 1 2 JK1 HTJ 064 10I 1 2 4 L E D 1 1 1 2 S W 1 1 2 S W 2 1 2 S W 3 1 2 S W 6 1 2 S W 5 1...

Reviews: