22
Saving the settings
On the TD-50X, your edits are saved automatically, so you don’t
have to perform any operation to save the settings.
Settings are also saved when you turn off the power.
Editing an Instrument (INSTRUMENT)
Here’s how to edit an individual instrumental sound such as the snare
drum or kick drum.
&
For details on the parameters that can be edited, refer to
“Reference Manual” (PDF).
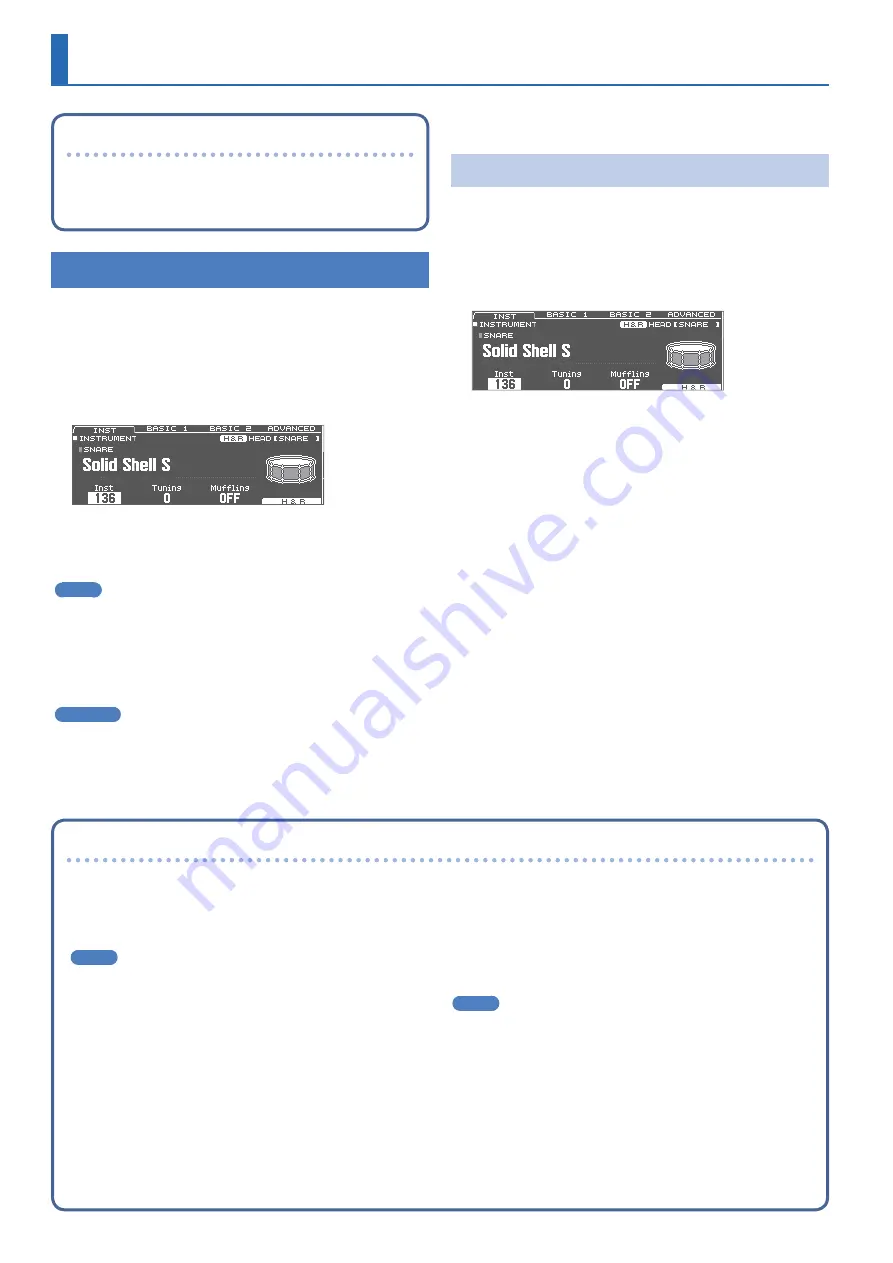
1 .
Press the [INSTRUMENT] button.
The INSTRUMENT screen appears.
2 .
Select the pad that you want to edit.
3 .
Edit the settings of the instrument.
MEMO
An audio file that you created on your computer can be loaded
from the SD card into the TD-50X, and played as an instrument
4 .
Press the [KIT] button to return to the DRUM KIT
screen.
Reference
5
In screens where the [F5] (H & R) button is shown, you can
individually edit the parameters for each different striking location,
such as the head and the rim. For details, refer to “Reference
Manual” (PDF).
5
You can layer two instruments together, or switch between them
according to the force of the strike (SUB INSTRUMENT). For details,
refer to “Reference Manual” (PDF).
Selecting an Instrument
1 .
Press the [INSTRUMENT] button.
2 .
Press the PAGE [UP] button several times to access
the INSTRUMENT screen.
3 .
Press the [F1] (INST) button.
4 .
Select the pad that you want to edit.
5 .
Turn the [R1] knob to select an instrument.
6 .
Press the [KIT] button to return to the DRUM KIT
screen.
&
For details on the instruments that you can select, refer to
“Reference Manual” (PDF).
Customizing a Kit
Choosing a pad to edit
Choosing by hitting a pad
To edit the settings for a pad, strike that pad to select it.
To select the rim of a pad, strike the rim.
MEMO
By pressing the [LOCK] button to make it light, you can prevent
the pad you’re editing from being switched. This is convenient if
you’re playing a phrase while you edit.
Choosing with the SELECT [
K
] [
J
] buttons
You can also use the SELECT [
K
] [
J
] buttons to select the pad
(trigger input number) to edit.
When using a pad that provides rim support, the [RIM] button lets
you choose whether to make settings for the head or for the rim.
When using a pad that provides three-way trigger support, this
button switches between head, rim, and bell.
The [RIM] button is lit if the rim or bell is selected.
Auditioning the sound of a pad ([PREVIEW] button)
You can press the [PREVIEW] button to hear the sound of the pad
that’s currently selected.
The volume changes depending on how strongly you press the
button. You can also fix the volume. For details, refer to “Reference
Manual” (PDF).
MEMO
By holding down the [SHIFT] button and pressing [PREVIEW],
you can also preview sounds such as the snare’s outside edge,
shallow rim shot, or closed hi-hat.


