109
Chapter 5 Playing Along with Patterns
Chapter 5
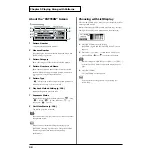
If all of the patterns have been used, this can’t be selected.
Refer to “Deleting a Pattern [DELETE]” (p. 116) and delete
an unwanted pattern before you record.
2.
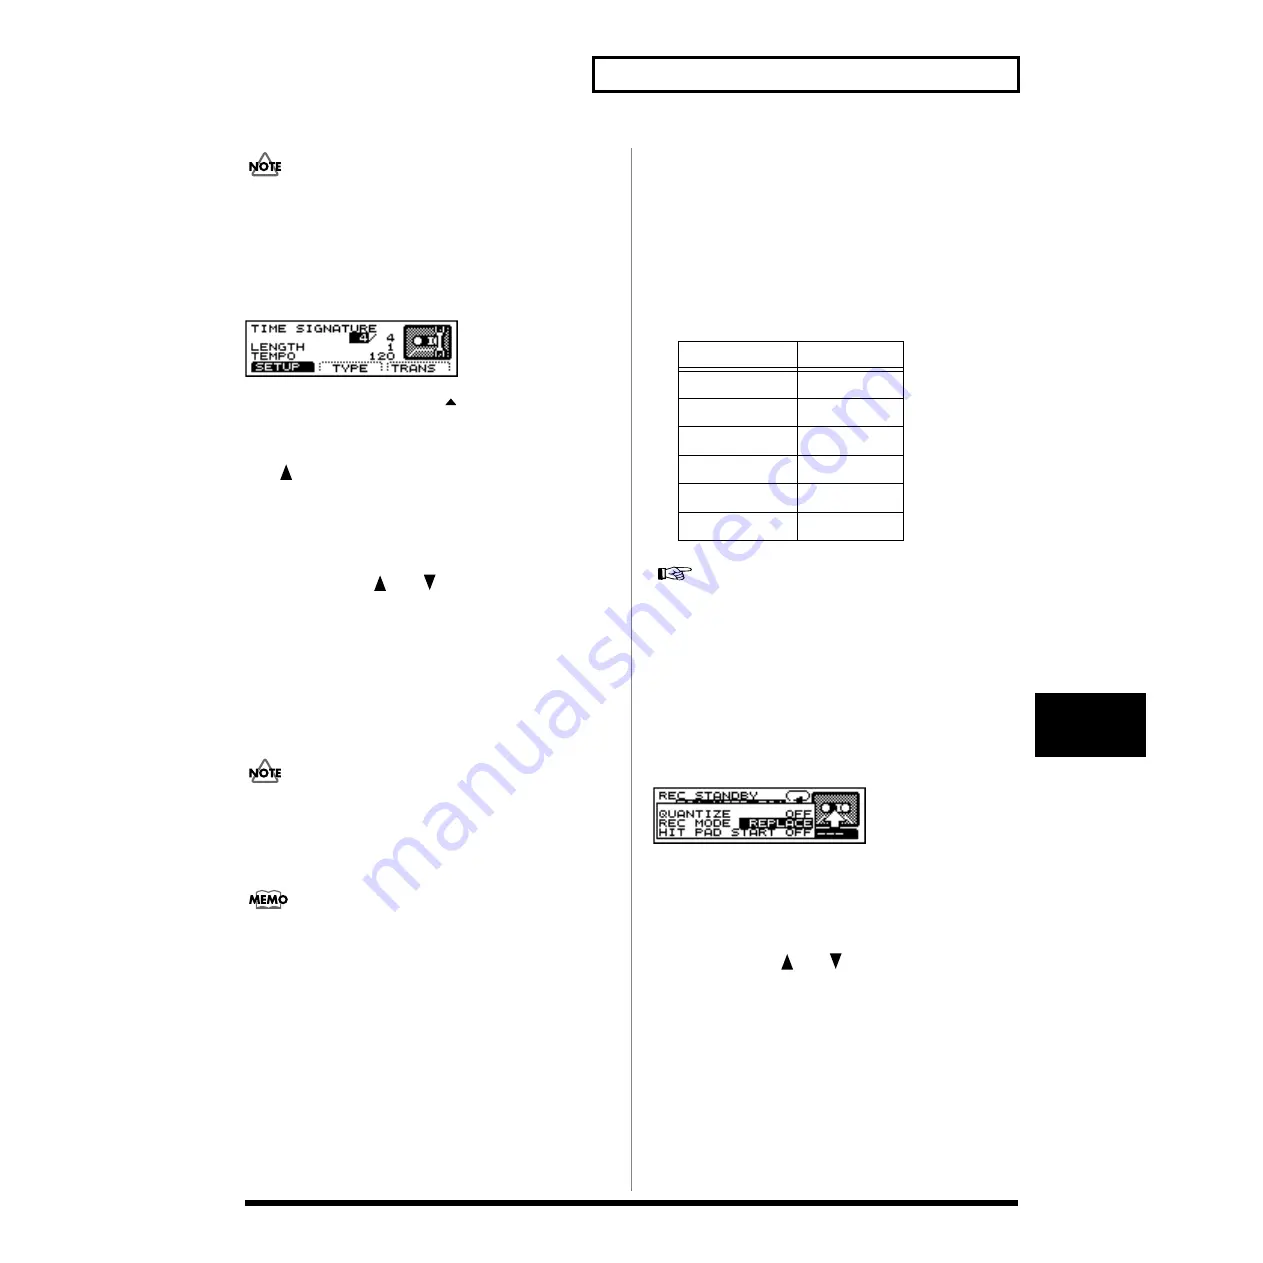
Set the time signature, the number
of measures, and the tempo
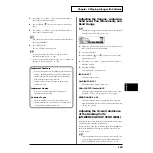
fig.06-034
1.
Press [PATTERN], then [F3 (
MENU)].
[PATTERN] lights, and a pop-up menu appears.
2.
Press [DEC/-], rotate the VALUE dial, or press CURSOR
[
] to move the cursor to “FUNC.”
3.
Press [F3] to confirm your choice.
4.
Press [F1 (SETUP)].
The “PATTERN SETUP” screen appears.
5.
Press CURSOR [
] or [
] to move the cursor to the
parameter to be set.
6.
Press [INC/+] or [DEC/-] or rotate the VALUE dial to
make the setting.
TIME SIGNATURE:
Numerator = 1–13,
Denominator = 2, 4, 8, 16
When the denominator is 16, you cannot set a numerator of
from 1 through 3. Also, with a denominator of 8, a numerator
of 1 cannot be set.
LENGTH: 1–99
If you are using Replace recording (p. 109), it is not
necessary to specify the Length. Recording will continue
until you press [PLAY/STOP], and the number of
measures recorded will automatically become the
“LENGTH” setting.
TEMPO: 20–260
If you are recording from the pads, disregard
paragraphs 3 and 4 of this section.
3.
Select a MIDI channel
Be sure that the transmit channel on your keyboard
corresponds to the MIDI channel of the part you wish to
record.
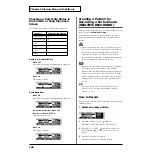
Each of the 4 parts has it’s own MIDI channel. The
factory preset channels are as follows:
You can change the MIDI channel by pressing [SETUP], then
[F2 (MIDI)]. For more detailed information on this procedure,
refer to “Setting the MIDI Channel for a Part” (p. 154).
4.
Select an instrument
5.
Specify the recording method
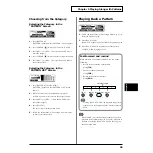
fig.06-035
1.
Press [PATTERN], then [REC].
[REC] lights, and [PLAY/STOP] flashes.
The “REC STANDBY” appears, and the click sound
begins to play.
2.
Press CURSOR [
] or [
] to move the cursor to “REC
MODE.”
3.
Press [INC/+] or [DEC/-] or rotate the VALUE dial to
specify the recording method.
REC MODE: LOOP ALL, LOOP 1, LOOP 2,
REPLACE
part
MIDI channel
drum kit part
CH10
percussion part
CH10
part 1
CH1
part 2
CH2
part 3
CH3
part 4
CH4
Summary of Contents for V-Drums TD-8
Page 24: ...24 ...
Page 25: ...25 Quick Start Quick Start ...
Page 76: ...76 ...
Page 77: ...77 Advanced Use Advanced Use ...
Page 164: ...164 ...
Page 165: ...165 Appendices Appendices ...
Page 178: ...178 ...


