2
M-200i Remote Setup Guide
Wired Connection using the DOCK cable
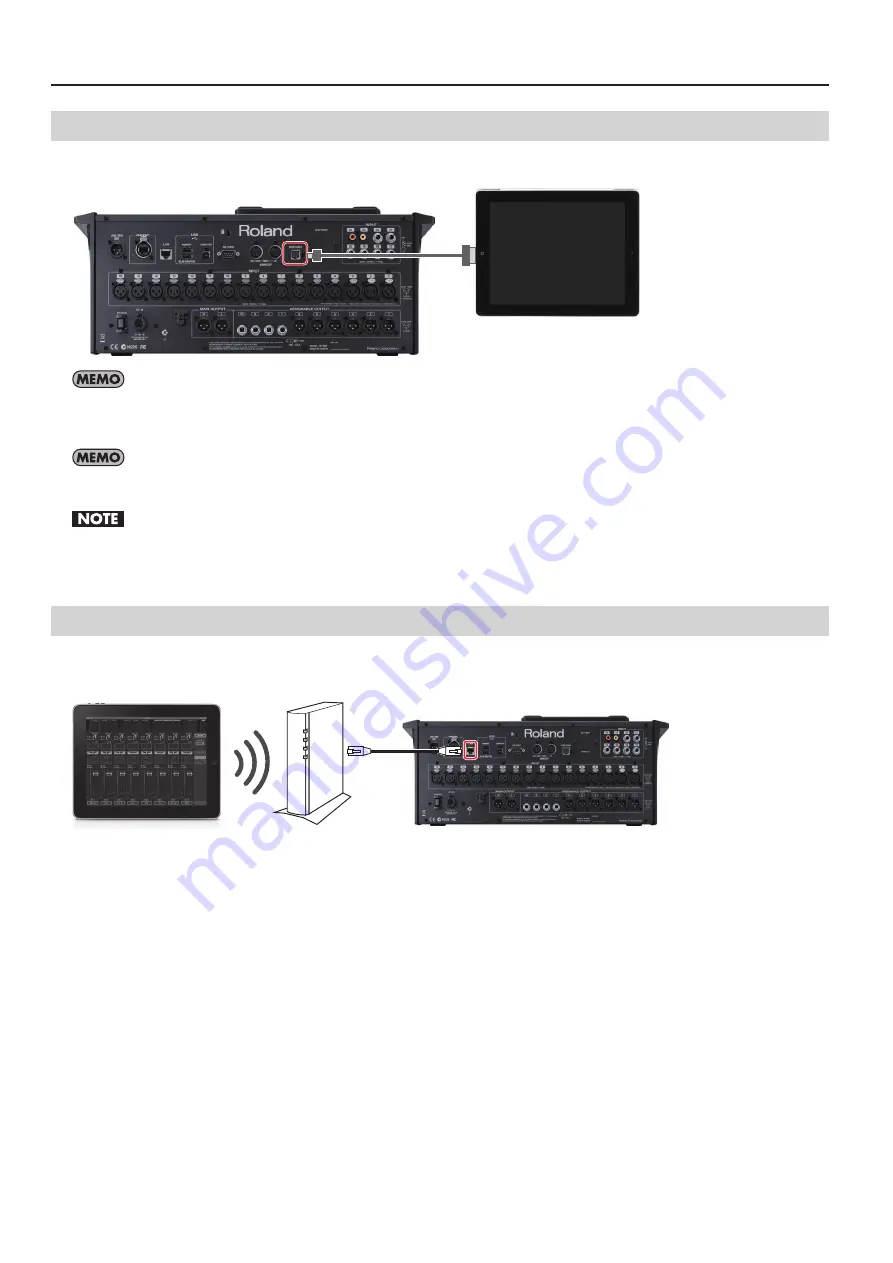
Use the accessory dock cable to connect the M-200i’s DOCK CABLE connector and the iPad’s Dock connector.
fig.dock-cable-connection.eps
The accessory DOCK cable is for the 30 pin Dock connector. If you are connecting the iPad equipped with such connector (1st, 2nd and 3rd
generation), use the accessory cable. If your iPad is equipped with Lightning connector (4th Generation or iPad mini), use the Lightning - 30 pin
conversion cable.
Stable communication is possible using the DOCK cable. Further, the cable is capable of the power supply to the connected iPad. You can carry out
the remote control operations without concerning the battery life.
When connection is made using the DOCK cable, operation sounds of iPad are sent to the M-200i depending on the patchbay setting.
The remote control application “M-200i Remote” produces the operation sounds while you are setting the clock or editing names using the software
keyboard. To turn off the operation sounds of the iPad, go to [Settings] and select [Sounds]. Then turn off [Lock Sounds] and [Keyboard Clicks].
Wired to WirelessConnection using a LAN Cable and Wireless LAN Access Point
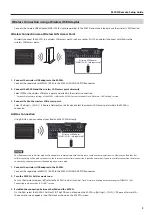
Connect the M-200i to the wireless LAN access point (e.g., wireless LAN router) using LAN cable first. Then wirelessly connect the
iPad and the wireless LAN access point.
fig.wired-connect-router.eps
1. Connect the M-200i with the wireless LAN access point
Use LAN cable to connect the M-200i’s LAN connector and the wireless LAN access point.
2. Connect iPad to the wireless LAN access point
Select [Settings] > [Wi-Fi] > [Choose a Network] on the iPad and select the wireless LAN access point where the M-200i is
connected.


