2-25
LEF2-300
2
Adjustment
Print Head Alignment
8.
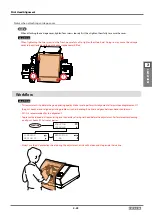
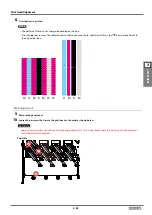
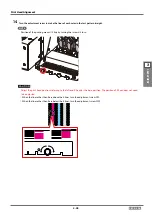
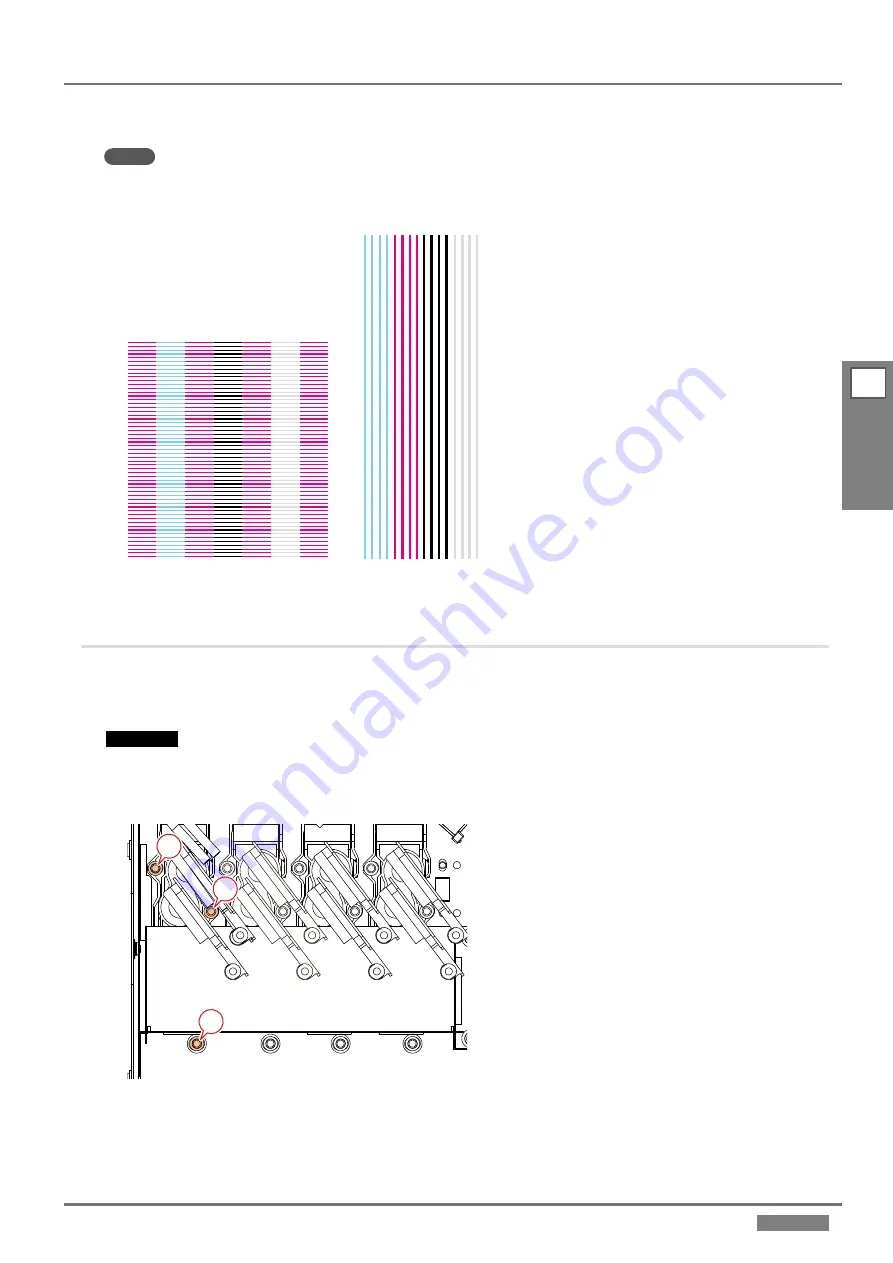
A test pattern is printed.
NOTE
•
The pattern of the test print changes depending on ink type.
•
Press the [
] key to move the table forward so that you can see the test pattern well. Press the [
] key to move it back to
the original position.
M
W
K
M
G
M
M
W
M K
G
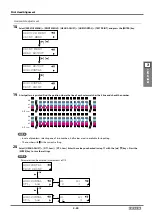
BIAS Adjustment
9.
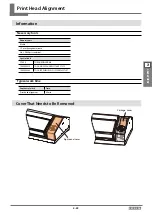
Remove the panel cover.
10.
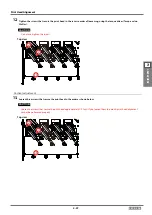
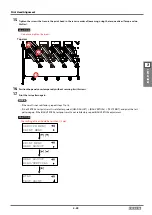
Loosen three screws that secure the print head in the order as shown below.
CAUTION
Loosen the screws that secure the print head approximately 1/2 turn. If you loosen them too much, print head alignment
cannot be performed properly.
Top view
2
1
3

