2-29
LEF2-300
2
Adjustment
Print Head Alignment
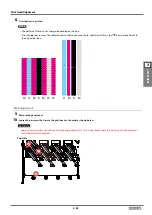
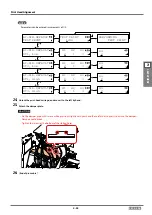
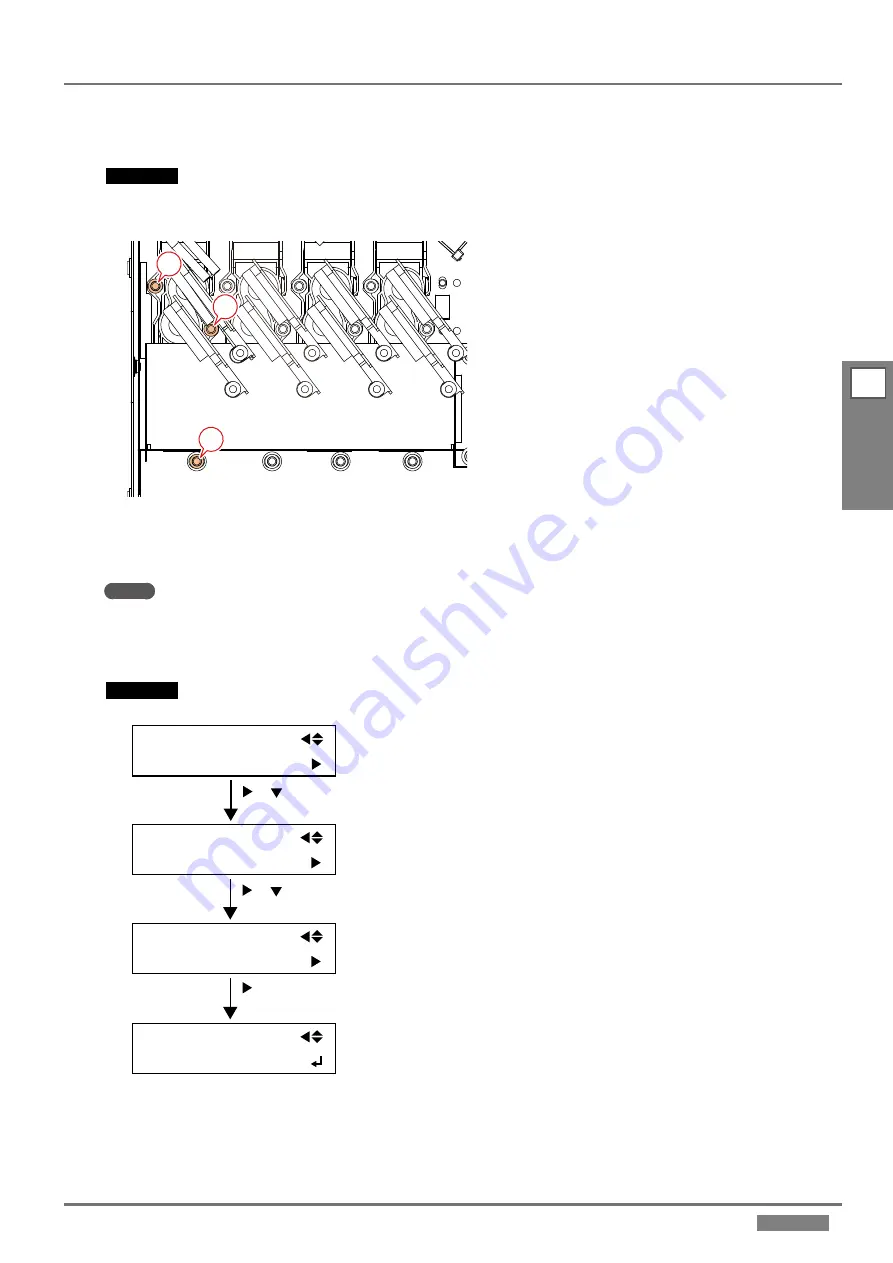
15.
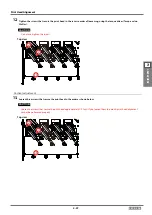
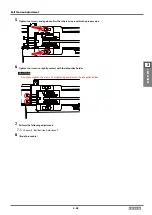
Tighten the screws that secure the print head in the reverse order of loosening, using the torque driver (Torque value:
20cN·m).
CAUTION
Do not overtighten the screws.
Top view
2
3
1
16.
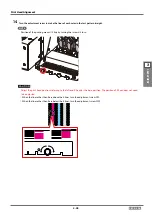
Position the panel cover temporarily without securing it with screws.
17.
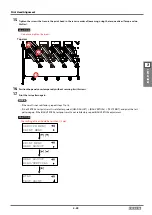
Print the test pattern again.
NOTE
•
If the result is not satisfactory, repeat steps 7 to 16.
•
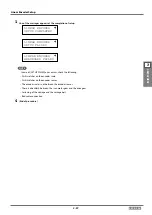
If the VERTICAL test print result is satisfactory, select [HEAD ADJUST] > [BIAS/VERTICAL] > [TEST PRINT], and print the test
pattern again. If the BIAS/VERTICAL test print result is not satisfactory, repeat BIAS/VERTICAL adjustment.
CAUTION
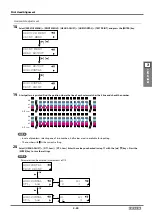
The shifting of lines should be less than 1/2 dot.
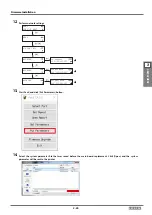
PRINT MENU
HEAD ADJUST
HEAD ADJUST
BIAS/VERTICAL
BIAS
TEST PRINT
[ ]
[ ]
SERVICE MENU
PRINT MENU
[ ] [ ]
[ ]


