Audio Operations
38
Hearing Only Specific Input Audio
(Solo/Mute)
You can temporarily monitor specific input audio via headphones
(Solo feature). You can also temporarily silence specific input audio
(Mute feature).
MEMO
The Solo feature affects output to headphones. It has no effect
on non-headphones audio output.
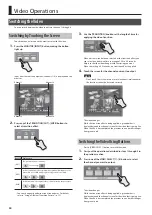
1.
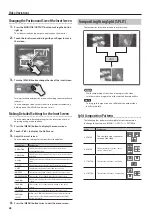
Press the [SETUP] button for the input audio on which you
want to set Mute or Solo.
The setup screen is displayed.
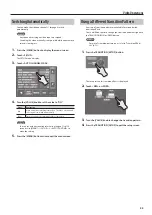
2.
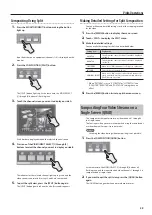
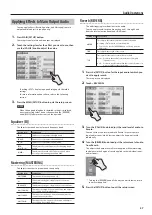
Touch <SOLO> or <MUTE> to switch the feature on or off.
Each touch switches the feature on or off.
Setting item Explanation
SOLO
When this is on, the <SOLO> indicator changes to blue. You
can hear just the input audio for which this is turned on
through the headphones.
MUTE
When this is on, the <MUTE> indicator changes to red. The
input audio for which this is turned on is muted out.
3.
Press the [SETUP] button to quit the setup screen.
Turning Off Solo/Mute Globally
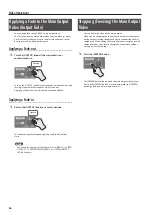
1.
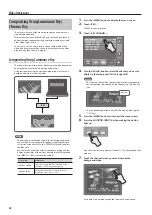
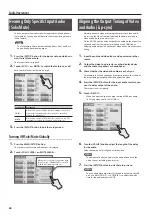
Press the MAIN [SETUP] button.
The setup screen for main audio output is displayed.
2.
Touch <SOLO CLEAR> or <MUTE CLEAR>.
When all Solo or Mute settings have been
turned off, the <SOLO CLEAR> or <MUTE
CLEAR> indication is grayed out.
Aligning the Output Timing of Video
and Audio (Lip-sync)
Normally, because video processing takes more time than audio
processing, the video is output later than the audio, resulting in
video and audio that are out of sync.
On the VR-3EX, you can delay output of the audio on the respective
channels and from the internal microphones and HDMI input.
Delaying audio output lets you output video and audio at the same
timing.
1.
Input the audio and video from a video camera or other
source.
2.
Output the video to a projector or other display device
and the audio to speakers or headphones.
3.
Check whether the video and audio are out of sync.
For example, in a scene showing a drum performance, the sound of
the drums being hit might be heard ahead of the video.
4.
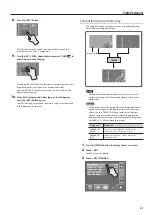
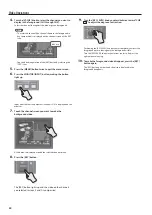
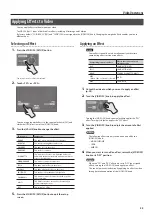
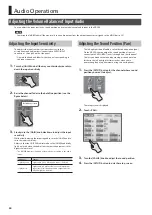
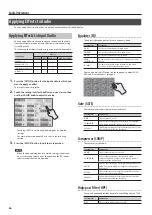
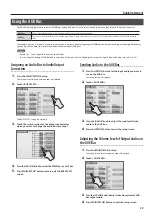
Press the [SETUP] button for the input audio to which you
want to delay output of the audio.
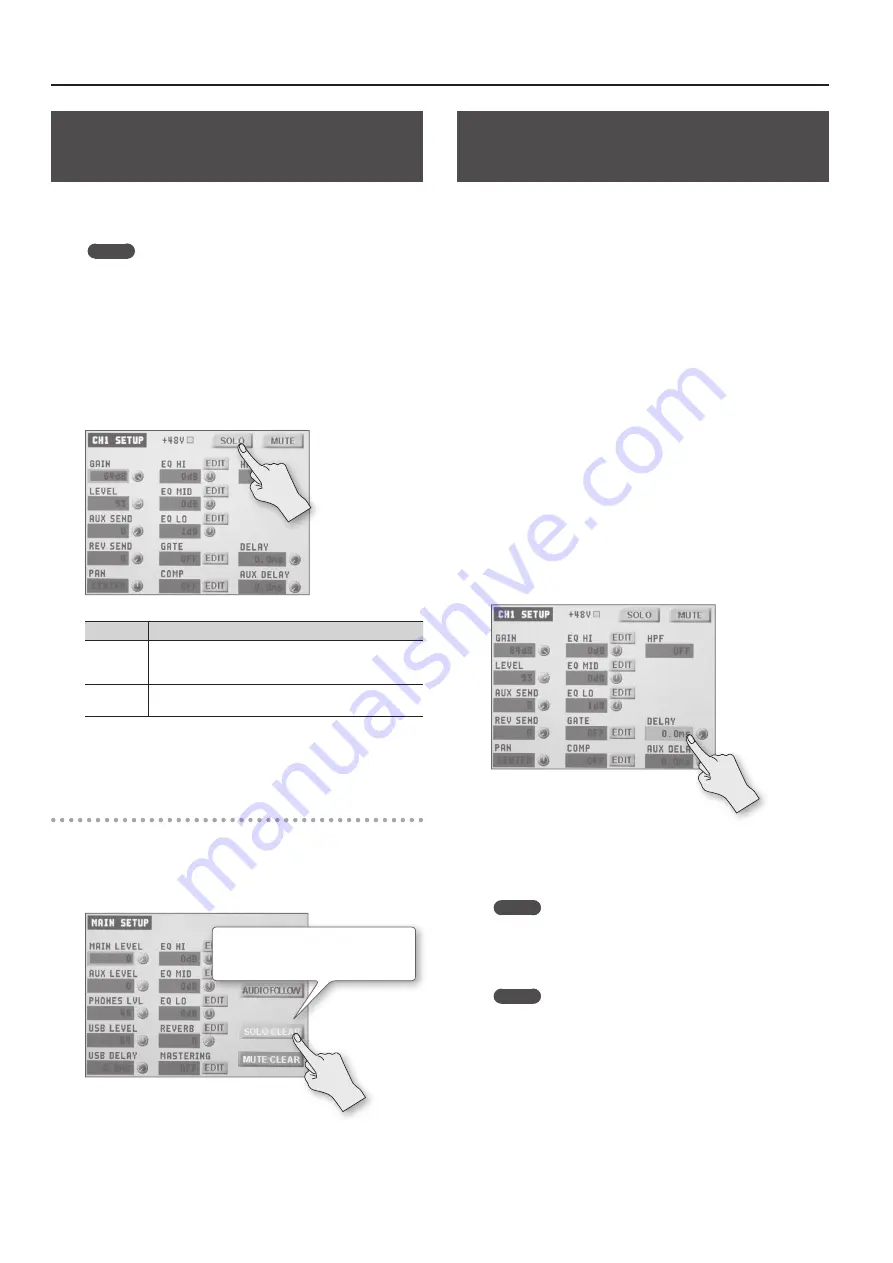
The setup screen is displayed
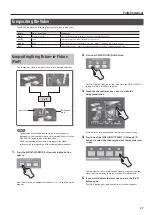
5.
Touch <DELAY>.
•
When you want to align the output timing of AUX bus audio
(p. 39) and video, touch <AUX DELAY>.
6.
Turn the [VALUE] knob to adjust the length of the delay
for the audio.
Delay the audio until it is aligned with the video.
MEMO
The amount of delay you apply to the audio depends on the
entire system, including the projector.
7.
Press the [SETUP] button to quit the setup screen.
MEMO
You can also delay output just for the audio output via the USB
port. Use MAIN [SETUP]
g
<USB DELAY> to adjust the delay
time for the audio output via USB.

