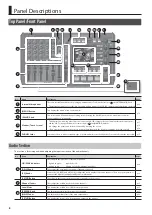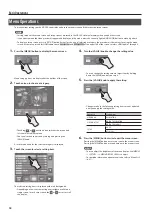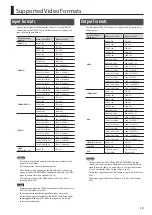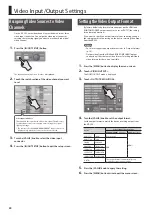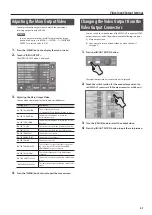
Panel Descriptions
9
No.
Name
Explanation
Page
9
[HDMI] Knob
This adjusts the volume level of HDMI audio (embedded audio).
[SETUP] Button
This displays the setup screen for HDMI audio on the monitor.
-
10
[USB LEVEL] Knob
This adjusts the volume level of audio output via USB.
11
[INTERNAL MIC] Knob
This adjusts the volume level of the internal microphones.
[SETUP] Button
This displays the setup screen for the internal microphones on the monitor.
-
12
[PHONES] Knob
This adjusts the volume of headphones connected to the PHONES jacks.
-
Video Section
This section is for making picture transitions, compositing video, and making effect settings.
No.
Name
Explanation
Page
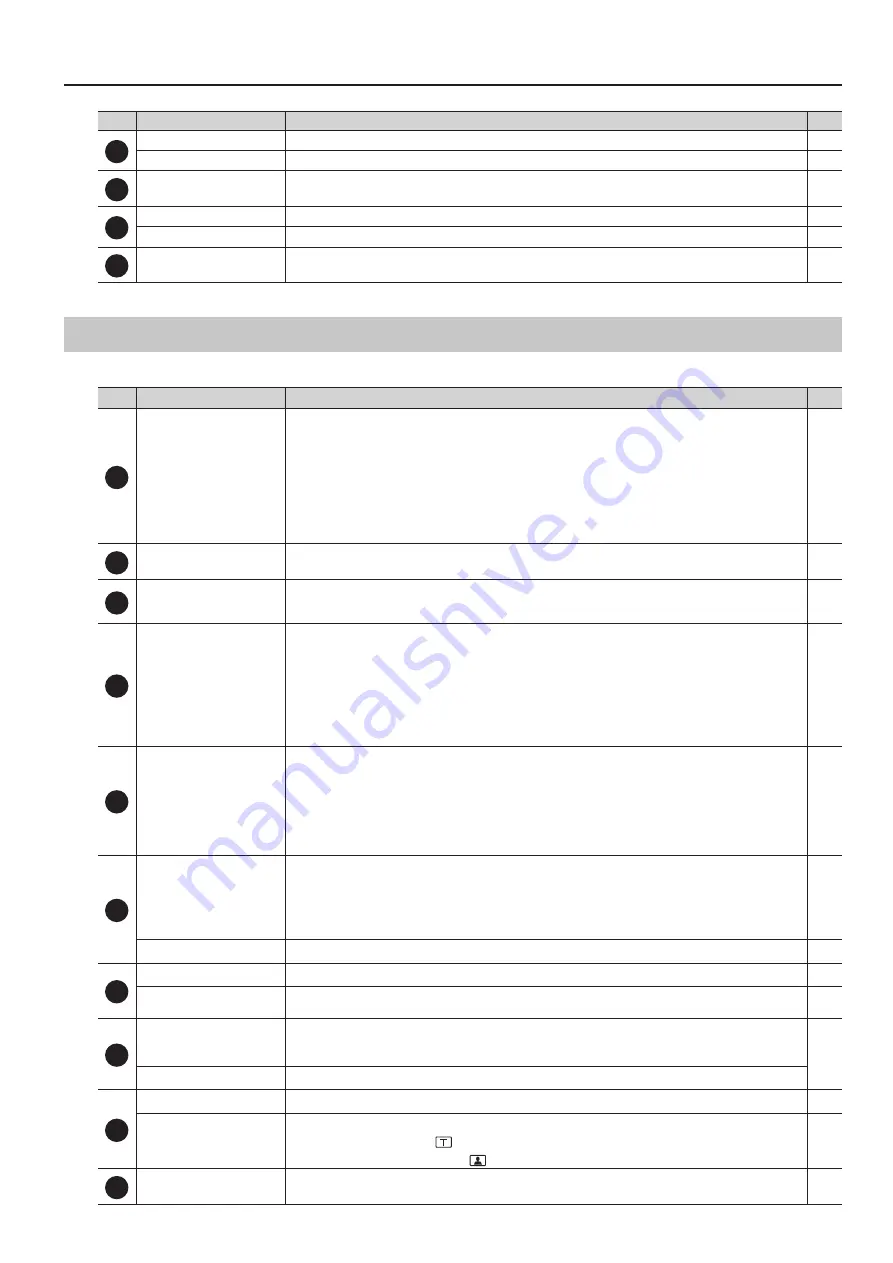
13
[MONITOR] Buttons
You use the [INPUT], [OUTPUT], and [IN+OUT] buttons to switch the view mode for the monitor.
•
[INPUT] Button (Input Mode)
This displays the input video from the respective source devices as a four-way split screen. You change the picture by
touching the screen.
•
[OUTPUT] Button (Input Mode)
This displays the results of video mixing (main output video). You also use it to adjust the location and size of the
inset screen for Picture-in-Picture.
•
[IN + OUT] Button (In/Out Mode)
This displays the currently output video overlaid on the four-way split screen of input video.
14
HDCP Indicator
This lights up, flashes, or goes dark according to the VR-3EX’s “HDCP” setting and the connected status of HDCP-
compatible equipment.
15
[IN/OUT SETUP] Button
This displays the input/output setup screen for video on the monitor. You use it to set the video input connectors
assigned to the respective video channels. You also use it to specify which video signals are output from the video
output connectors
16
[TRANSITION] Buttons
You use the [CUT], [MIX], and [WIPE] buttons to select video transition effects.
•
[CUT] Button
The picture switches instantly.
•
[MIX] Button
In this transition, as the original picture gradually disappears, the next video is overlaid and progressively grows
more visible.
•
[WIPE] Button
In this transition, the original video is broken into by the next video.
17
[COMPOSITION] Buttons
You use the [PinP], [SPLIT], and [QUAD] buttons to select video composition effects.
•
[PinP] Button
This composites video in an inset screen over a background video.
•
[SPLIT] Button
This composites two video streams in a split screen.
•
[QUAD] Button
This composites the input pictures on video channels 1 through 4 in a single screen.
18
[OUTPUT] Knob
This performs a fade-in or fade-out for the main output video. Turning the control clockwise applies a white fade.
Turning it counterclockwise applies a black fade.
The indicator above the [OUTPUT] knob shows the status of the fade.
•
Flashing: Fade-in/fade-out in progress
•
Lighted: Normal output
[FREEZE] Button
This stops (freezes) the current output video. The [FREEZE] button lights up during a freeze.
19
[TRANSITION] Knob
This sets the video transition time (in seconds).
[SETUP] Button
This displays the setup screen for transition effects on the monitor. You use it to specify the transition effects to the
[MIX] button and the [WIPE] button.
20
[VIDEO FX] Knob
This turns the effect applied to the output video on and off. Turning the control clockwise or counterclockwise turns
on the effect assigned to the respective direction. When the control is centered, effects are set to “off.”
Also, depending on effect type, this control adjusts the degree of effect applied or changes the setting value.
[SETUP] Button
This displays the setup screen for effects on the monitor. You use it to specify the effects assigned to the [VIDEO FX] knob.
21
[KEY] Button
This switches key composition on or off. When on, the [KEY] button lights up.
[KEY LEVEL] Knob
This adjusts the amount of keying for key composition.
•
Turning the control clockwise (
) performs luminance-key composition.
•
Turning the control counterclockwise (
) performs chroma-key composition.
22
[VIDEO SELECT] buttons
You use these buttons to switch the video.


