17
Basic Operations
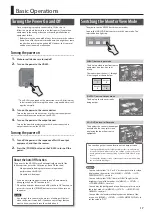
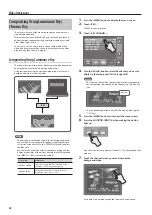
Turning the Power On and Off
Once everything is properly connected (p. 14), be sure to
follow the procedure below to turn on their power. If you turn on
equipment in the wrong order, you risk causing malfunction or
equipment failure.
* Before turning the unit on/off, always be sure to turn the volume
down. Even with the volume turned down, you might hear some
sound when switching the unit on/off. However, this is normal
and does not indicate a malfunction.
Turning the power on
1.
Make sure all devices are turned off.
2.
Turn on the power to the VR-3EX.
* The VR-3EX is equipped with a protection circuit. A brief interval
(a few seconds) after turning the unit on is required before it will
operate normally.
3.
Turn on the power to the source devices.
Turn on the power to video cameras or other source equipment
connected to input connectors on the VR-3EX.
4.
Turn on the power to the output devices.
Turn on the power to projectors or other devices connected to
output connectors on the VR-3EX.
Turning the power off
1.
Turn off the power in the sequence of first the output
equipment, and then the sources.
2.
Press the [POWER] button on the VR-3EX to turn off the
power.
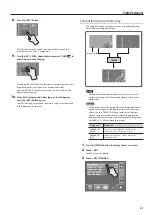
About the Auto Off function
The power to the VR-3EX turns off automatically when all of the
following states persist for 240 minutes (Auto Off function).
•
No operation (including remote-control operation)
performed on the VR-3EX
•
No audio or video input
* If you do not want the power to be turned off automatically,
disengage the Auto Off function (p. 44).
* When the power has been turned off by the Auto Off function, to
restart, first press the [POWER] button to return it, then turn on
the power.
NOTE
Any settings that you are in the process of editing will be lost
when the power is turned off. If you have any settings that you
want to keep, you should save them beforehand.
Switching the Monitor View Mode
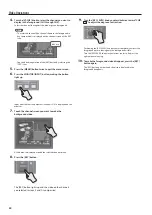
The monitor on the VR-3EX has three view modes.
You use the [MONITOR] buttons to switch the view mode. The
selected button lights up.
[INPUT] button: Input mode
This displays video input from source
equipment on a four-way split
screen.
The input video (channels 1 through
4) is arranged as shown below.
Channel
1
Channel
2
Channel
3
Channel
4
[OUTPUT] button: Output mode
This displays the video currently
being output.
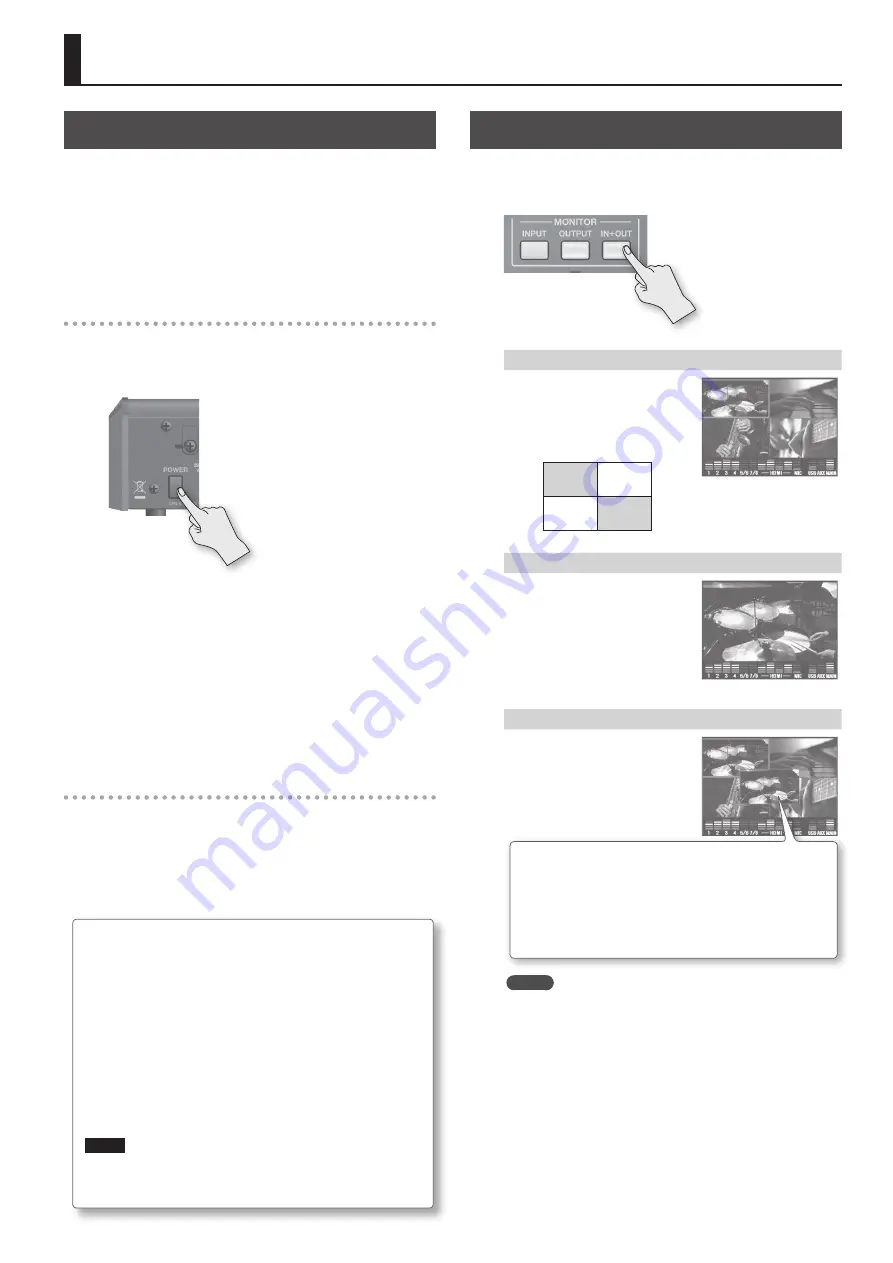
[IN + OUT] button: In/Out mode
This displays the current video output
overlaid on a four-way split screen
displaying the input from source
equipment.
MEMO
•
You can select either “16:9” or “4:3” as the aspect ratio for video
displayed on the monitor. Use [MENU]
g
<SETUP>
g
<LCD
PREVIEW ASPECT> to select.
•
You can select either “LOW” (dark) or “HIGH” (bright) as the
brightness level of the monitor. Use [MENU]
g
<SETUP>
g
<LCD BRIGHTNESS> to select.
•
You can dim the background screen (four-way split screen) in
the in/out mode. Use [MENU]
g
<SETUP>
g
<BCKGRD LEV-
OVERLAY> to adjust.
•
You can hide the level meter displayed at the bottom of the
screen. Use [MENU]
g
<SETUP>
g
<LEVEL METER DISPLAY> to
set the value to “OFF.”
You can change the size and location of the output screen.
•
Turning the [VALUE] knob clockwise enlarges the size, and turning
it counterclockwise reduces it. You can enlarge or reduce the screen
size in greater increments by holding down the [VALUE] knob as you
turn it.
•
To change the display location of the output screen, touch and drag
the screen with your finger.


