32
Live Streaming
Outputting Video/Audio to a Computer for Streaming
Here’s how the video and audio mixed by this unit can be output to a connected computer. By using an internet-connected computer with
streaming software, you can distribute content as a live internet stream.
* In order for the audio and video from this unit to be correctly viewed on the computer, software that supports the USB video class and USB audio
class must be installed on the computer.
* For the latest operating requirements, refer to the Roland website (
https://proav.roland.com/
).
1
Turn on the power to this unit.
2
Start the computer.
3
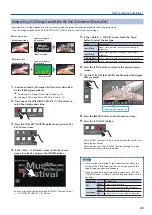
Using a USB 3.0 cable, connect a USB 3.0 port on the
computer to the USB STREAM port on this unit.
When communication with the computer has been established,
the computer recognizes this unit as a USB video device and USB
audio device.
* The first time that this unit is connected to the computer, the
standard drivers of the operating system are installed automatically.
4
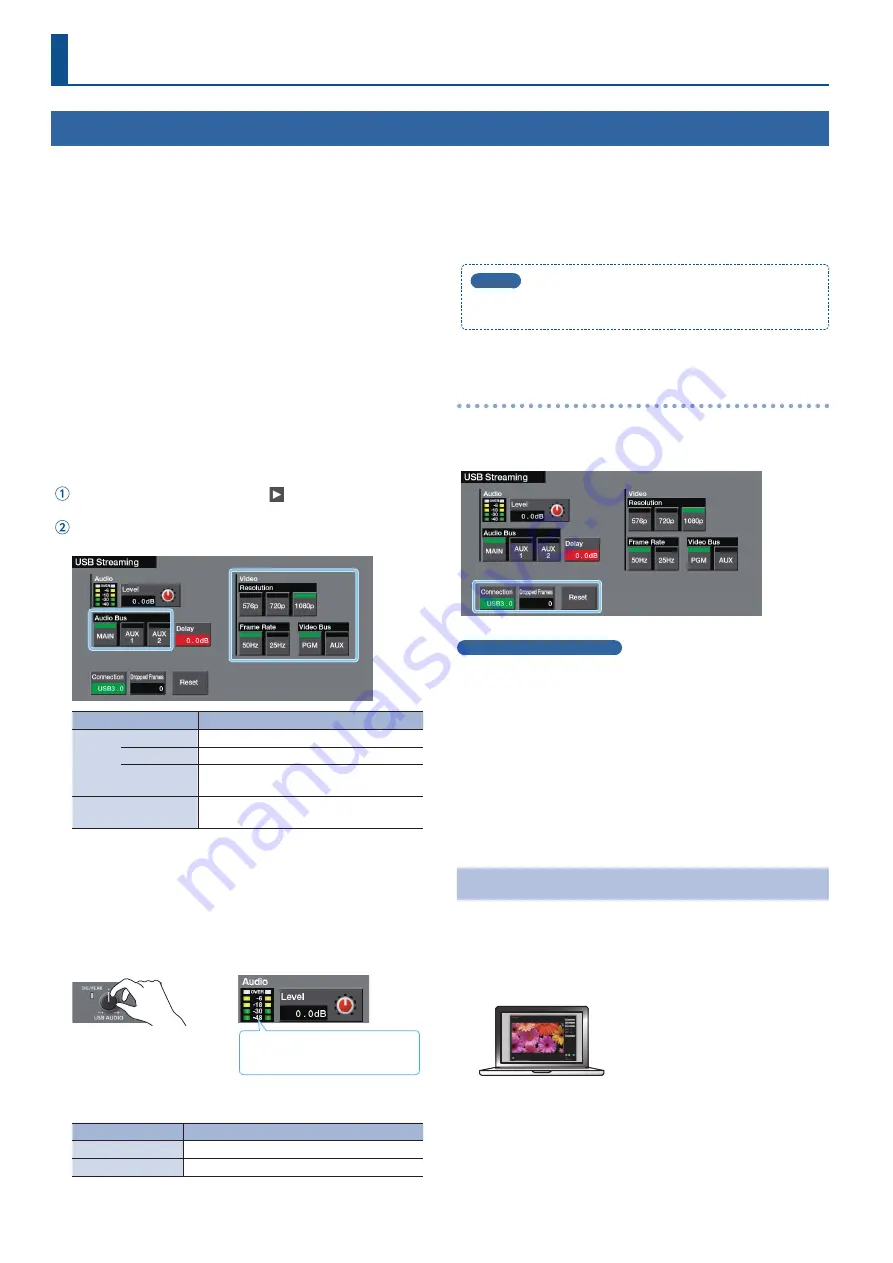
Make settings for the video/audio that will be output via
USB.
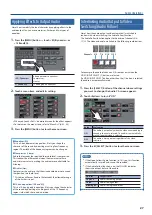
Press the [MENU] button
0
touch < >
0
System <USB
Streaming>.
Touch a menu item to select it, and item and make video/audio
settings.
Menu item
Explanation
Video
Resolution
Specifies the output format.
Frame Rate
Specifies the frame rate.
Video Bus
Specify the video bus (p. 12) that you want
to assign to the USB Streaming port.
Audio
Audio Bus
Specify the audio bus (p. 29) that you want
to assign to the USB Streaming port.
5
Operate this unit to output video/audio to your computer.
6
On your computer, verify the input from this unit.
Start software that supports the USB video class and audio class,
and verify the video and audio that are being input from this unit.
7
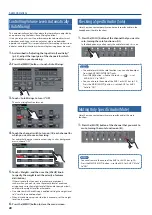
Use the [USB AUDIO] knob to adjust the volume of the
USB output.
The volume is appropriate when
the yellow indicator lights.
According to the audio bus assignment, the following volume is
adjusted.
“Audio Bus” setting Explanation
MAIN
Volume of the main output
AUX 1, AUX 2
Volume of the AUX 1 or AUX 2 bus
8
Press the [MENU] button to close the menu screen.
MEMO
If there is a timing discrepancy between the video and the audio,
use “Delay” to adjust the delay time for the USB output audio.
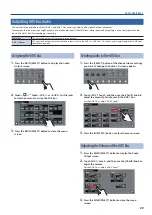
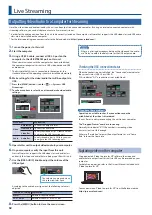
Checking the USB connection status
When the connection is established, the “Connection” area indicates
the current status (USB 2.0 or USB 3.0).
If this indicates “NC,” a connection is not established.
If you have these problems
Operation is unstable, such as if a connection cannot be
established, or the video is disordered
Touch <Reset> and try reconnecting this unit to your computer.
The “Dropped Frames” number is increasing
Normally this indicates “0.” If the number is increasing, video
transmission is not fast enough.
Either use “Resolution” to lower the output format, or use “Frame
Rate” to lower the frame rate.
Capturing video on the computer
Using dedicated “Video Capture for VR” software, the video and
audio that are output from this unit via USB can be recorded on your
computer.
For details on operation, refer to the Owner’s Manual included with
“Video Capture for VR.”
You can download “Video Capture for VR” from the Roland website.
https://proav.roland.com/

