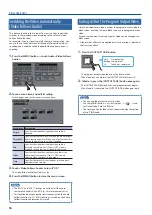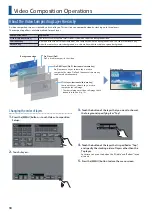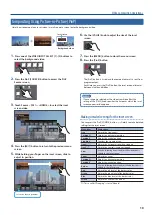
4
Panel Descriptions
Top Panel
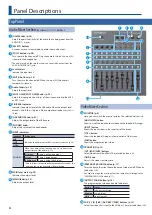
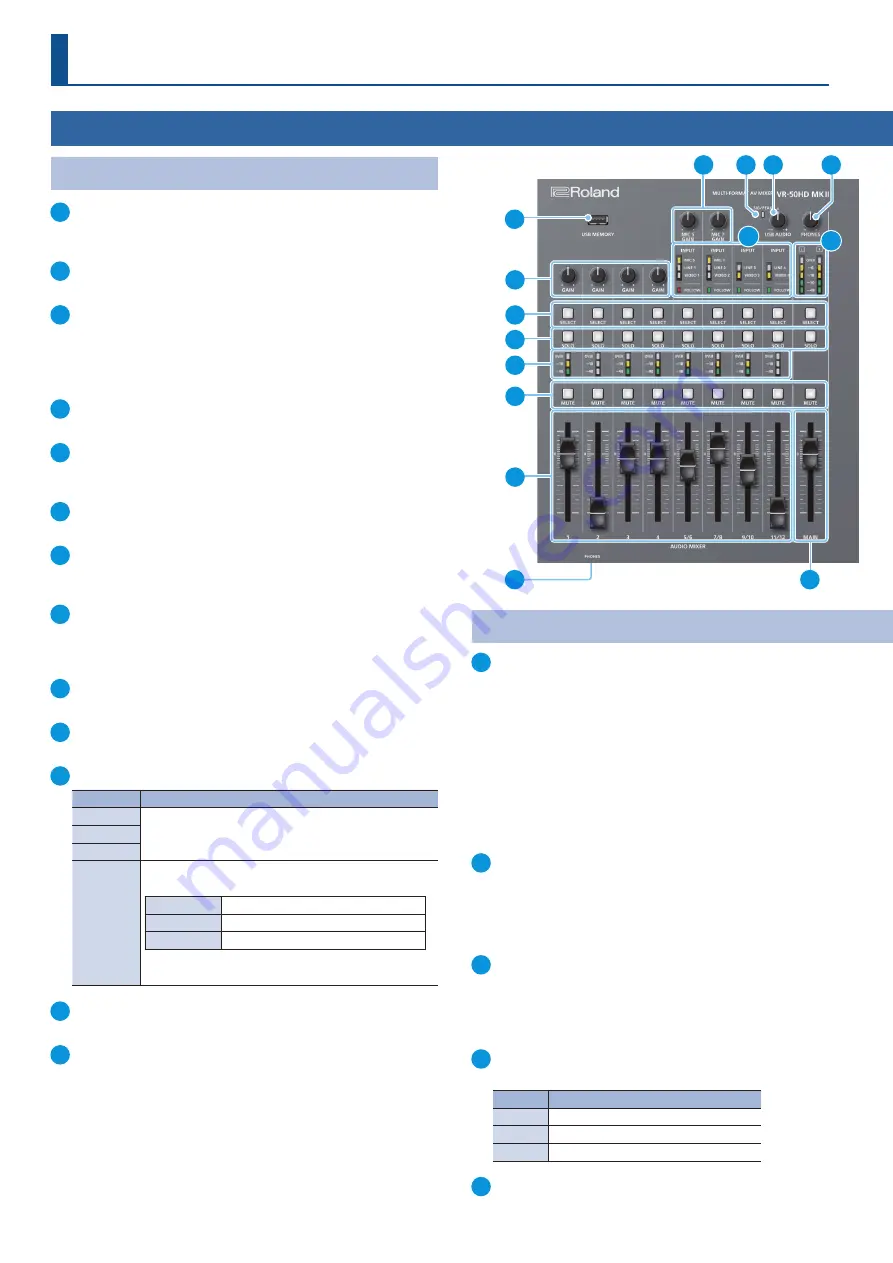
Audio Mixer Section
(Input channels 1–11/12, MAIN bus)
1
[GAIN] knobs (p. 24)
Adjust the gain (sensitivity) of the audio that is being input from the
AUDIO IN 1–4 jacks.
2
[SELECT] buttons
Accesses a menu screen related to audio input and output.
3
[SOLO] buttons (p. 28)
Turn the solo function on/off. Only the audio for which this is on (lit)
is heard in the headphones.
* The audio for which the solo function is on can also be output from the
AUX 2/MONITOR OUT jacks.
4
Level meters
Indicate the input level.
5
[MUTE] buttons (p. 28)
Turn the mute function on/off. When this is on (lit), the audio is
temporarily silenced.
6
Adjust the input level.
7
[MIC 5 GAIN] [MIC 7 GAIN] knobs (p. 24)
Adjust the input gain (sensitivity) of the mic connected to the MIC 5
or MIC 7 jack.
8
SIG/PEAK indicator
Indicates the output level of the USB audio. When the output level
exceeds -48 dB, this is lit green. When output overload occurs, this is
lit red.
9
[USB AUDIO] knob (p. 32)
Adjusts the output level of the USB audio.
10
[PHONES] knob
Adjusts the volume of the headphones.
11
INPUT indicators
Indicator
Explanation
MIC
Indicates the audio source that is currently selected (p. 24).
LINE
VIDEO
FOLLOW
When the Audio Follow function is on, this indicates the
output status of the audio (p. 27).
Lit green
Audio is not being output.
Lit red
Audio is being output.
Blinking red
Audio is being faded-in/out.
* Audio follow is a function that automatically switches the
audio output in tandem with video switching.
12
MAIN level meter (p. 25)
Indicates the output level.
13
Adjusts the output level.
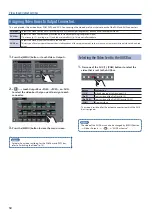
Video Mixer Section
14
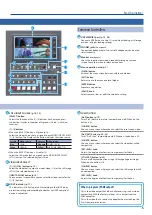
MONITOR (p. 8)
Here you can switch the monitor display. The selected button is lit.
[MULTI-VIEW] button
Shows a list of the input/output video and the loaded still images.
[INPUT] button
Shows the input videos in four quarters of the screen.
[STILL] button
Shows the loaded still images in four quarters of the screen.
[PGM] button
Shows the program output video.
15
[CUT] [MIX] [WIPE] buttons
Select video transition effects. The selected button is lit.
[TIME] knob
Adjusts the video transition time.
16
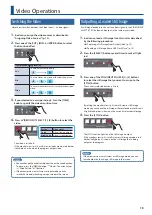
[FREEZE/USER LOGO] button (p. 17)
Turns the freeze function (freeze the output video) on/off. When on,
the button is lit.
* You can also assign the user logo function (output a still image) to the
[FREEZE/USER LOGO] button (p. 17).
17
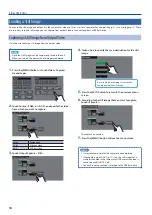
[OUTPUT FADE] button (p. 16)
The program output video and audio fade-in/out.
Button
Status
Lit
Fade-out completed
Blinking
Fading-in/out
Unlit
Normal output
18
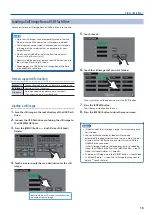
AUX [1]–[4] [PinP] [PinP/KEY] [PGM] buttons (p. 12)
Select the video that is sent to the AUX bus. The selected button is lit.
1
2
3
4
5
6
7
8
9
10
11
12
13
23
24

