7
Basic Operations
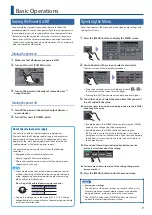
Turning the Power On/Off
Once everything is properly connected, be sure to follow the
procedure below to turn on their power. If you turn on equipment in
the wrong order, you risk causing malfunction or equipment failure.
* Before turning the unit on/off, always be sure to turn the volume
down. Even with the volume turned down, you might hear some
sound when switching the unit on/off. However, this is normal and
does not indicate a malfunction.
Turning the power on
1
Make sure that all devices are powered-off.
2
Turn on this unit’s [POWER] switch.
3
Turn on the power in the order of source devices
0
output devices.
Turning the power off
1
Turn off the power in the order of output devices
0
source devices.
2
Turn off this unit’s [POWER] switch.
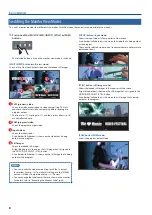
Operating the Menu
Here’s how to access the menu, and make video/audio settings and
settings for this unit.
1
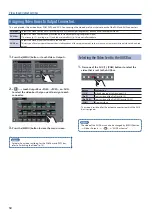
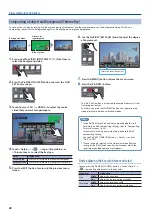
Press the [MENU] button to display the MENU screen.
2
Touch a button in the screen to select a menu item.
The menu screen of the selected item appears.
5
If the screen extends across multiple pages, touch
or
in
the lower part of the screen to switch pages.
5
Pressing the [EXIT] button moves you back one level higher.
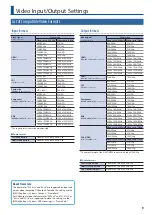
3
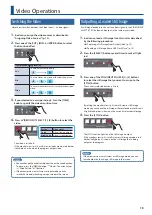
Touch the screen to select the menu item that you want
to edit, and edit the value.
7
For menu items shown with a red background, use the [VALUE]
knob to edit the value.
5
By holding down the [ENTER] button and turning the [VALUE]
knob, you can change the value more greatly.
5
By holding down the [ENTER] button and pressing the
[EXIT] button, you can reset the selected menu item (whose
background is red) to its default value. If you continue holding
the buttons, all menu items in the same screen will return to
their default values.
7
If the value of the setting is indicated by a button, touch a
button to select the value of the setting.
7
For some menu items, the value of the setting changes each
time you touch it.
4
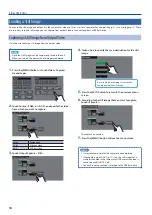
Press the [MENU] button to close the menu screen.
MEMO
5
Saving your settings
The contents of the menu settings are saved to the unit (Last
Memory) when ten seconds elapse without any operation
being performed, or when you close the menu screen.
5
The [SELECT] buttons and [SOURCE] buttons are shortcut
buttons that access specific menu screens.
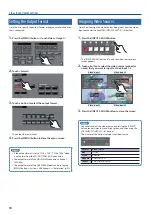
About the external power supply
You can use an external power supply to supply power.
If you use both the AC adaptor power supply and an external
power supply simultaneously, the AC adaptor power supply
operates as the “main power supply” and the external power
supply operates as the “backup power supply.”
Use an external power supply that satisfies the following
conditions.
5
Equipped with a current limiting function
5
Able to supply 90 W or more of power
* Please also read the owner’s manual of the external power
supply that you’re using.
NOTE
5
Check whether this unit’s external power supply connector
matches the wiring of the external power supply that you’re
using. Connecting an external power supply whose wiring
differs will cause malfunctions.
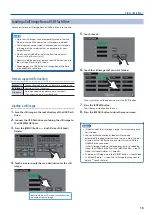
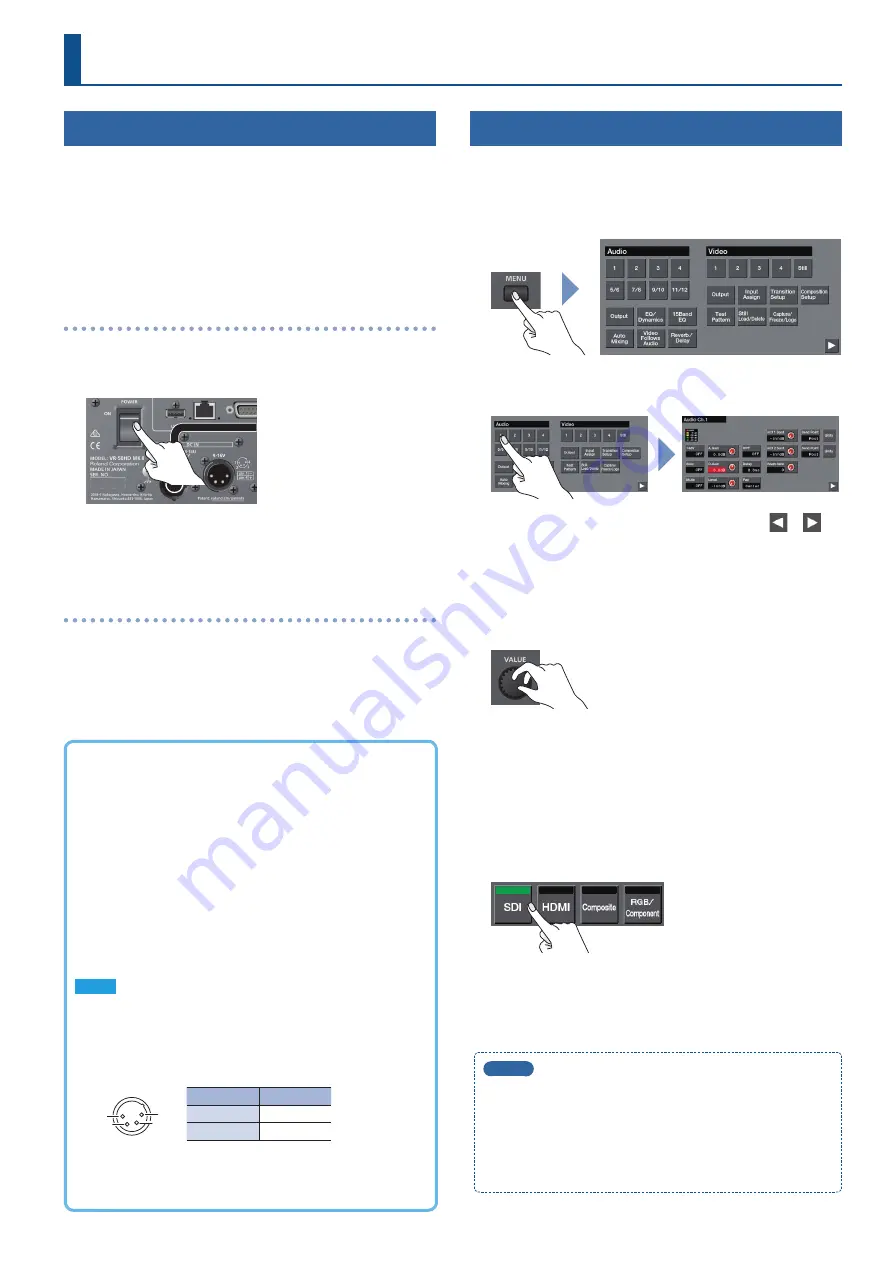
Pin wiring of the external power supply connector
1
4
3
2
Pin number Signal name
1
-
4
+
5
You must supply power in the range of DC 9 V–16 V. Using a
voltage outside this range will cause the external power supply
or this unit to malfunction.

