16
Video Operations
Switching the Video Automatically
(Video Follows Audio)
This detects the audio that is input from a mic, and automatically
switches to the specified video according to the volume (Video
Follows Audio function).
For example, if you’re streaming a talk show or a conversation, you
can use this to switch between a closeup of the individual who is
speaking and a wide shot of both people when neither person is
speaking.
1
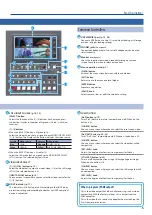
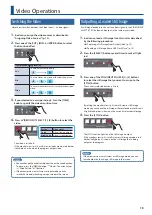
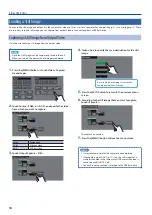
Press the [MENU] button
0
touch Audio <Video Follows
Audio>.
2
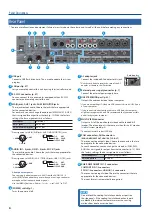
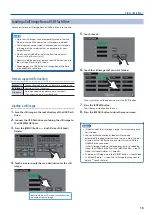
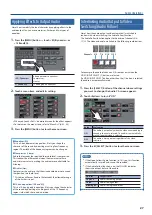
Touch a menu item, and edit its setting.
Switch pages, and set the necessary menu items.
Menu item Explanation
Target
Specifies the video that is output when audio is
detected.
Threshold
Specifies the reference level at which the Video Follows
Audio function operates. When audio that exceeds this
threshold is detected, the video is switched.
Mix
Specifies the video that is output when audio is
detected in multiple mics. If this is “OFF,” video is
switched in the order in which audio is detected.
Silent
Specifies the video that is output when there is no
audio input from any mic. If this is “OFF,” the last-
selected video continues to be output.
Time
Specifies the time after the video has switched until
audio detection resumes.
3
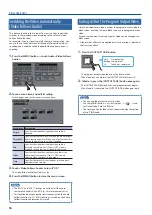
Touch <Video Follows Audio> to turn it “ON.”
The video follow audio function turns on.
4
Press the [MENU] button to close the menu screen.
MEMO
5
The “MIC 5” and “MIC 7” settings are valid only if the audio
sources of channels 5/6 and 7/8 (p. 24) are respectively mics.
5
This function does not operate simultaneously with the Audio
Follows function (p. 27). If this function is turned on, the Audio
Follows function automatically turns off.
Fading-In/Out the Program Output Video
Here’s how to perform a fade-out from the program output video to a
black screen, or a fade-in from a black screen to the program output
video.
A scene that you don’t want to output as video can be changed to a
black screen.
* A fade-in/out effect can be applied only if mix or wipe is selected as
the transition effect.
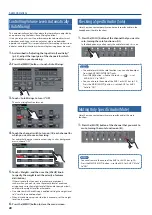
1
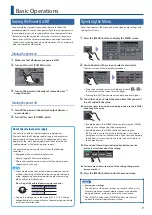
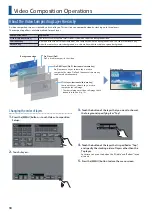
Press the [OUTPUT FADE] button.
Unlit: Normal output
Blinking: Fading-in/out
Lit:
Faded-out completed
The program output video fades-out to a black screen.
When fade-out is complete, the [OUTPUT FADE] button is lit.
2
To fade-in, press the [OUTPUT FADE] button once again.
The [OUTPUT FADE] button blinks, and program output begins.
When fade-in is complete, the [OUTPUT FADE] button goes dark.
MEMO
5
You can also fade-in/out to a white screen.
Use the [MENU] button
0
System <Setup>
0
< >
0
and
set Output Fade “Color” to “White.”
5
The time required for fade-in/out is determined by the setting
of the [TIME] knob.


