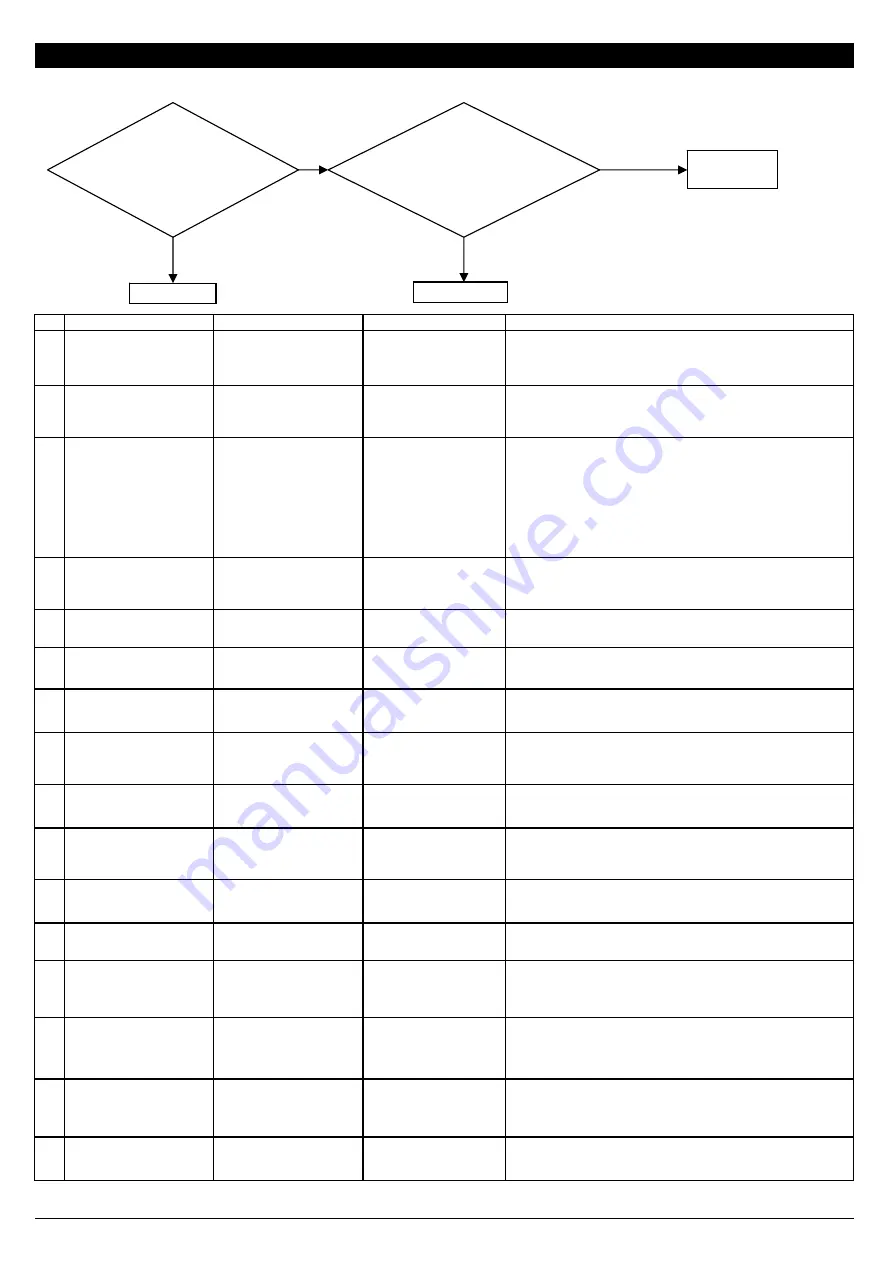
6 Troubleshooting
6-1 WHITE FINE LINE / BANDING / MISSING DOT / SCRATCHY PRINTING / BLURRED PRINTING
NO
CHECK
ACTION
REFERENCE
OUTLINE
1
The machine is not
installed in an appropriate
location
Install in a location that is
level and stable offering
good operating conditions
Never install the machine in a location where it is tilted or where
it may wobble or librate.
2
The media is not set up
correctly
Load and set up the media
at the correct position
User's Manual
Feed is not smooth when the media is tilted or tensioned
unevenly on the left or right. Reload and set up the media
correctly.
3
Temperature of the Print
heater / Dryer is
inappropriate
Set appropriate
temperature
User's Manual
When the temperature of the print heater is too high and the ink
dries too fast, it may result in banding because the dots stay
small after landing on media.
When the temperature of the print heater is too low and the ink
dries too slow, it may result in black banding because the dots
stay large and overlap each other after landing on media.
4
The media is not
appropriate
Use other media
The substrate which stretches or shrinks considerably or the
one which does not absorb the ink efficiently cannot be used.
5
Bi-directional adjustment is
not correct
Correct the setting for
Bidirectional Printing
User's Manual
6
FEED CALIBRATION is
not correct
Correct Calibration
User's Manual
If the calibration is not correct, white fine line caused by gaps or
dark line caused by overlapping appears.
7
Scanning distance of the
Head Carriage
Set the [FULL WIDTH S]
to [FULL]
User's Manual
Set [FULL WIDTH S] to [FULL] to equalize the heating time on
each pass. This may improve printing quality.
8
[PERIODIC CL.] setting
Set [PERIODIC CL.] to
[NONE] or [Page]
User's Manual
When this is set to [1 min] to [990 min], self cleaning is
performed while printing is paused. And it may cause uneven
printing before and after cleaning.
9
Wrong profile for the
media
Use the suitable profile
10
Head Rank is not correct
Set Head Rank
[3-1 HEAD
REPLACEMENT]
Head Rank setting affects the amount of the ink fired. If it is not
set properly, the ink dots are not fired in appropriate sizes.
11
Head is not adjusted
Adjust Head
[4-3 HEAD
ADJUSTMENT]
Check whether [BIAS] setting is correct.
12
Ink tubes are not bundled
correctly
Correct the order of ink
tubes in the saddles
[3-20 INK TUBE
REPLACEMENT]
Ink tubes incorrectly bundled in the saddles pull the print head
upward, that may tilt the print head.
13
Ink agitation in the ink
cartridge
Shake the cartridges
gently
User's Manual
The message to shake the cartridges is displayed periodically. If
you do not follow the message, the ink generates high or low
density inside to bring about inappropriate printing result.
14
Defect of Cap Top
Replace Cap Top
[3-5 CAP TOP
REPLACEMENT]
Cleaning does not work effectively and the nozzle condition
cannot be improved. Also, if the head is not capped correctly,
the head dries and it may cause the nozzle clog.
15
Air inside the ink damper
Perform [CHOKE CL]
[3-2 DAMPER
REPLACEMENT]
If the ink damper has the air inside, the ink is supplied
intermittently. Therefore, it causes missing dots or deflected
dots.
16
Foreign substances
Perform Manual Cleaning
User's Manual
Nozzle condition becomes poor due to the foreign substances
stuck on the surface of the Head.
6-1
Missing dot or
deflected-fired dot
appears on the test
pattern.
Perform Normal
Cleaning
Go to 14 to 23
Go to 1 to 13
Yes
Not Improved
*Several Normal Cleanings and a Powerful Cleaning did not
improve the printing result.
No
Completed
Improved
Summary of Contents for VS-300
Page 49: ...2 4 MAIN BOARD_Arrangement Diagram Soldering Side ...
Page 60: ...2 15 SERVO BOARD_Arrangement Diagram Soldering Side ...
Page 65: ...2 20 2 4 CARRIAGE BOARD CARRIAGE BOARD_Arrangement Diagram Component Side ...
Page 68: ...2 23 2 5 SUB BOARD SUB BOARD_Arrangement Diagram Component Side ...


