Part No 4801-5162 Rev 09-2019
RS-500/600 M Series Doors
Page 45
3.
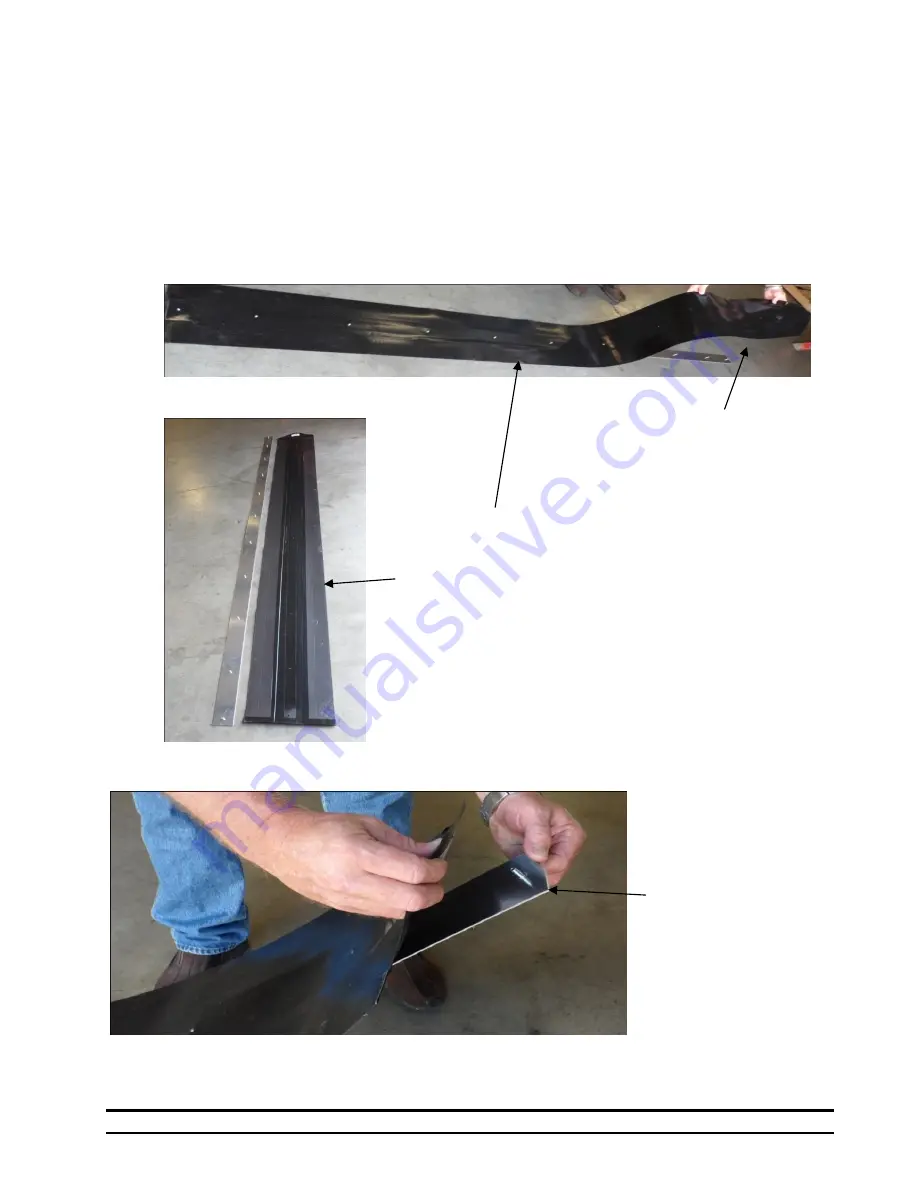
Lay the PIM plate assembly down on the floor and remove the old floating material from the PIM plate. Pay
particular attention to the top of the PIM plate assembly. You will notice the material, at the top, has been cut
at an angle. It will be necessary to re-install the new piece in the same arrangement as the one you have
removed (
). Get the new piece of floating material. Flip the new piece upside
down with the magnets or Velcro toward the floor. Align the pre-drilled holes of the material with the PIM
bolts on the PIM plate assembly. You might find it easier to start at one end with the first PIM bolt, insert it,
and then move to the other end slightly lifting the PIM plate in a bend to insert the PIM bolt at that end
(
). Lay the assembly back down on the floor flat. This will slightly pull the material allowing the
remaining holes to align properly. Proceed to insert the rest of the PIM bolts in their proper holes. Repeat the
same steps for installing the floating to PIM plate for the other side.
Diagram 26D
Diagram 26E
Diagram 26F
Lay the new floating next to the
PIM plate with top of floating
(Angled Cut) material to top of
PIM plate. Flip the floating
over the PIM Plate with
magnets or Velcro against the
floor then attach the floating
over the PIM Plate Bolts
Remove the “old” floating
and discard. Re-install the
“new” floating
Re-install the
“new” floating. It
may be necessary
to bend one end of
the PIM plate up to
attach onto the
end PIM bolt.


