background image


12.


Technical


Specification


Working


load:


200


lbs


(90kg)


Seat


size:


105cm


x


58cm.


Seat


depth


(front


to


back):


36cm.


13.


Installation


1.


Unpack.


2.


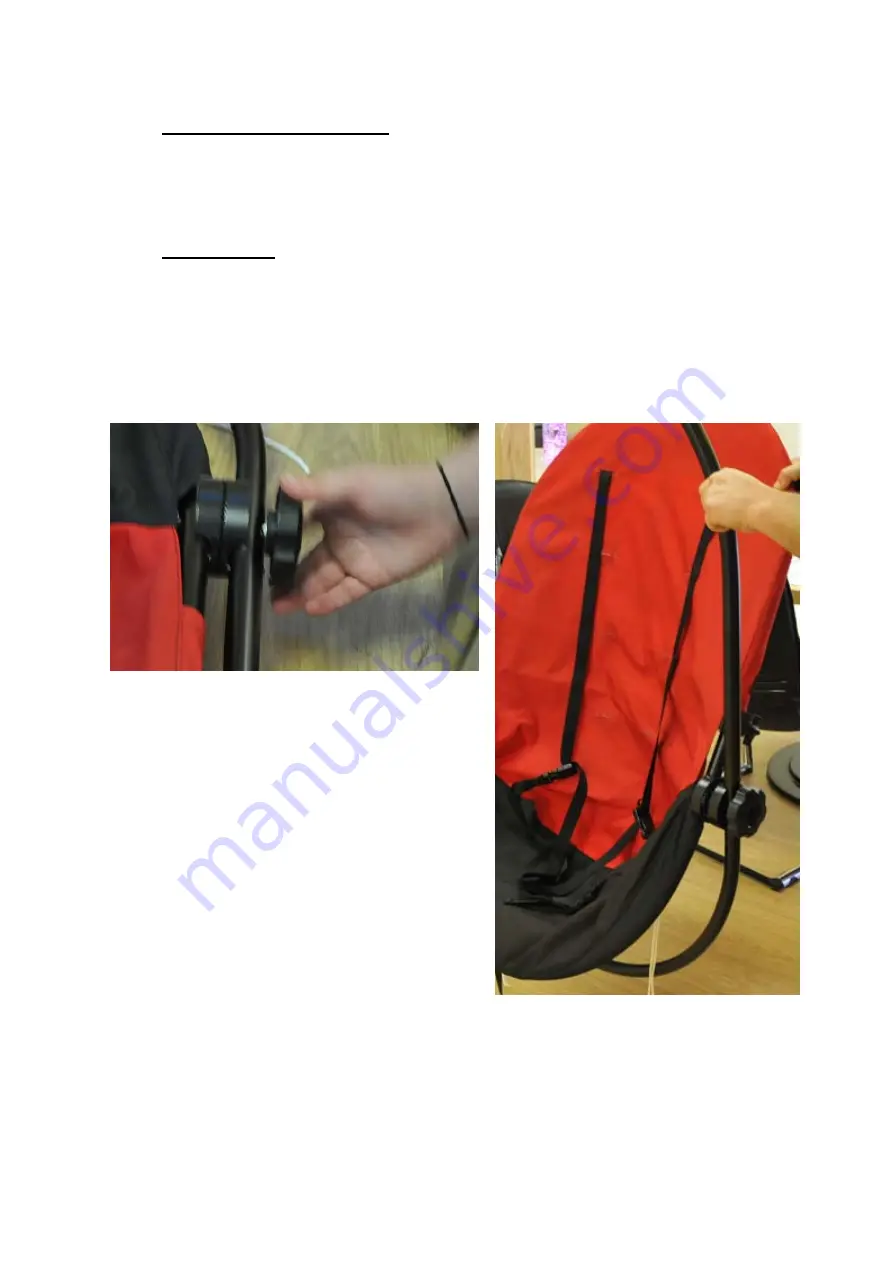
Make


sure


the


top


part


of


the


swing


(red


part)


is


nearest


the


suspension


webbing


strap


and


safety


snap.


3.


Adjust


the


angle


of


the


swing


slightly


so


it


is


not


completely


flat


(larger


knobs


with


teeth


mechanism).


Summary of Contents for 15628

Page 1: ...movement in many different directions From general swinging on any axis and or spinning using the Safety Rotational Device this swing provides a comfortable medium for positioning ranging from horizo...

Page 2: ...rubber ends from the straight metal tubular bars of the footrest Loosen the smaller bolts on footrest so one opening of the bolts fits around the bar of the swing Pass the tubular bar of the footrest...

Page 3: ...hould be placed under and around the Variable Axis Swing Do not use aluminum safety snaps Use only the steel safety snaps available from ROMPA Always use with a Safety Rotational Device Do not use the...

Page 4: ...x 58cm Seat depth front to back 36cm 13 Installation 1 Unpack 2 Make sure the top part of the swing red part is nearest the suspension webbing strap and safety snap 3 Adjust the angle of the swing sli...

Page 5: ...4 Remove the rubber ends from the straight metal tubular bars of the footrest 5 Loosen the smaller bolts on footrest so one opening of the bolts fits around the bar of the swing...

Page 6: ...6 Pass the tubular bar of the footrest through the other opening of the bolt...

Page 7: ...7 Replace the rubber end on both sides...

Page 8: ...Do not adjust the swing with the client inside Loosen the positioning plate knobs on the sides of the swing until the teeth of the plates disengage Adjust the angle of the seat to the desired positio...

Page 9: ...release buckle 3 5 knob 2 knob Positioning plate 4 required CLEANING Machine wash the red part in cold water using a mild detergent Air dry only Do not tumble dry as the material will become irrevoca...

Page 10: ...he swing Problem the footrest attachment is not level When attaching make sure the tops of the tubular poles are level clamp knobs at same height Further copies of these instructions can be downloaded...

Reviews: