NEXUS CALL SYSTEM
by Rondish
P16
2.3 Call Points
Nexus call points have minimal programming and installation required for a functional call
system.
Follow the steps below to configure call points:
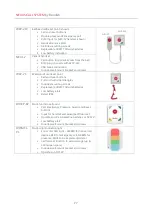
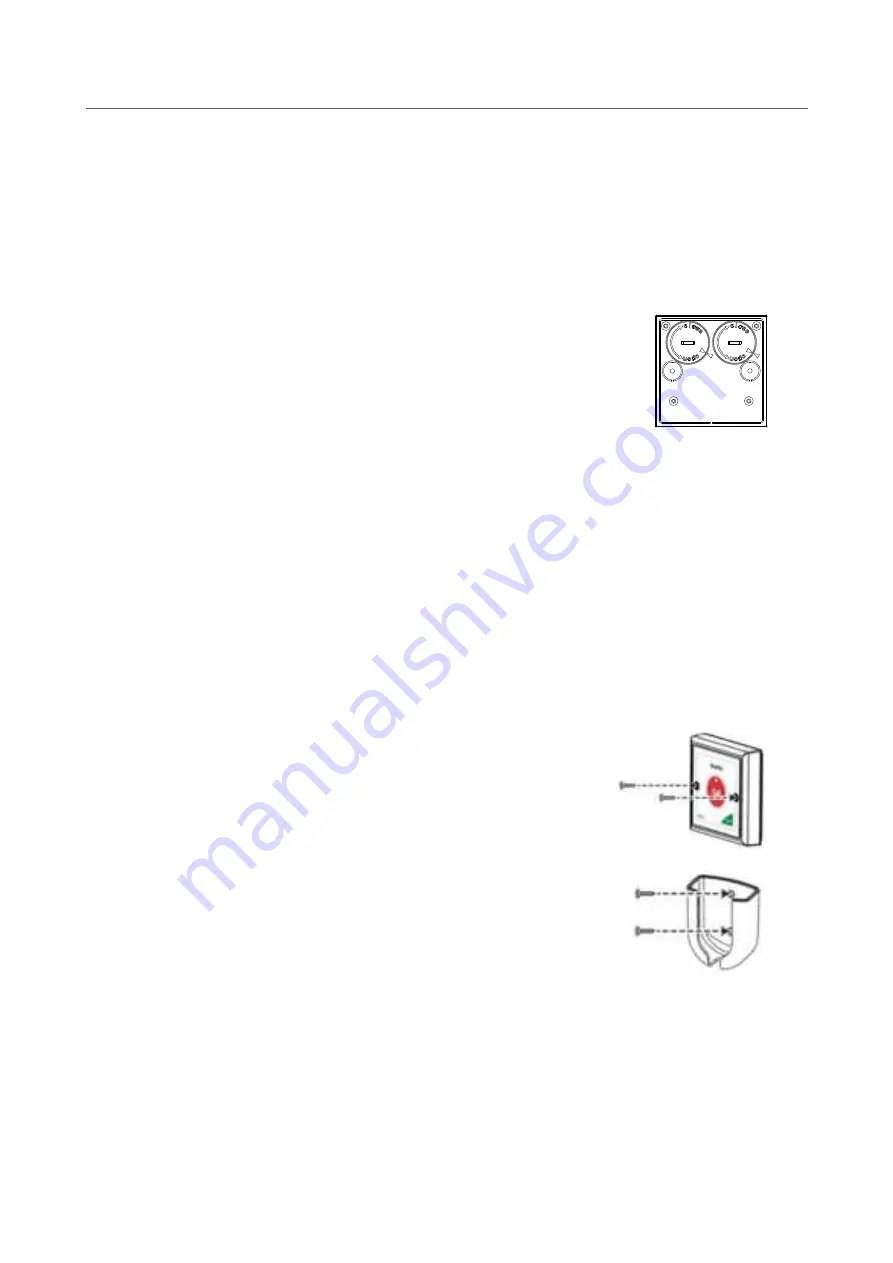
Step 0: Insert Batteries
– Nexus call points come with batteries pre-
installed. You will need to change these periodically based on usage. The
exception is the NEC-05 handset, which uses 2 x AAA alkaline cells.
Step 1: Wake Up Call Point
– WCP-21 and WCP-21C call points are
shipped in a “sleep mode” to preserve battery life until they are used. To
wake the call point, hold Call until the LED stops flashing.
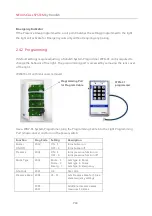
Step 2: Program Settings
– Use Rondish computer programmer to upload
network settings onto call points. This is only required if using a Repeater
Network – Refer to Appendix A
Step 3: Add to Nexus
– Refer to Section 2.3 for how to pair and rename a
call point
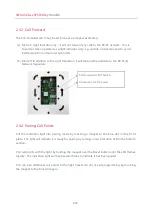
Step 4: Mounting
– Use the call point to mark the position of the screw
holes on the wall. Drill guide holes before screwing the call point into place
Step 5: Connect Handsets
– A similar process can be followed for the
handset mounting brackets


