12
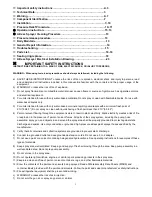
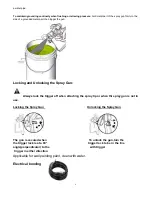
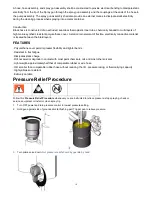
1. If equipment has recently been operated, Relieve pressure.Set trigger lock
2. Using a pencil or similar object, Insert seal into back of guard.
3. Install guard over end of gun
4. Insert tip in guard.Tighten retaining nut.
Operation Spraying
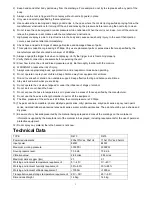
1. Unlock trigger lock
2. Be sure the tip faces forward spray.
3. Hold gun perpendicular and approximately 12 inches (304mm) from surface.Move gun first, Then pull gun trigger to
spray a test pattern.
4. Slowly increase pump pressure until coverage is uniform
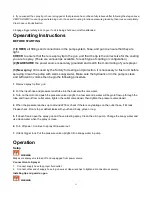
Aligning Spray
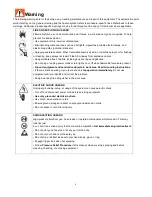
1. Relieve pressure. Set trigger lock
2. Loosen guard Horizontal Vertical retaining nut
3. Align guard horizontally to spray a horizontal pattern.
4. Align guard vertically to spray a vertical pattern.
Spray instruction
CHECK
to ensure that the shipping seal has been removed from under the cap on the hydraulic tank.
Hydraulic tank should be at least 3/4 full of hydraulic fluid.
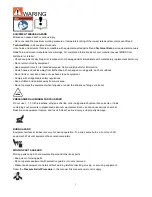
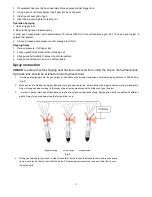
1. During paint spraying, hold the gun upright to the surface of paint-object and keep a constant spraying distance of 350~400mm.
(Fig.4)
2. Move gun before starting the trigger. Equably move gun when spraying. At last, loosen the trigger and stop moving immediately.
Adjust moving speed according to thickness of paint, spray pressure and the distance of gun to object.
3. In order to get an intact and slick surface, spray from level and vertical respectively. Spraying time will be variable with different
paints. Spray for second time when the first painting is dry.
Begin spraying on well spray stop spraying
(Fig.4)
4.
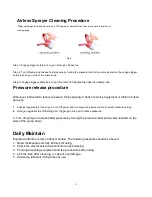
During your spraying if you need to stop for several minutes, loosen the pressure valve and revolve prime
valve in counter-clockwise, then shut the motor. Put spraying tip into solution in case of paint block-up in
the spraying tip.


