www.
roodog
.co.uk | 17
16 | www.
roodog
.co.uk
Maintenance:
Maintaining your bike ensures you will get the most out of every
ride and increases the longevity of your RooDog electric bike.
How much you can do your self really depends on your skill,
knowledge, experience level and if you have the necessary tools
for the job.
If there is is anything you do not understand or are unsure
of how certain things work it is always best to contact your
RooDog dealer for advice. Disclaimer:…Please be aware general
maintenance is not covered by the warranty and is therefore a
service that will be chargeable.
Before every ride:
›
Check brakes, Lights, gears and tyre pressures are correct.
›
Check fasteners, bolts and anything else that may come loose
over time.
›
Check battery is fully charged, or at least has enough charge to
complete your planned journey.
Weekly:
›
Clean the bike, including chain ring and gears – (do not use
excessive water around electrical parts)
›
Oil the chain, and keep all moving parts well lubricated and free
from damp.
Every month:
›
CHARGE BATTERY IF NOT IN USE FOR AT LEAST 1 – 2 HOURS
TO KEEP FROM AFFECTING YOUR WARRANTY
›
Check for worn brake pads and replace if necessary.
›
Check headset for looseness by rocking the bike back and
forth whilst having the brakes applied. If loose have your
dealer check it.
›
Check free movement of handlebar. If tight have deal check it.
›
Check cables for free movement, rust, kinks and fraying.
Replace if necessary
›
Check wheel spokes are all tighjt and wheel spins true. Have
your dealer fix it if they are not. (spokes can break and wheel
rims can be bent if this is not regularly checked)
›
Check tyre for tread and check sidewalls are in good condition.
Replace if necessary.
Every 3000 miles or annually:
›
Have the bike inspected and serviced at your local dealer
including general inspection of the hub motor and all
electrical parts.
Maintenance Continued:
Tyre pressures:
›
Tyre should be routinely checked for correct pressure. (this is
stated on the tyre side wall). Failure to do this will result in tyre
or rim damage, more energy will be required to propel the
bike (meaning less miles per charge) and possibly may even
result in a puncture.
Repairing a puncture:
›
If you have a puncture we recommend you have it repaired by
a specialist.
›
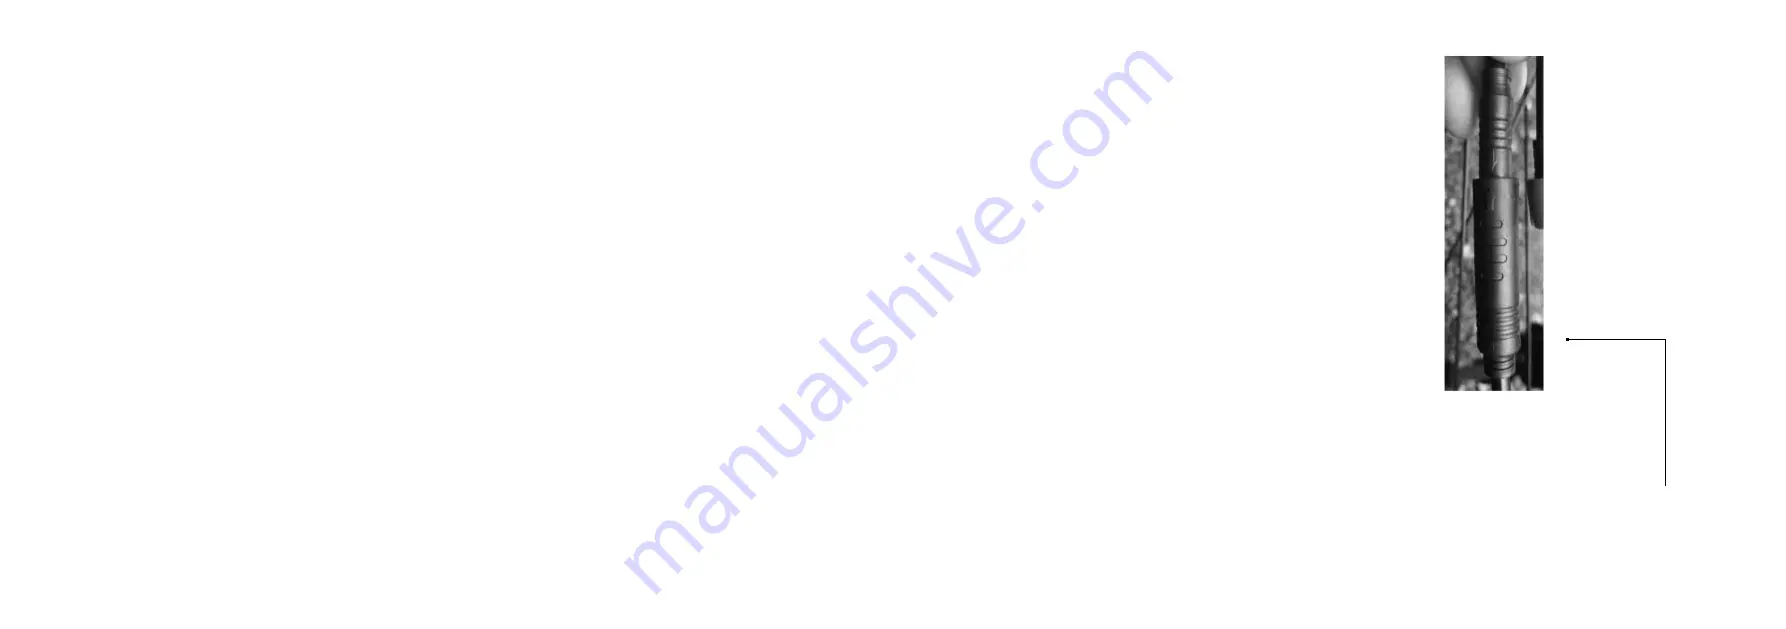
To remove the rear wheel you must first separate the electric
hub motor from the bike. In order to do this, locate the cable
coming out of the hub motor and follow it along to the quick
release (QR) plug. Disconnect the plug and all clips and ties
before attempting to remove the rear wheel.
›
Prior to removing the wheel from the frame take note how
all the washers are situated so you can replace them in the
correct order in which they came off.
›
When replacing the wheel back in the frame, ensure the bolts
are aligned correctly (you may need a 10mm spanner to
help) and seated right and all washers are in correctly before
tightening up the nuts to hold it in position.
›
Finally reconnect the motor plug fully making sure the
arrows line up correctly. (incorrectly replaced in may result in
a sudden lose of power or may even damage the contacts
connecting the motor)
Motor QR plug:
Press here to release
then pull apart.


