REMOTE OCEAN SYSTEMS
SEASTAR OPERATION AND MAINTENANCE MANUAL
10-01313 REV D
21
8.
Arrange the wiring so that it will not be pinched by the housing or driver circuit card components, and
press the end bell onto the housing over the housing o-ring.
NOTE
The window o-ring is installed without lubrication.
9.
Inspect the widow o-ring and place it over the window o-ring groove on the housing.
10.
Place the replacement window over the o-ring.
11.
Clamp the housing by its mounting bracket of the hex flats on the back.
12.
With the end bell seated fully onto the housing and o-ring, thread the bezel onto the housing as far as
possible by hand. The o-ring should be visibly compressed and the window should be tightly held.
13.
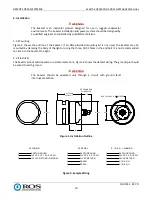
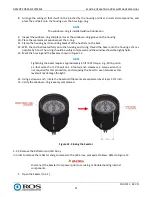
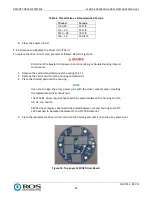
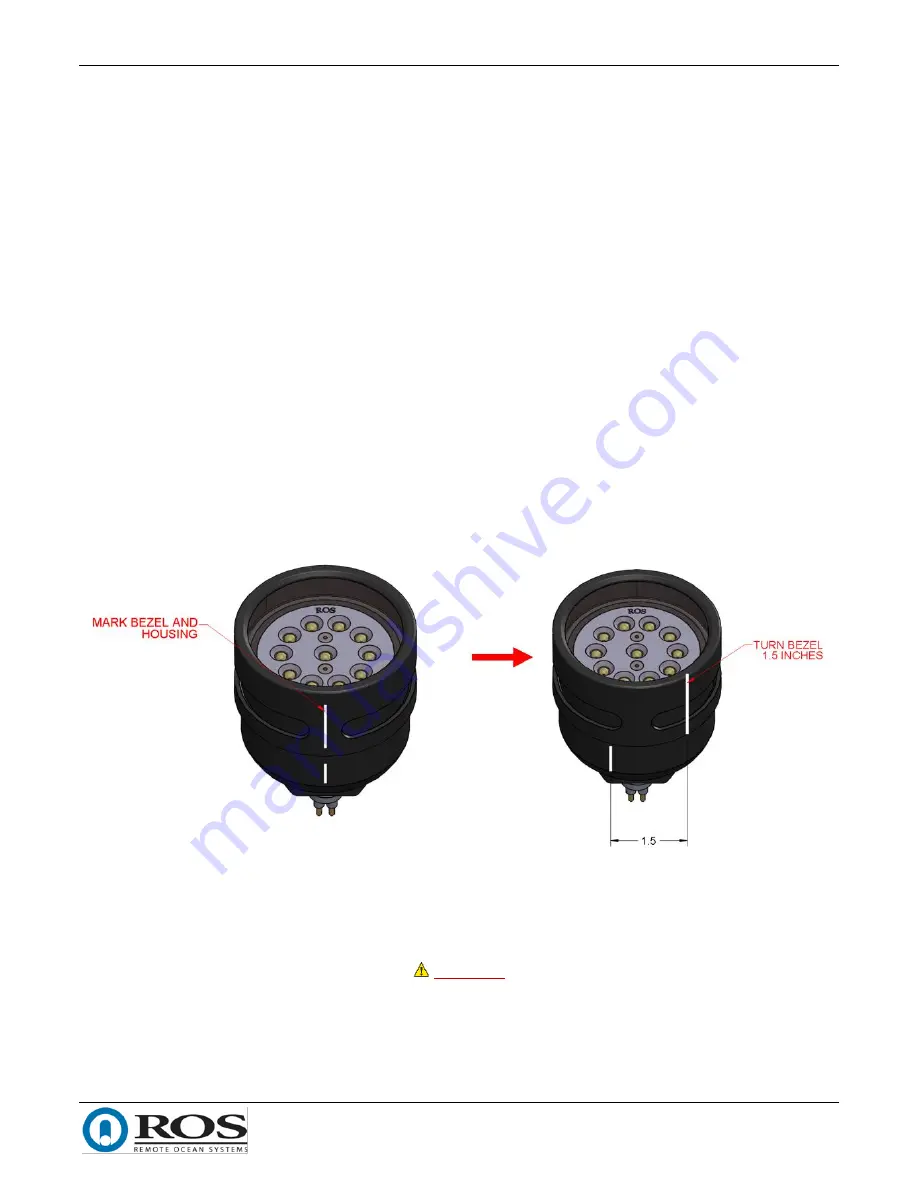
Mark the housing and the bezel as shown in Figure 12.
NOTE
Tightening the bezel requires approximately 40 ft lb of torque, e.g., 40 lb pull on
a 1-foot wrench or 20 lb pull on a 2-foot wrench. However, a torque wrench is
not required for this procedure, and torqueing the bezel to even two-times this
level will not damage the light.
14.
Using a strap wrench, rotate the bezel until the marks are separated by at least 1 1/2 inch.
15.
Verify the window o-ring is evenly compressed.
Figure 12. Closing the Seastar
5.2.3.
Remove the Reflector and LED Array
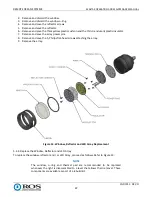
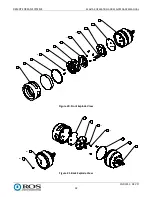
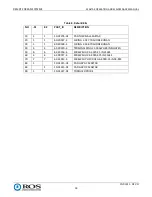
In order to remove the reflector and gain access to the LED array, proceed as follows. Refer to Figure 13.
WARNING
Disconnect the Seastar from power prior to servicing or troubleshooting internal
components.
1.
Open the Seastar (5.2.1).

