6
UltraVista Installation and Operations Manual
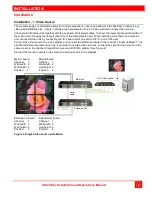
When all connections have been made, the system must be first initialized. The initialization process sets up the
communication between the UltraVista main and all extension units.
When applying power to the system, apply power to video splitters first before turning on the video sources. This
enables the video sources to read the UltraVista units’ EDID (display information) data.
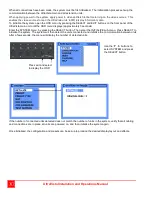
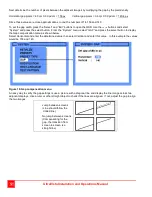
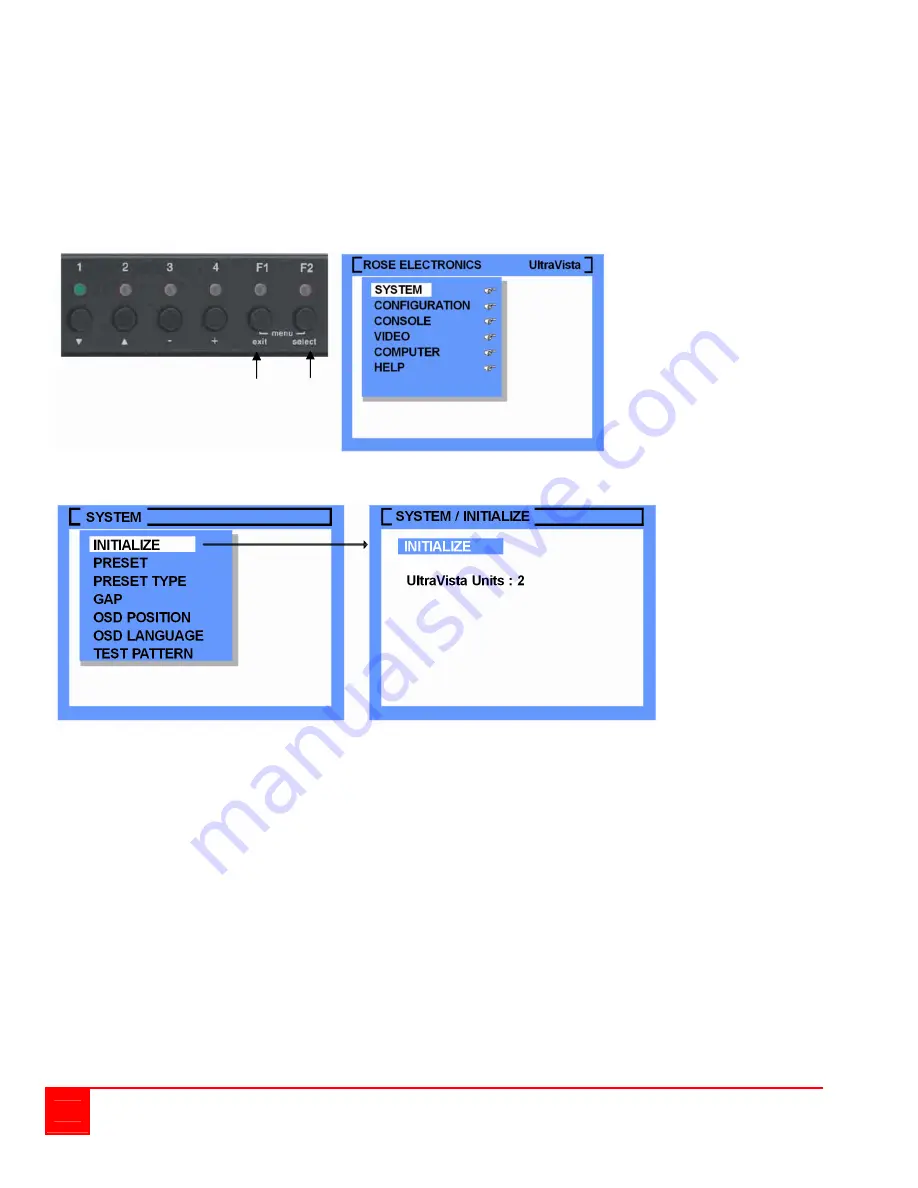
To initialize the system, open the OSD menu by pressing the SELECT and EXIT buttons on the front panel of the
UltraVista main unit until the OSD menu displays (approximately 3 seconds)
Enter the SYSTEM menu, by pressing the SELECT button. Then enter the INITIALIZE sub-menu. Press SELECT to
initialize the system. The system will then detect the units connected, and initialize the communication between units.
After a few seconds, the menu will display the number of detected units.
Use the
buttons to
select SYSTEM and press
the SELECT button
If the number of connected units detected does not match the number of units in the system, verify that all cabling
and connections are in place, all units are powered on, and then initialize the system again.
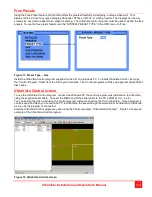
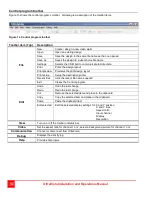
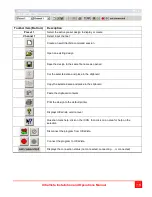
Once initialized, the configuration and presets can be set-up to produce the desired display layout and effects.
Press exit and select
to display the OSD


