UltraVista Installation and Operations Manual
11
Gap compensation
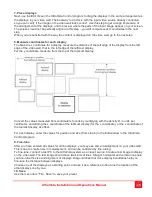
When laying out and assembling a video wall, there are usually gaps between the different displays. Usually the
horizontal and vertical gap between displays is the same but in some cases, they are different. UltraVista’s design
can compensate for these gaps to produce a smooth natural transition from one display to the next. Setting the gap
compensation will hide some parts of the input image. If the entire image needs to be displayed, leave the gap width
settings at 0. If the display area needs to be made larger simply increase the distance between the displays and
compensate the gap settings to produce a natural and distortion-free display.
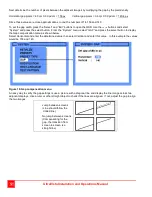
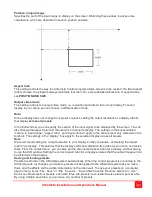
Equal gaps Larger Vertical gap Larger Horizontal gap
Setting the gap width
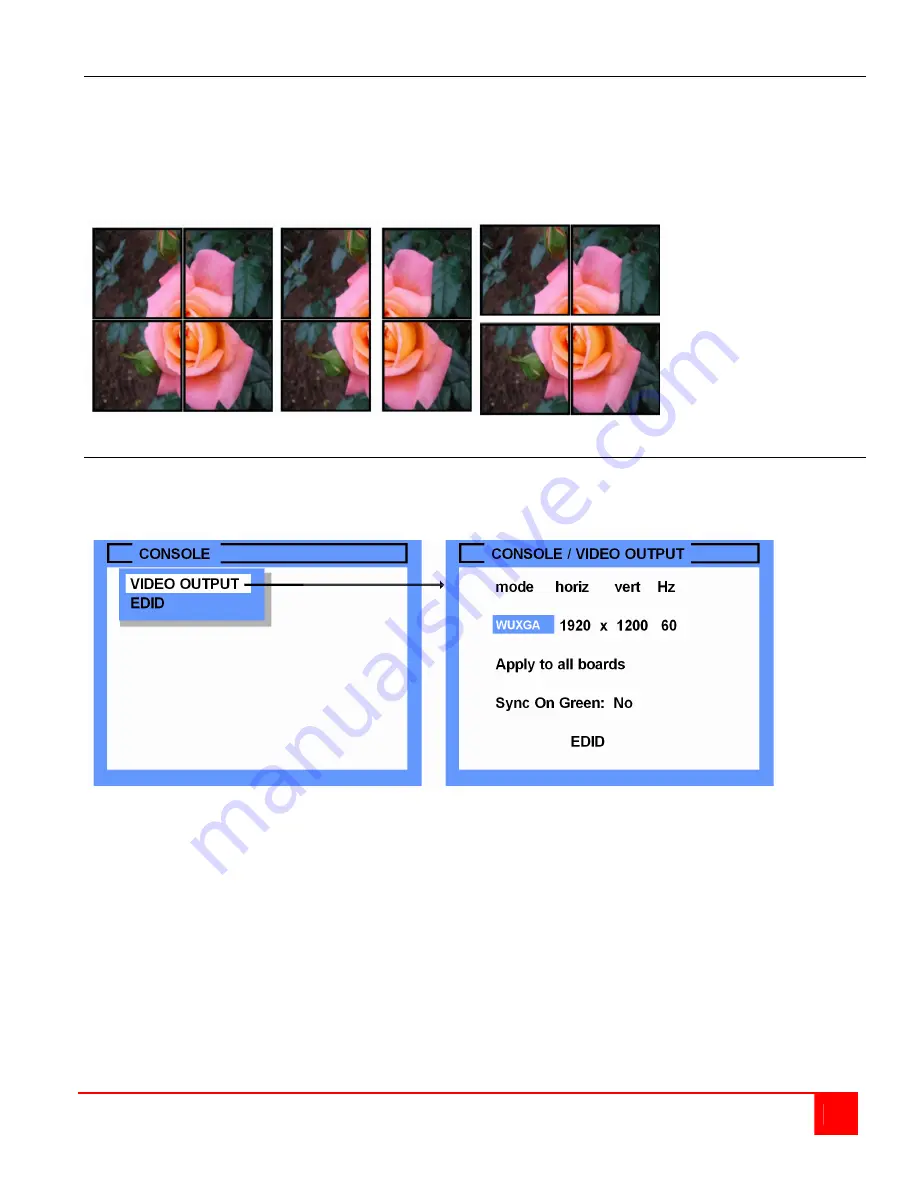
To calculate and set the gap width, first determine UltraVista’s video output resolution. To determine this, call up the
OSD (Press “EXIT and SELECT” buttons). Select “CONSOLE” from the menu and press “SELECT”. From the
Console menu, select “VIDEO OUTPUT” and press “SELECT”. The OSD will display the output resolution as shown
below. In this example, the resolution is 1920 x 1200.
Figure 9. OSD - Video output
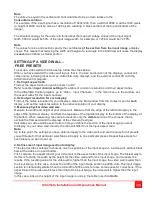
Next measure the visible width and height of the actual output image of the display. For example, the image
width is 49.5 cm and the image height is 31 cm.
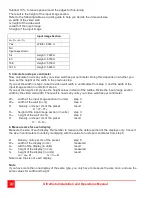
Calculate the horizontal pixel density by dividing the horizontal resolution (1920) by the image width (49.5 cm) and
the vertical pixel density by dividing the vertical resolution (1200) by the image height (31cm).
1920 1200
Horizontal pixel density = ------- = 38.8 px/cm Vertical pixel density = ------- = 38.7 px/cm
49.5
31
In most cases, the horizontal and vertical pixel density will be equal. This calculation is an approximant value so
round the value off and use a pixel density of 39 px/cm. You can fine tune the gap settings if needed.
Next measure the gap between the two adjacent images. In this example, the vertical gap is 3.6 cm and the
horizontal gap is 4.0 cm.

