38
UltraVista Installation and Operations Manual
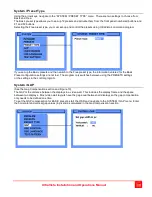
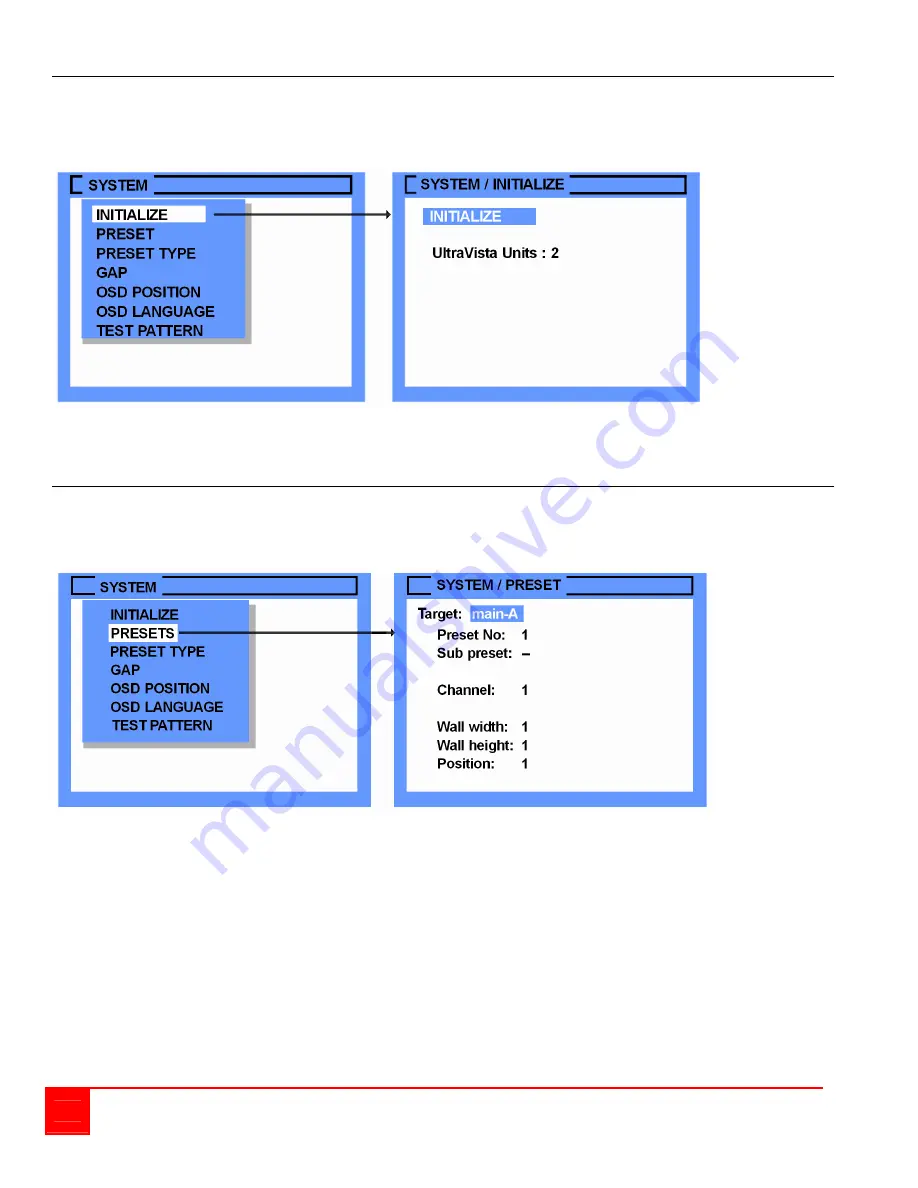
System / Initialize
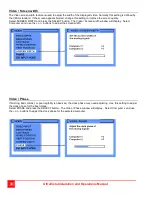
The initialization process must be performed prior to configuring any of UltraVista’s parameters. This process
detects the number of units in the system and modifies the needed OSD menus to accommodate all units.
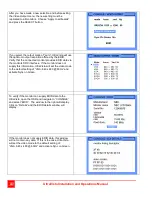
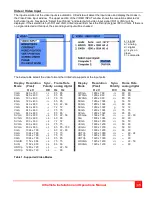
Open the OSD and navigate to the system menu. Select Initialize and press select. The initialization process will
detect and display the total number of units in the system.
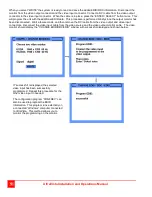
If the UltraVista Units detected does not match the number of units in the system, verify that all units are connected,
cabling is correct and secure, and all units are switched on. Then retry initializing the system by pressing the
“SELECT” button. Press the EXIT button to return to the SYSTEM menu.
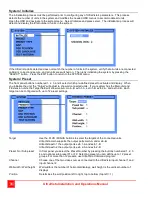
System / Preset
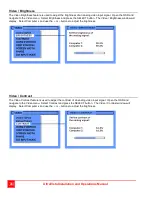
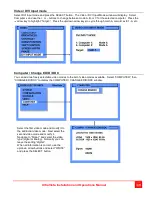
The front panel buttons numbered 1, 2, 3, and 4 select which pre-defined preset to activate and display. When
you initialize the unit, the “Target” will adjust to show all connected units. If your system has the Main unit and
2 Extension units, the Target field will show main-A, main-B, extn 1-A, extn 1-B, extn 2-A, and extn 2-B. Each
target can be configured with up to 12 preset settings.
Target
Use the PLUS / MINUS buttons to select the targets of the connected units
UltraVista main supports the output ports main-A and main-B,
UltraVista extn 1 the output ports extn 1-A and extn 1-B,
UltraVista extn 2 the output ports extn 2-A and extn 2-B
Preset No / Sub preset
In front panel you select the Preset Number by pressing the buttons numbered 1, 2, 3,
4 and optional sub preset F1 or F2. Selecting preset you can define up to 12 preset
groups. For more than 12 presets, use UltraVista Command program.
Channel
Choose one of the two video sources connected to the UltraVista input channel 1 and
input channel 2
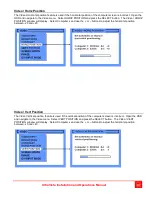
Wall width / Wall height
Wall width is the number of horizontal displays, wall height is the vertical number of
displays
Position
Determines the wall position left to right, top to bottom (top left = 1)

