3-1
Chapter 3.
Installing the hyperSPARC Module in the
SPARCstation 10
This chapter provides the information you need to remove the system unit cover, set the clock speed jumpers,
and remove and install a hyperSPARC module on the SPARCstation 10.
Note: Variations of the module may be referred to as the MBus module or SPARC module. These terms may
be used interchangeably in this chapter.
Caution: Dual-module configurations have a module in both the upper and lower MBus slots. Both modules
must be hyperSPARC only or SuperSPARC only. hyperSPARC and SuperSparc modules will not function
correctly if installed together in the same machine.
Important: The hyperSPARC module is designed to run in a Sun SPARCstation 10, SPARCstation 20, or
SPARCserver 600MP environment, which includes a minimum of 140W power supply. Operation of
hyperSPARC in machines that deviate from this electrical environment is not guaranteed.
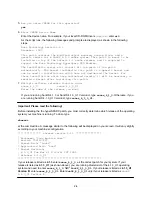
Caution: Refer to the “Shutting Down the System” section on page 1-2 to make sure the system is shut off.
The green light-emitting diode (LED) at the front of the system unit should not be lit.
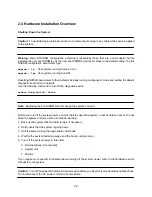
Caution: The system chassis power unit must be turned off and the power cord must remain plugged in to
ensure a proper ground. Do not disconnect the power cord from the system unit power outlet or the wall
socket. This connection provides the ground path necessary to safely remove and install the printed circuit
boards and components.
Summary of Contents for hyperSPARC
Page 2: ...hyperSPARC Module Installation Guide TM...
Page 9: ...1 4...
Page 21: ...2 12...
Page 55: ...5 10...

