Extended Tallies Installation • 5
Extended Tallies Installation
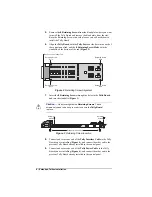
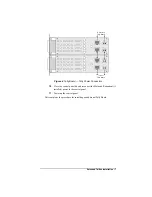
To install the new tally board, you must remove the blank plate from the slot
where you want to install the tally board, install the tally board, and then connect
the power and control cables.
The maximum parallel tallies supported by each control panel is as follows:
•
Vision 1
—
36
maximum
•
Vision 1M
—
36
, or
72
•
Vision 2
—
36
maximum
•
Vision 2M
—
36
, or
72
•
Vision 3M
—
36
,
72
, or
108
•
Vision 2X
—
36
,
72
, or
108
•
Vision 3
—
36
,
72
, or
108
•
Vision 4
—
36
,
72
,
108
, or
144
Use the following procedure to install an additional Tally Board:
1.
Power down the control panel. The frame can remain on during this
procedure. Refer to your Vision switcher documentation for
information on shutting down the control panel.
2.
Unplug the Primary and Redundant (if installed) power from the
control panel.
3.
Lift up on the control panel lid to gain access to the control panel tub.
4.
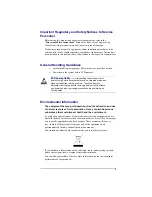
Locate the slot where you want to install the additional Tally Board
into (
Figure 1 Vision 4 Control Panel Tub — Tallies
T
ally 1-2
T
ally 3-4
T
ally 5-6
T
ally 7-8


