CARE INSTRUCTIONS:
1. To maintain the quality of your EZ-PRO™ dispenser, wash all parts daily in warm soapy water. Use a non-abrasive sponge.
2. DO NOT put any part of the unit through any dishwasher or dryer machines.
3. When disassembling the container, handle all parts gently. Please refrain from using too much force.
HOW TO DISASSEMBLE:
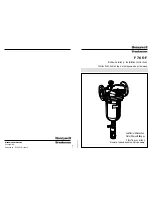
1. Remove the container from the stand by holding it securely and lifting directly upward, clearing the hooks from the
notches on the bracket.
2. Remove lid from top of container. Make sure there is no remaining product inside that can spill over.
3. Remove handle clip at the back of the container.
4. Gently pull the handle from the front of the container. Set aside both handle and label holder.
5. Reach into container and remove portion wheel by gently pulling upwards or turning container upside down. Do the
same to remove the nozzle.
HOW TO ASSEMBLE:
1. Place nozzle into container, followed by the portion wheel.
3. Position the label holder so that it matches the hole on the front of the container.
5. Install handle clip to the back end of the shaft. Make sure it locks snugly into place.
6. Fill container with desired dry product and place lid securely on the container.
7. Follow steps 7 and 8 on the setup instructions.
Need a different-sized portion wheel? We have 3 more options for you to choose from!
Other portion wheels available:
• EZP008 – 2 teaspoons
• EZP010 – 3 teaspoons
• EZP011 – 4.5 teaspoons
The Rosseto interchangeable portion wheels deliver just the right amount of product
every time. Test each wheel with your dry foods to determine which works best for you!
Please contact our customer support at (847)763-1215 and we’ll be
happy to assist with any assembly questions, comments or concerns.
ROSSETO
®
3600 W. Pratt Avenue. Lincolnwood, IL 60712
Visit our website at:
www.rosseto.com
NEED ASSISTANCE?
2. Adjust the portion wheel inside the container, so that its holes align with the container’s holes (both front and back).
4. Insert handle through the label holder and front hole. Push the shaft through the portion wheel, all the way to
the back of the container.
4. Reassemble the unit only after all parts are completely dry.
9. Repeat steps 5 thru 7 for the remaining containers.
10. Dispense as you please!
8. If desired, place an identifying label on the label holder.
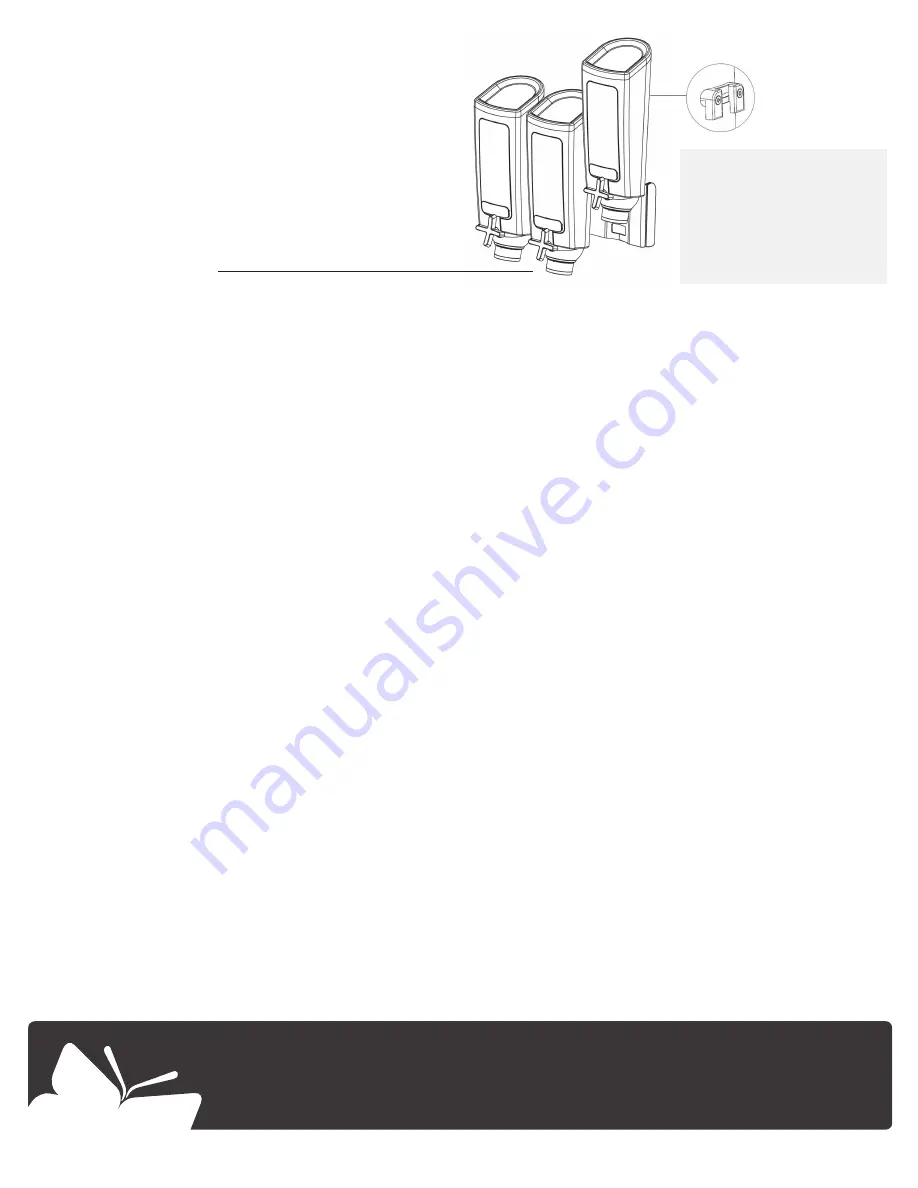
7. On the back of each container are 2 hooks that fit snugly
onto the allotted notches on the stand. Install a container
by securing both hooks on the upper and lower notches.
Make sure it locks into place.
2 h
ook
s
on the back of
the
EZ-PRO
TM
container
latch on to the upper
and lower notches on
the
mounted bracket
.
NOTE: Included with each
container unit is an optional
locking system that you can
easily install with a small Phillips
head screwdriver.
(ITEM # EZM048)
When unit is not in use, fasten the PRO Fresh lid
onto the nozzle.
11.
2014 February 12 IS00
3
- V2


