LK-M012L
MAGLOCK 1200 LBS with Lock Status and Indicator
June 2012
Installation Manual
1
1.
Introduction
The LKM12L is a surface mounted magnetic lock series with 1200 lbs
holding force. LKM12L has dual voltage (12 or 24 VDC) and low
current consumption with anodized aluminum housing. LKM12L has a
built-in voltage spike suppressor and no residual magnetism.
Monitored status output and timer versions are available.
Different types of bracket and housing are available to fit various
mounting conditions.
LKM12L is compatible with EN55011:1998: Class B, EN60601-1-
2:2002, EN61000-4-2:1995, EN61000-4-3:2002 & UL-S5351.
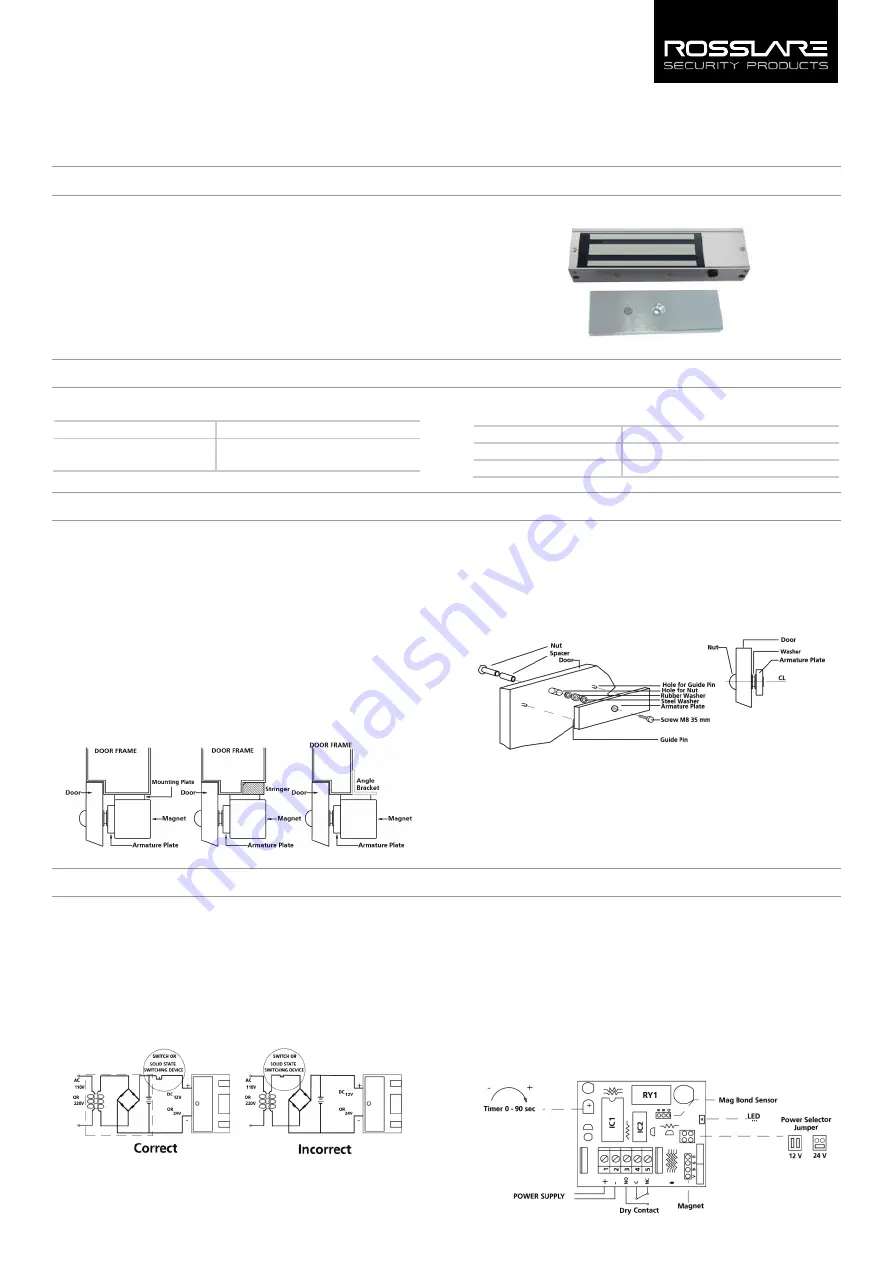
Figure 1: LKM012L
2.
Technical Specifications
2.1
Electrical Characteristics
Power Supply Voltage
Dual Voltage: 12/24 VDC
Current Draw:
12 VDC: 500 mA
24 VDC: 250 mA
2.2
Physical Characteristics
Holding Force
~1200 lbs
Dimensions (L x W x D)
266 x 73 x 40 mm (10.5 x 2.87 x 1.57 in.)
Weight
25 kg (55.12 lbs)
3.
Mounting
Before attempting to install magnetic lock:
Handle the equipment with care. Damaging the mating surfaces of
the magnet or armature plate may reduce locking efficiency.
The magnet mounts rigidly to the door frame. The armature plate
mounts to the door with hardware. Kit provided that allows it to
pivot about its center to compensate for door wear and
misalignment.
Template use must take place with the door in its normally closed
position.
Before installing, please add the thread locker to all screws. Firmly
tighten the screws to avoid fastening loosen.
Typical mountings are shown in Figure 2.
Figure 2: Surface Mounting
When fixing the armature plate:
Do not fix the plate too tightly
Make the rubber washer more flexible to make the armature plate
automatically adjust its proper position with the magnet
Figure 3 shows how to mount an armature plate/surface.
Figure 3: Armature Plate/Surface Mounting
4.
3B
Wiring
4.1
6B
Input
For a 12 VDC input, a maximum of 0.5 A power is needed.
For a 24 VDC input, a maximum of 0.25 A power is needed.
The unit should only be powered by a UL listed power supply.
If the power switch is not wired between the DC source voltage and
magnet, it will take a longer time to de-energize the magnet
simulating residual magnetism (see Figure 8).
Figure 4: Wiring
To wire input:
1.
Connect the ground (-) lead from the power source to Terminal 2.
2.
Connect the positive (+) lead from the power source to Terminal 1.
3.
Set the jumper for either 12 or 24 VDC operation.
4.2
7B
Contacts
The relay dry contacts are rated 1 amp at 24 VDC for safe operation –
do not exceed this rating
If you require a normally open switch, connect the wires from the
system to terminal 4 and terminal 3.
If you require a normally closed switch, connect the wires from the
system to terminal 4 and terminal 5.
Figure 7 shows various PCB schematics with the jumper settings.
Figure 5: PCB Schematic


