- 44 -
Warming-up – Cooling down
A successful exercise starts with a warm-up and is completed with a cool-down. Run through all of the exercises two or three
times a week and take a day off in between the exercise days. After a few months you can extend the number of exercises
to 5 to 6 times a week. The warm-up is of crucial importance before starting your workout. You will be preparing your body
for the eff ort you are about to exert. In order to prevent muscle problems, you need to cool down after the exercises. We
recommend the following warm-up and cool-down exercises.
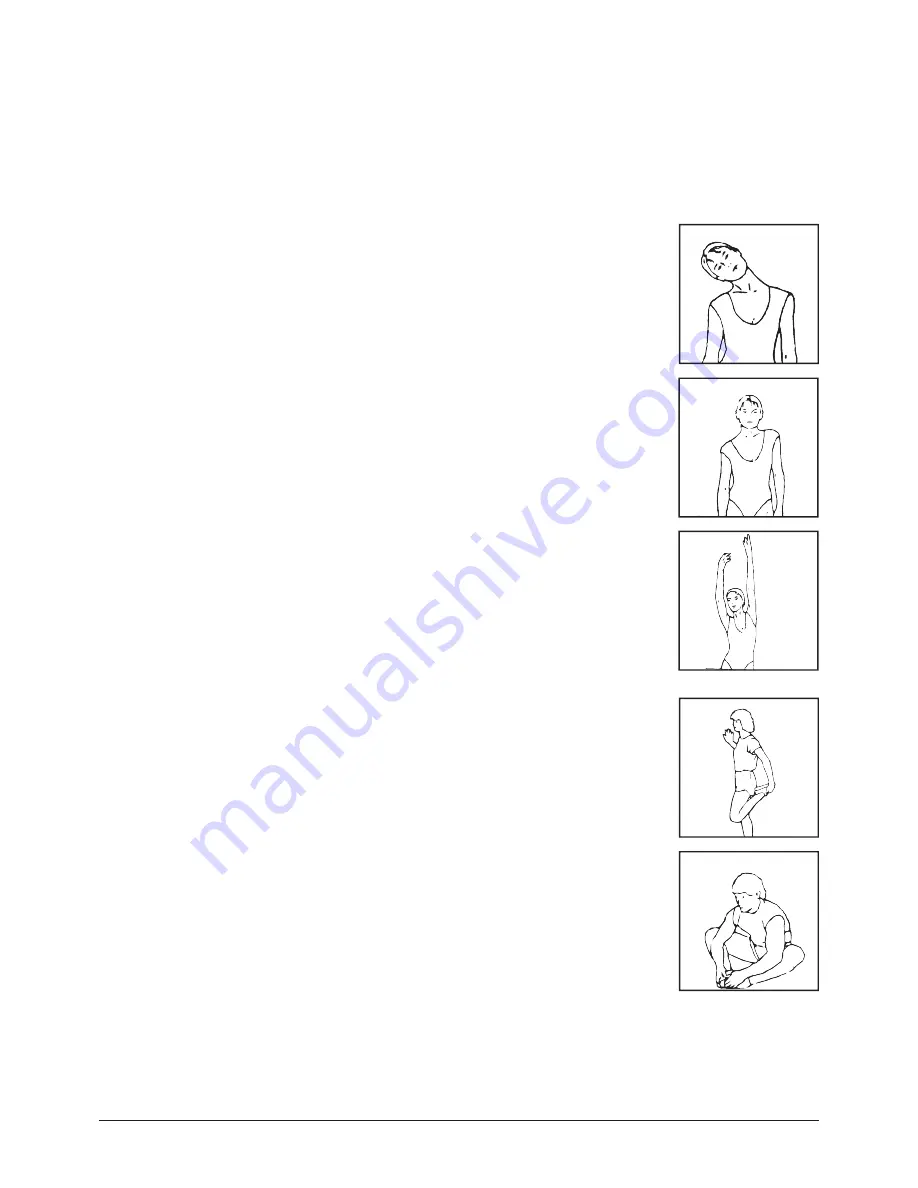
Head exercises
Turn your head to the right and feel the tension in your neck. Turn your chin up to the ceiling
while opening your mouth. Turn your head to the right and fi nally let it drop to your chest.
Repeat this exercise several times.
Shoulder exercises
Raise your left shoulder and then your right shoulder while you are dropping your left shoulder
down again at the same time.
Stretching exercises for your arms
Stretch your left arm towards the ceiling. Then do the same with your right arm while you drop
your left arm down again at the same time. Feel the tension in your right and left sides. Repeat
this several times.
Thigh stretching exercises
Sit on the fl oor and place your feet together so that your knees are pointing outwards. Pull your
feet as closely as possible against and into your groin area. Carefully push outwards on your
knees towards the fl oor. If you can, repeat 15 times.
Stretch inner thigh and legs
Place one hand against the wall and reach back with your other hand to lift up your right foot.
Bring your heel as closely as possible against your thigh. Repeat this 15 times, then do the same
with your left foot.
Summary of Contents for 021090 Neutron
Page 6: ...6 Overzichtstekening...
Page 13: ...13 STAP 6 Bevestig het arm 14L R aan de swing arm 21L R met bout 18 en 17...
Page 27: ...27 General reference drawing...
Page 34: ...34 STEP 6 Secure handle bar 14L R to swing rod 21L R with bolts 18 and bolts 17...
Page 35: ...35 STEP 7 Secure pedal 53L R to pedal tube 52L R with bolts 54 washers 34 and nylon nuts 35...
Page 49: ...49 Vue explos e...
Page 56: ...56 TAPE 6 Fixer la poign e bar 14L R se balancer rod 21L R avec bolts 18 et bolts 17...
Page 57: ...57 TAPE 7 Pedal 53L R s r de p daler tube 52L R avec nuts 35 bolts 54 washers 34 et nylon...
Page 68: ...68...


