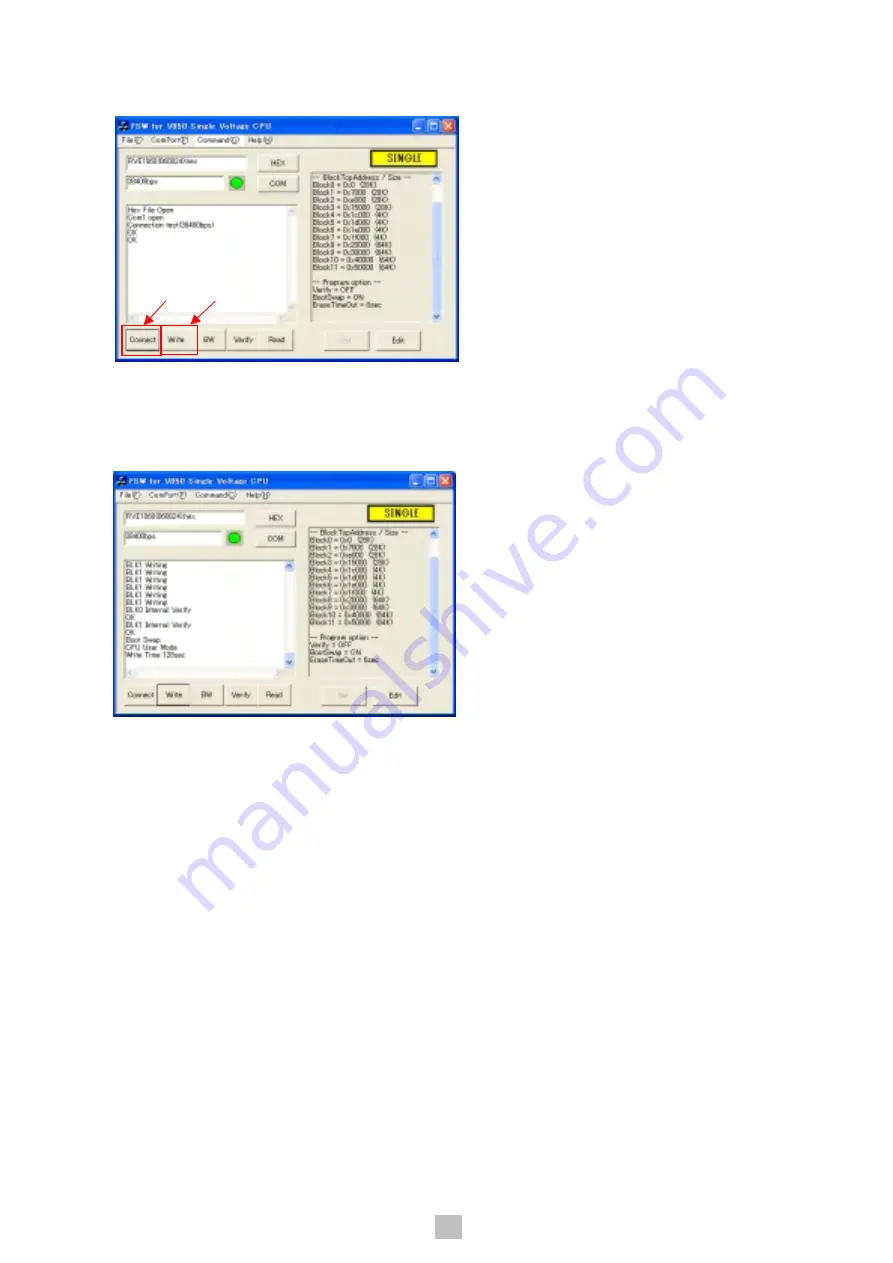
8. Click "Write" button placed next to "Connect" button and push "y" button
when message window shows.
9. "Write" to execute from Block 1 to Block 11 automatically.
10. After finshing "Write", then the
total writing time
will be displayed in the window.
11. Disconnect AC Line and connect again to store the software. Finish.
11
Summary of Contents for RVE-1060
Page 12: ... Memo 12 ...
Page 14: ...PCB Assembly 1 5 Top View Main PCB 016 X 1483A01 05 RVE 1060 14 ...
Page 15: ...Main PCB 016 X 1483A01 05 Bottom View PCB Assembly 2 5 RVE 1060 15 ...
Page 16: ...PCB Assembly 3 5 Video PCB 016 E 1484A00 RVE 1060 Top View 16 ...
Page 17: ...Video PCB 016 E 1484A00 Bottom View RVE 1060 PCB Assembly 4 5 17 ...
Page 18: ...PCB Assembly 5 5 Power Supply PCB 016 E 1482A00 Top View Bottom View RVE 1060 18 ...
Page 19: ...RVE 1060 Schematic Diagram 1 6 Main PCB 1 2 016 X 1483A01 05 19 ...
Page 21: ...Schematic Diagram 3 6 RVE 1060 Video PCB 1 3 016 E 1484A00 COMPOSITE S VIDEO TERMINAL 21 ...
Page 22: ...Schematic Diagram 4 6 RVE 1060 Video PCB 2 3 016 E 1484A00 TERMINAL 22 ...
Page 23: ...Schematic Diagram 5 6 RVE 1060 Video PCB 3 3 016 E 1484A00 23 ...
Page 24: ...Power Supply PCB 016 E 1482A00 Schematic Diagram 6 6 RVE 1060 24 ...


