22
FA ROTEX Solaris DrainBack - 09/2016
4
x
Installation
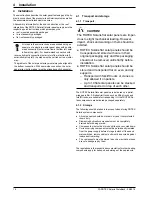
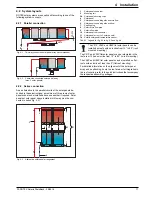
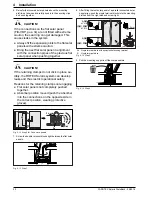
6. Raise further covered solar panels above the mounting
profile, set down and carefully hook into the securing clips
and push together.
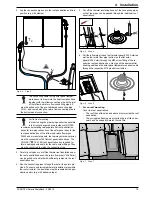
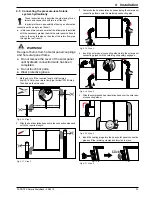
7. Screw the double terminal blocks tight between the flat solar
panels.
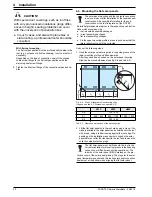
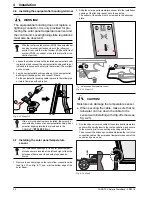
8. After fitting the last solar panel of a parallel connected solar
panel array, push the single terminal blocks into the mounting
profiles from the right side and screw tight.
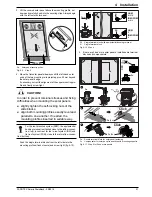
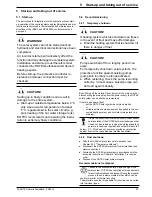
9. Pull the mounting supports off the compensators.
CAUTION!
If the connections on the flat solar panel
(FIX-VBP, pos. 3c) are not fitted with extreme
caution, the seal ring can get damaged. This
causes leaks in the system.
●
Always fit the expansion joints to the flat solar
panels with extreme caution.
●
Bring the next flat solar panel in alignment
with the connection pipes of the previous flat
solar panel when pushing together.
CAUTION!
If the retaining clamps do not click in place au-
dibly, the ROTEX Solaris system can develop
leaks and thus restrict operational safety.
Reasons for the retaining clamps not engaging:
●
Flat solar panels not completely pushed
together.
●
Absorber position moved (push the absorber
into the connections on the opposite side in
the correct position, wearing protective
gloves).
Fig. 4-12 Step 6 for 2 and more panels
Fig. 4-13 Step 7
Click
3c
3a
3c
3a
Click
5h
Single terminal block with equipotential bonding terminal
5i
Single terminal block
Fig. 4-14 Step 8
Fig. 4-15 Step 9
≥0 mm
ADM
a+c+d
IDM / FDM
a+b+c
ADM
b
IDM / FDM
d
a
b
c
d
5h
5i

