3
x
Installation
15
FA ROTEX Solaris RPS3 25M - 03/2010
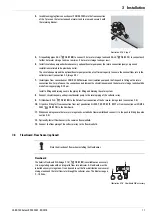
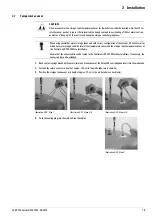
Installation on the hot water storage tank
5.
Remove the housing baseplate from the hot water storage tank.
6.
Drill a hole with a drill bit Ø 7.5 mm, depth <15 mm, at the marked bottom attachment point.
7.
Attach the housing baseplate to the hot water storage tank using the 2 screws from the handle (A) at the top and the plastic
rawlplug and screw provided at the bottom.
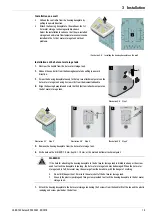
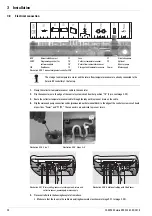
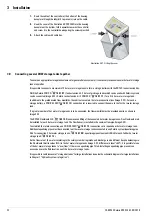
Installation on a wall
•
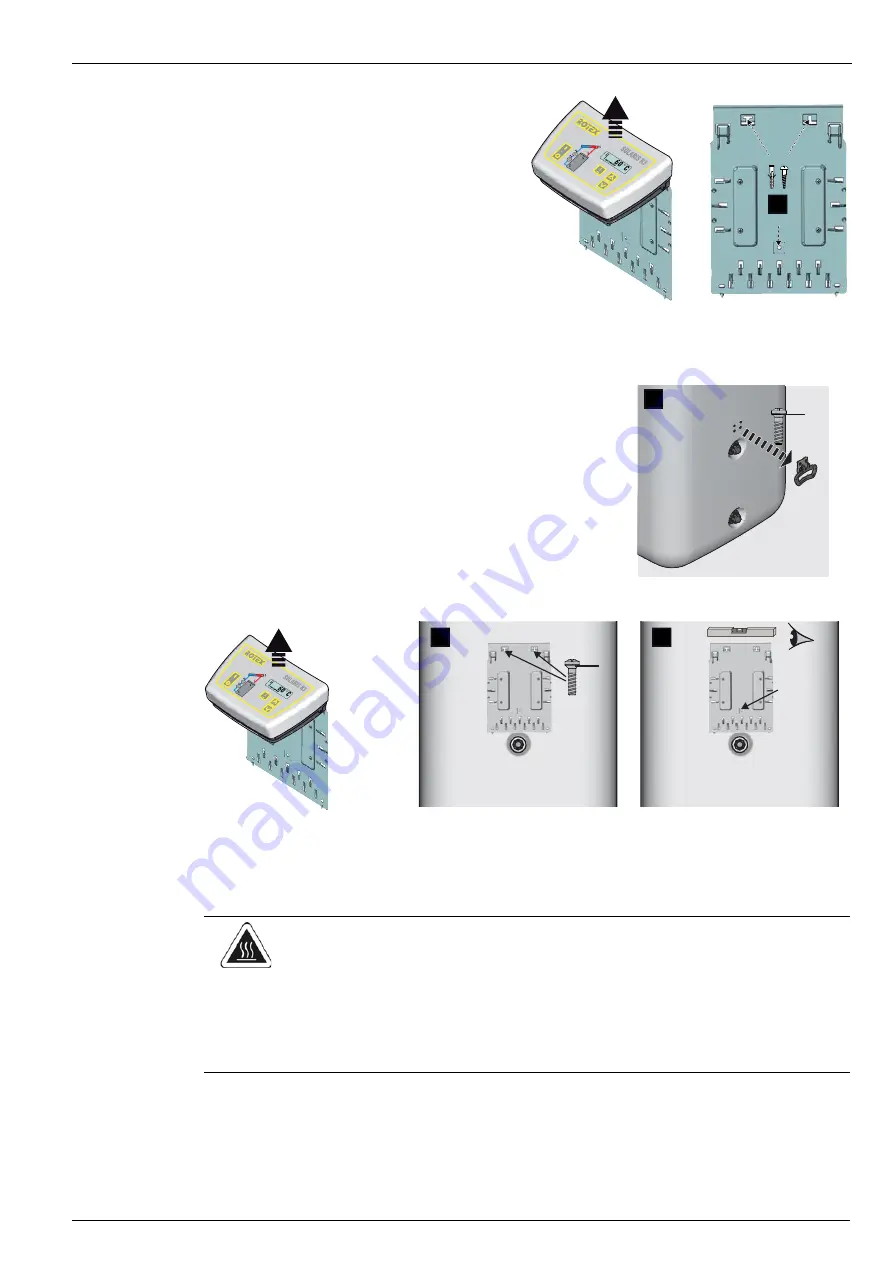
Unhook the controller from the housing baseplate by
pulling in upward direction.
•
Attach the housing baseplate to the wall near the 1st
hot water storage tank using suitable screws.
Select the installation location so that the pre-installed
storage tank and return flow temperature sensors can be
installed in the 1st hot water storage tank without
problems.
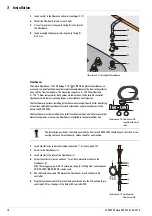
Illustration 3-5 Installing the housing baseplate on the wall
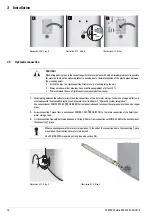
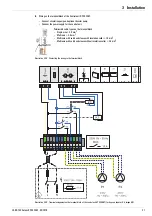
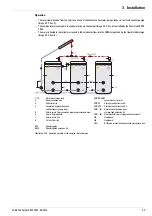
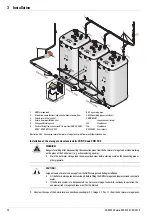
1.
Unscrew the handle from the hot water storage tank.
2.
Unhook the controller from the housing baseplate by pulling in upward
direction.
3.
Screw the housing baseplate loosely to the top two attachment points on the
hot water storage tank using 2 screws (A) from the dismantled handle.
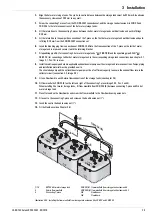
4.
Align the housing baseplate and mark the third (bottom) attachment point on
the hot water storage tank.
Illustration 3-6 Step 1
Illustration 3-7 Step 2
Illustration 3-8 Step 3
Illustration 3-9 Step 4
WARNING!
If the hole for attaching the housing baseplate to the hot water storage tank is drilled too deep or the screw
used to attach the baseplate is too long, the hot water storage tank may be damaged. When the hot water
storage tank is full, hot water may then emerge from the bore hole, with the danger of scalding.
•
Do not drill deeper than 15 mm into the outer shell of the hot water storage tank.
•
Use only the plastic rawlplug and fixing screw provided to attach the housing baseplate to the hot water
storage tank.
1
2
1
4x
A
2
3
A
4


