ENGLISH
15
3.4
Attachment/Detachment of the tools / screw
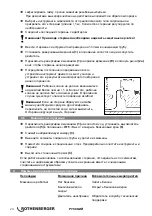
Detachment: push the attachment key into the hole and press the tool/screw out sideways from
the coupling.
Attachment:
press the tool/screw into the coupling until it locks into position.
Ensure of correct
fitting!
3.5
Working with leverage unit and rods
Warning!
If working in manholes or tunnels, are always
two persons
necessary. One
person controls the leverage in the manhole, the second operates the machine!
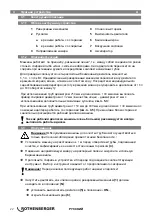
For working with the leverage unit, at first assemble the rod
adapter as follows:
unscrew nut of the rod adapter.
slide rod adapter in front into the working spindle.
screw on the nut from behind, until axial tolerance 1mm is
achieved.
fix the nut with set screws.
Disassembly in reverse order
Select the appropriate tool for the anticipated type of dirt blockage and couple on the rod,
1,5m long. Regulate the quantity of rods as necessary.
Connect the last rod with the rod adapter.
Important! Put on safety gloves for operating with the leverage!
Leverage with rods should now be inserted into the pipe to be cleaned.
Turn reverse gear
(1)
to idling speed and start up the motor
Turn reverse gear
(1)
to clockwise rotation
(R)
and pull backwards hand-lever
(2a)
, tool will be
getting into rotation.
Slide the whole unit regulated towards the blockage in the
pipe and repeat it until the blockage has been eliminated.
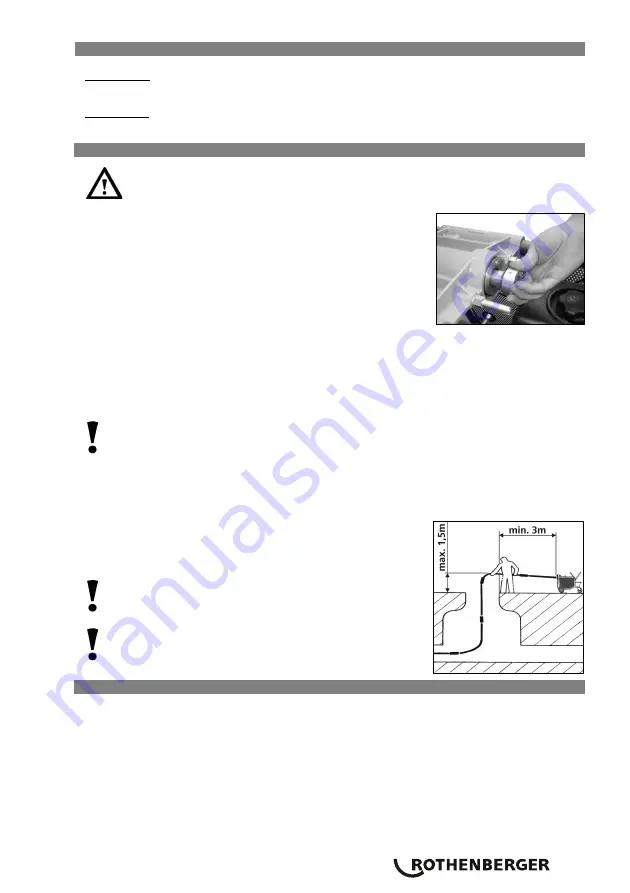
Warning!
The working arc should not rising higher than 1.5m
as the bottom. Further the working arc does not to be too
close. Risk of sharp bending!
Warning!
If sharp bend arise at the leverage, derating the
machine immediately, switch over to idling speed and switch
off. Carefully remove manually the rods!
3.6 Switching
off
Switch reverse gear
(1)
over to idling speed, turn switch
(5)
to "
OFF
", and close fuel tap
(6)
.
Remove the guide hose
(3)
from the machine.
Retract the spiral segments from the tube and remove from the machine.
Deposit the spiral in the spiral basket. Clean tools and spirals prior to this.
Release fixing brake
(4)
If working with leverage, uncouple leverage segmental, cleaning and store accordingly with the
cleaned leverage tool.
Summary of Contents for R 140 B
Page 2: ...Overview A 2 1 4 3 5 6 8 7 N R L a b ...
Page 30: ...28 NOTES ...
Page 31: ...29 NOTES ...


