16
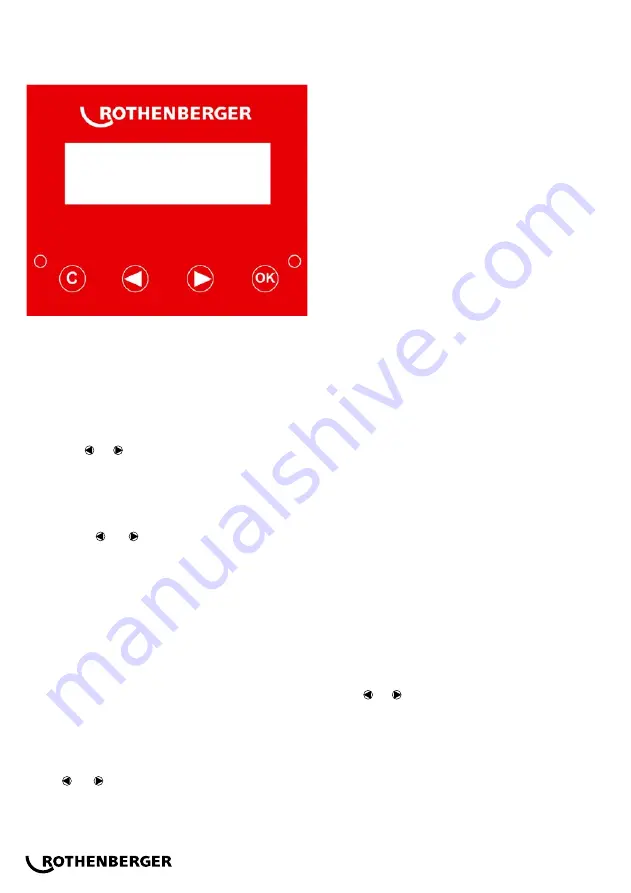
Control panel
Turning on the unit (switch No. 3 in position 1)
The message “Rothenberger” appears in the control
panel, followed by the serial number.
4.2.1 Language selection:
Press keys or : Modify the working language.
Press OK: Confirm selected language
Note: If no key is pressed for 10s, the language shown
on the control panel will be selected
4.2.2 Working mode selection:
Press keys or : Select working mode (vacuum,
charge, tare, automatic vacuum & charging or reset).
Press OK: Confirm the selected working mode.
Note: If C is pressed, or if no key is pressed for 15s, the
control panel returns to scales mode.
Press OK again for 1s: Confirm the selected working
mode.
Note: If C is pressed, or if no key is pressed for 5s: Return
to working mode selection.
4.3. Vacuum
Once the vacuum working option has been confirmed
(see 4.2.2)
4.3.1 Vacuum time selection.
Keys or : Increase or decrease the selected time
(minutes).
OK: Confirm and continue.
C: Mode cancelled.
4.3.2 Doing vacuum.
For the selected period of time, the control panel
indicates the remaining time in minutes and seconds,
and the flashing green LED indicates that the vacuum
is being created.
If the system detects that air is going in while the vacuum
is being created, the message “air in the system”, will
appear in the control panel, red LED will flash and the
vacuum time will restart.
If gas is detected in the system, the message “refrigerant
in the system" will appear in the control panel.
Pressing C for 2s will cancel the process.
4.3.3 Leak Test.
All through the period of time programmed for the
leakage test, the control panel indicates the remaining
time in minutes and seconds, and the green LED
flashes.
Should the system detect a leakage in the system, the
message “leakage detected” will appear in the control
panel. This indicates that the circuit has a leakage, and
that this must be identified and repaired.
Pressing C for 2s will cancel the process.
4.3.4 Vacuum completed.
When the vacuum has been completed and the
leakage test has been finalised, the message “vacuum
completed” will appear in the control panel, and the
green LED will be lit and will cease to flash.
Pressing any key will return the control panel to scales
mode.
4.4. Refrigerant charge
Before initiating the charge, open the capillary tube
valve and the flexible tube, to allow for the refrigerant
to flow.
Once the refrigerant charge working option has been
confirmed (see 4.2.2)
4.4.1 Selecting the amount of charge.
Keys or : Increase or decrease the programmed
charge in 0.01kg.
OK: Confirm and continue.
C: Mode cancelled.
4.4.2 Checking the minimum weight.
If the existing weight on the scale is lower than the
weight programmed, the message “error” will appear
in the control panel. Otherwise, the application will
transfer to the inside of the A/C system the exact
INSTRUCTIONS FOR USE AND MAINTENANCE


