background image

3

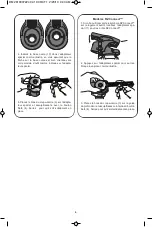
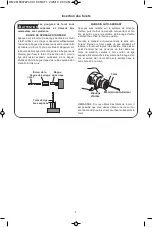
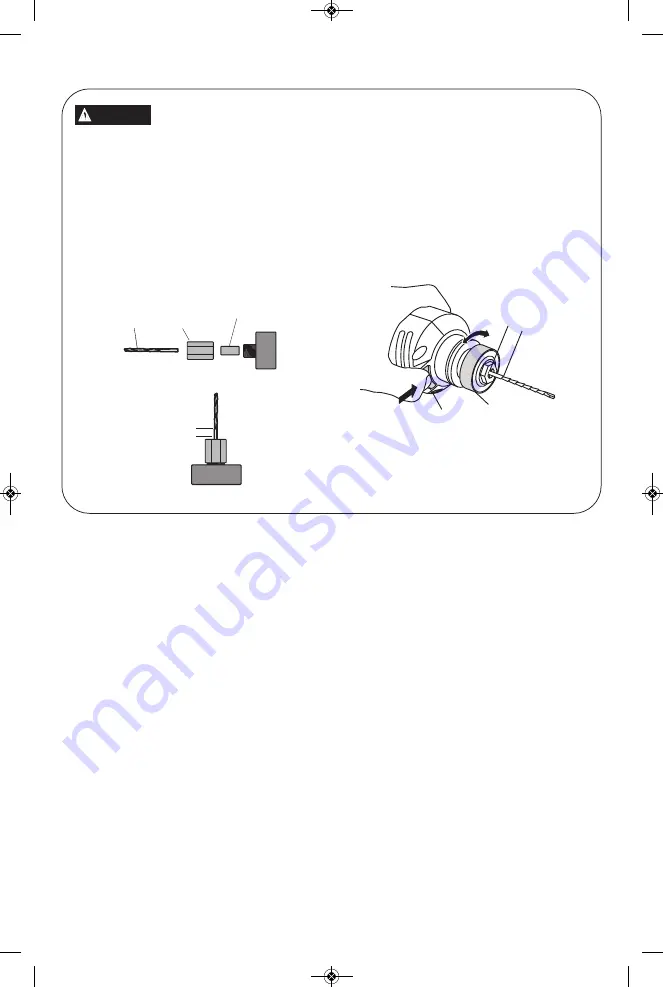
1/8"

Keyless Chuck

Shaft Lock

Inserting Bits

1/8" of 
smooth
shank 
exposed

Bit

Collet

Nut

Collet

The bit flutes are sharp and
should  be  handled  with

caution.

STANDARD COLLET

Push  and  hold  down  on  the  rotary  tool  shaft
lock button. Use a wrench to loosen collet nut
(counterclockwise)  enough  to  insert  a  bit.
While holding down shaft lock button, tighten
collet  (clockwise)  to  secure  the  bit.  1/8"  of
shank should remain exposed above the col-
let. 

DO  NOT  use  collet  in  tools  equipped  with 

3-jaw chuck.

CAUTION

KEYLESS CHUCK

Depress and hold the shaft-lock in, then rotate
the keyless chuck and shaft until the shaft-lock
engages and holds the shaft.
Rotate  the  keyless  chuck  counterclockwise.
Remove  the  old  bit  (if  there  is  one)  and  insert
the new bit as far as possible, but not so far that
the    bit  flutes  engage  the  jaws  of  the  chuck.
Leave  approximately  1/8"  of  shank  exposed.
Re-engage  shaft-lock  and  securely  tighten  the
keyless chuck clockwise by hand.

NOTE: When using 1/4" bits, it may be neces-
sary to use a wrench on the front of the key-
less chuck to securely tighten the bit.

DM 2610007224 02-10:CRCT 1  2/23/10  9:43 AM  Page 3

Summary of Contents for CRCT4

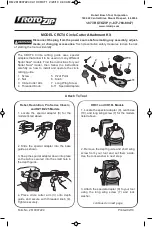
Page 1: ...t Point 6 Knob 7 Long Wing Screw 8 11 Special Adapters Rebel Revolution Pro Series Classic and RZ1 RZ25 Models Attach To Tool 1 Locate the special adapter 8 for the models listed above 2 Slide the spe...

Page 2: ...nto depth guide and secure with threaded knob 4 Tighten securely 2 DR01 and CR18L Models continued 4 Insert the oval base 10 into the special adapter as shown making sure that the arrow on the oval ba...

Page 3: ...tools equipped with 3 jaw chuck CAUTION KEYLESS CHUCK Depress and hold the shaft lock in then rotate the keyless chuck and shaft until the shaft lock engages and holds the shaft Rotate the keyless ch...

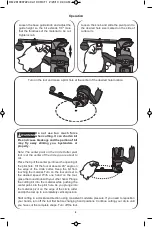
Page 4: ...ool at about a 45 angle on the edge of the circle cutter Keep the bit from touching the material Turn on the tool and set to the desired speed With one hand on the tool grasp the round knob with your...

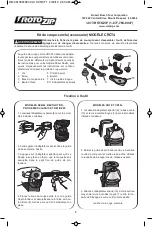
Page 5: ...la fa on d installer et d utiliser le guide de coupe cercle 1 Vis 2 crou 3 Bras du coupe cercle 4 Bouton filet 5 Point de pivot 6 Bouton 7 Vis oreilles longue 8 11 Adaptateurs sp ciaux MOD LES REBEL R...

Page 6: ...deur et assujettissez le l aide du bouton filet 4 Serrez pour qu il soit solidement en place 4 Ins rez la base ovale 10 dans l adaptateur sp cial comme illustr en vous assurant que la fl che sur la ba...

Page 7: ...Appuyez sans rel che sur le syst me de blocage d arbre puis tournez le mandrin auto serrant et l ar bre jusqu ce que le syst me de blocage d arbre s enclenche et fixe l arbre en position Tournez le ma...

Page 8: ...z l outil 45 environ par rapport au bord du coupe cercle Emp chez l outil de toucher le mat riau Mettez l outil en marche et r glez le au r gime d sir Avec une main sur l outil saisissez le bouton ron...

Page 9: ...nte 1 Localice el adaptador especial 8 para los mod elos indicados m s arriba 2 Deslice el adaptador especial al interior de la gu a de la base de la manera que se muestra en la ilustraci n 3 Acople a...

Page 10: ...culos 3 en la gu a de profundidad y aseg relo con la perilla roscada 4 Apriete firmemente 4 Inserte la base oval 10 en el adaptador espe cial de la manera que se muestra en la ilustraci n asegur ndose...

Page 11: ...taherramientas de 3 quijadas PRECAUCI N MANGUITO PORTABROCAS SIN LLAVE Oprima y mantenga presionado el seguro del eje y luego gire el portaherramientas sin llave y el eje hasta que el seguro del eje s...

Page 12: ...del cortador circular Evite que la broca toque el material Encienda la her ramienta y ajuste hasta la velocidad deseada Con una mano en la herramienta sujete la perilla redonda con la otra mano Hunda...

Reviews: