-11-
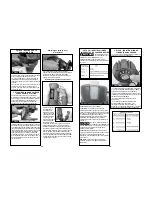
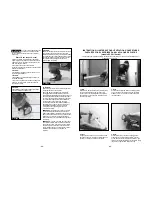
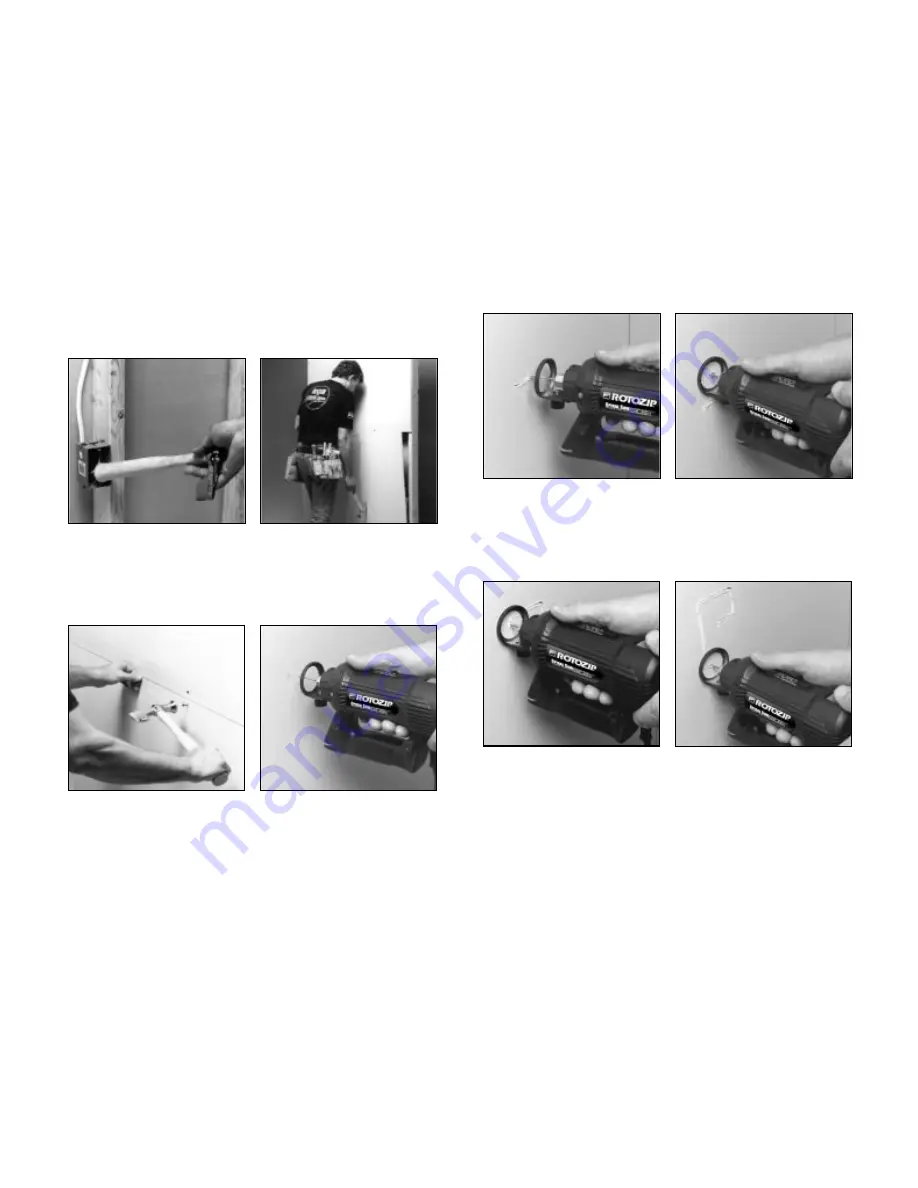
Step 5
Pull the Zip Bit out far enough to slip it over the
edge of the box so it is now against the outside
of the box.
Step 6
While keeping the Zip Bit in contact with the
outside of the box move the tool counter clockwise
while applying light inward and upward pressure
until you feel and hear it come to the corner. As
you round the corner apply light pressure left and
downward.
Step 7
While moving slowly and continuously along
the top contour you will feel the Zip Bit come to
the next corner. Round the corner and apply
light down and inward pressure until the bottom
corner is reached.
Step 8
Move the Zip Bit right and upward maintaining
light continuous pressure toward the box.
-10-
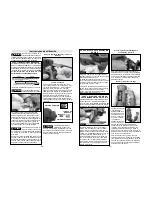
Step 1
Make certain that the electrical wires are pushed
back or to the far side of the box so that the Zip Bit
does not cut the wires when inserted through the
drywall. Your hammer handle is an excellent tool
for this.
Step 2
Before fastening the sheet you must make a mark
somewhat near the center of the opening in the
box on the side of the drywall facing you. A
drywall hammer (hatchet end) works well for this.
Step 3
Do not nail or fasten screws closer then 12"
from the box, or the drywall may bulge or blister
from the excess pressure.
Step 4
Slide switch to turn the tool on. While holding
the Spiral Saw™ power tool firmly with both
hands plunge the Zip Bit through the mark you
made. Then guide the Zip Bit to the right until
you feel and hear the Zip Bit touch the inside
edge of the box.
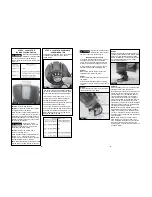
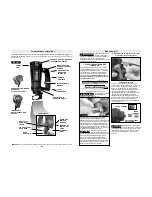
ILLUSTRATED INSTRUCTIONS FOR PERFECT OUTLET
OPENINGS IN DRYWALL (SCS01 model shown)
The following procedure will illustrate cutting out a standard 2 1/8" X 3 3/4" electrical box.

