Section 6 Maintenance
S7M / S8M Manual
www.rottlermfg.com
6-19
Outer Spindle Adjustment
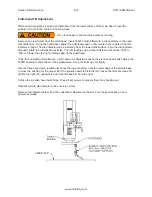
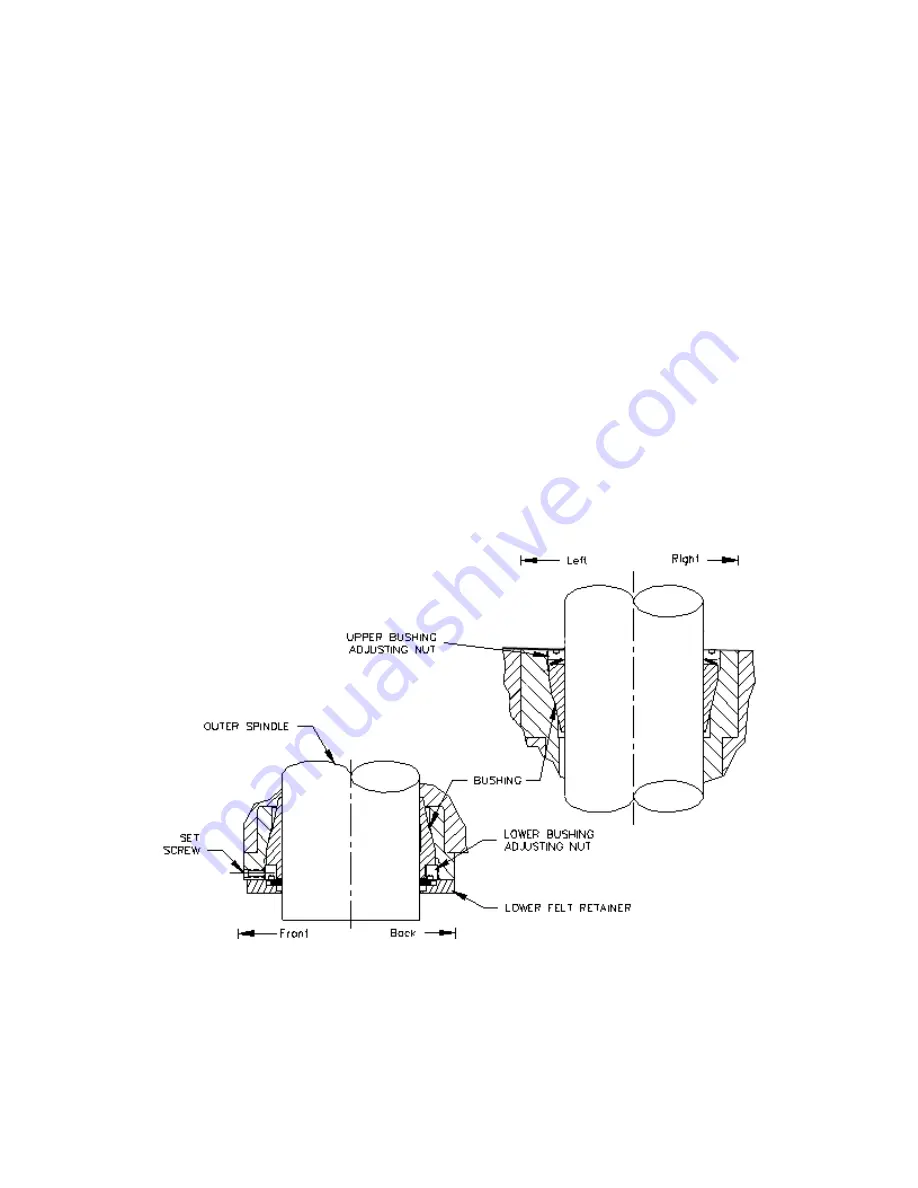
The main spindle bearings are tapered split cast iron rings, held in a seat by an adjustment nut. These
bearings normally require no adjustment for many surfacing cycles.
CAUTION:
Be careful not to over tighten these bearings. An over tight condition only serves to wear out
the machine and make control operation difficult.
If it is necessary to adjust, see the following instructions:
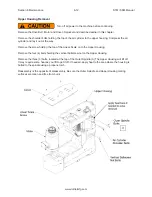
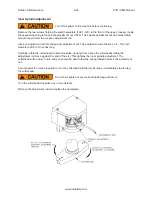
Move the spindle base to a clear position making sure the spindle can travel its full vertical length.
Thoroughly clean and lightly oil the Outer Spindle before adjustment.
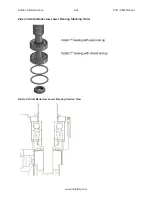
Remove the lower wiper retainer ring along with the wipers and felts to expose the lower spindle bushing
adjustment nut.
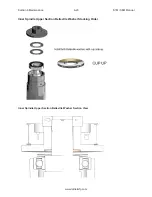
Loosen the set screws located on the front of the upper and lower portion of the Spindle Base. Loosen
the upper and lower bushing adjustment nuts to remove any pressure on the bushings. Tighten the upper
and lower adjustment nuts evenly until they are lightly touching, but have no load on them.
Move the spindle down 3-4”. Tighten the upper bushing. Tighten only by hand.
Move the spindle up. Tighten the lower bushing. Tighten only by hand.
Summary of Contents for S7M
Page 2: ......
Page 4: ......
Page 8: ...Section 1 Introduction S7M S8M Manual www rottlermfg com 1 4 ...
Page 17: ...Section 2 Installation S7M S8M Manual www rottlermfg com 2 8 ...
Page 18: ...Section 2 Installation S7M S8M Manual www rottlermfg com 2 9 ...
Page 38: ...Section 5 Operating Instructions S7M S8M Manual www rottlermfg com 5 9 ...
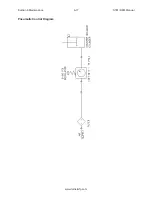
Page 57: ...Section 6 Maintenance S7M S8M Manual www rottlermfg com 6 17 Pneumatic Control Diagram ...
Page 66: ...Section 6 Maintenance S7M S8M Manual www rottlermfg com 6 26 ...
Page 68: ...Section 7 Troubleshooting S7M S8M Manual www rottlermfg com 7 2 ...
Page 71: ...Section 8 Machine Parts S7M S8M Manual www rottlermfg com 8 2 Pneumatic Assembly ...
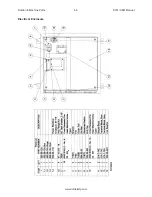
Page 72: ...Section 8 Machine Parts S7M S8M Manual www rottlermfg com 8 3 Electrical Enclosure ...
Page 74: ...Section 8 Machine Parts S7M S8M Manual www rottlermfg com 8 5 Upper Housing ...
Page 76: ...Section 8 Machine Parts S7M S8M Manual www rottlermfg com 8 7 Spindle Base Front Section ...
Page 77: ...Section 8 Machine Parts S7M S8M Manual www rottlermfg com 8 8 Inner Outer Spindle Assembly ...
Page 78: ...Section 8 Machine Parts S7M S8M Manual www rottlermfg com 8 9 Spindle Base Bushings ...
Page 79: ...Section 8 Machine Parts S7M S8M Manual www rottlermfg com 8 10 Spindle Base Assembly ...
Page 80: ...Section 8 Machine Parts S7M S8M Manual www rottlermfg com 8 11 Left Ballscrew Support ...
Page 81: ...Section 8 Machine Parts S7M S8M Manual www rottlermfg com 8 12 Right Ballscrew Support ...
Page 82: ...Section 8 Machine Parts S7M S8M Manual www rottlermfg com 8 13 Home and Limit Switches ...
Page 83: ...Section 8 Machine Parts S7M S8M Manual www rottlermfg com 8 14 Pendant Assembly ...
Page 84: ...Section 8 Machine Parts S7M S8M Manual www rottlermfg com 8 15 Spindle Base ...
Page 85: ...Section 8 Machine Parts S7M S8M Manual www rottlermfg com 8 16 Chip Shield 14 16 ...
Page 86: ...Section 8 Machine Parts S7M S8M Manual www rottlermfg com 8 17 14 Fly Cutter ...
Page 87: ...Section 8 Machine Parts S7M S8M Manual www rottlermfg com 8 18 Chip Chute ...
Page 89: ...Section 8 Machine Parts S7M S8M Manual www rottlermfg com 8 20 Riser Set ...
Page 90: ...Section 8 Machine Parts S7M S8M Manual www rottlermfg com 8 21 Air Diagram ...
Page 92: ...Section 9 Options S7M S8M Manual www rottlermfg com 9 2 ...
Page 94: ...Section 10 Material Data Safety Sheets S7M S8M Manual www rottlermfg com 10 2 ...
Page 95: ...Section 10 Material Data Safety Sheets S7M S8M Manual www rottlermfg com 10 3 ...
Page 96: ...Section 10 Material Data Safety Sheets S7M S8M Manual www rottlermfg com 10 4 ...

