11/74
4. Front Panel commands and LEDs.
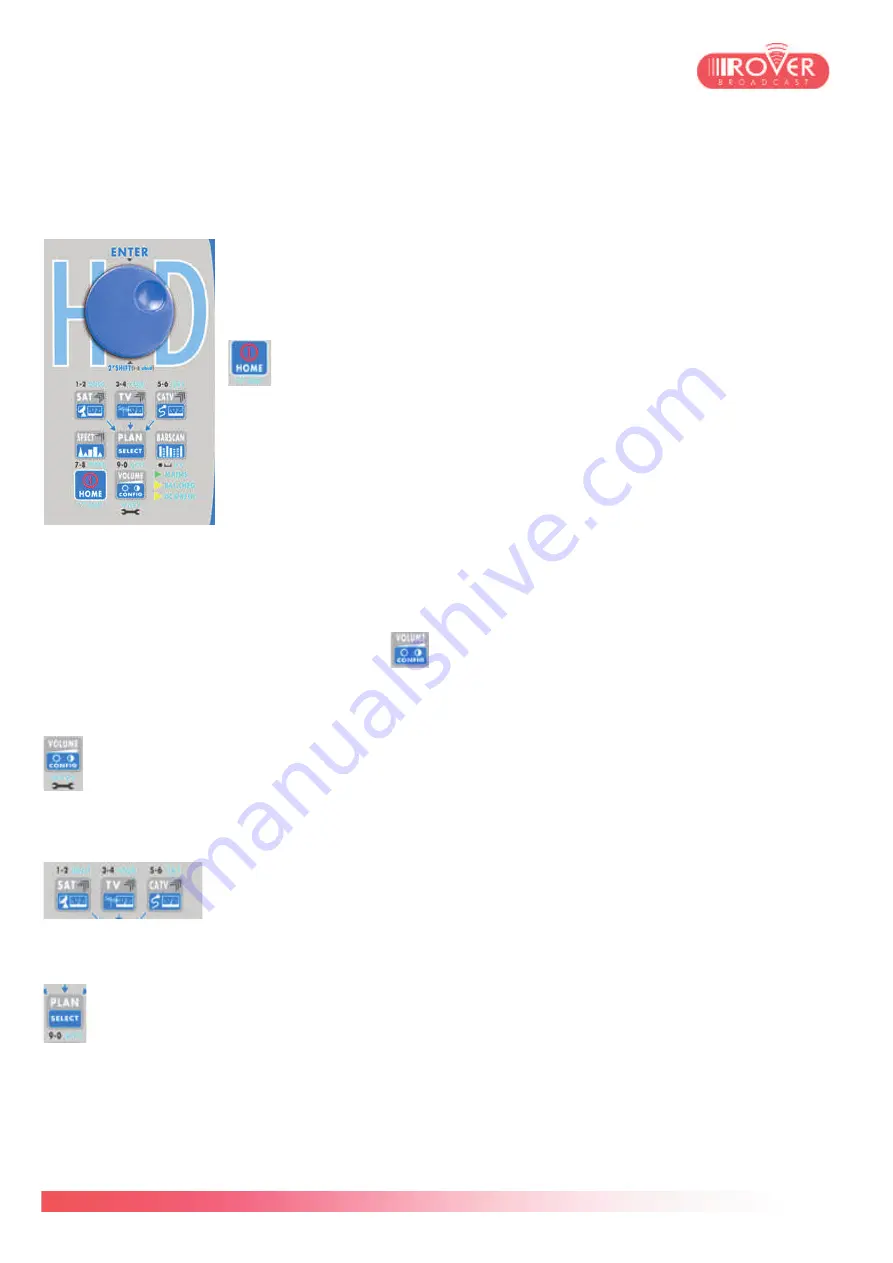
The HD PRO TAB’s front panel is equipped with a 7” touch screen display, a mechanical encoder
wheel as well as an 8 buttons keyboard to access all primary functions of the meter.
Touch screen and keyboard are complementary: the meter can be driven
completely using either the keyboard or the screen.
The touch screen capability can be excluded in the Meter’s configuration
menu.
The HOME button brings the user back to the main screen display
and acts also as the power-up and power-down button:
- When the meter is on, pressing the HOME button for 2 seconds
will toggle the shut-down process at the end of which the meter will be
completely switched off.
- When the meter is off, pressing once on HOME button will power-up
the meter: it will be up and running within seconds.
- In case the meter becomes unresponsive, pressing the HOME button
for 10 seconds will cause a hardware reset. The meter will be restarted
automatically.
The meter is delivered with a default (factory) configuration for both system parameters and plan/
measurement parameters. If you want to restore the factory default settings, you should:
1. Shut down the meter
2. Switch on the meter and press the
button until you hear a buzzer that confirms the
restore defaults operation has been taken into account in meter’s power-on procedure.
Pressing the CONFIG button will display meter’s basic parameters, such as volume, screen
brightness and contrast, ASI output status, etc, and gives the access to the complete
configuration menu (see the next chapter for detailed information about meter
configuration).
SAT, TV and CATV buttons give access to the measurement interface
respectively for Satellite, Terrestrial and Cable TV channels. By default, the
basic measurement screen is displayed (refer to chapter XX for detailed
information about the measurement interface).
All the measurements are based on a
channel plan
loaded automatically by the meter when
entering the measurement interface. This plan can be either a
manual plan
defined by the
user or a
canalization plan
loaded on the meter. The button PLAN gives the access to the
meter’s channel plans library in which the user can select the plan to be used in the measurement
campaign.
Note:
The list of displayed plans varies depending on which standard has been selected before
entering the PLAN menu. For instance, if the user selects SAT and then press PLAN, the channel
plans library will show up only satellite canalizations such as HotBird 13°E, Astra 19.2°E, Atlanitc
Summary of Contents for HD PRO TAB
Page 1: ...HD PRO TAB User Guide Version 2 4 Released March 2014 ...
Page 2: ...2 74 Blank page ...
Page 6: ...6 74 Blank page ...
Page 18: ...18 74 ...
Page 38: ...38 74 BlankPage ...
Page 43: ...43 74 as shown in the following picture ...
Page 54: ...54 74 ...
Page 67: ...67 74 available files those files normally include firmware upgrade and or channel plans ...
Page 71: ...71 74 Blank Page ...
Page 74: ...74 74 ...


