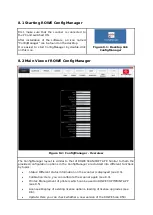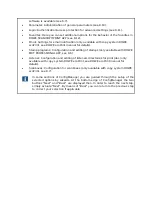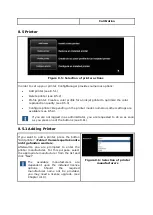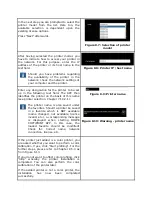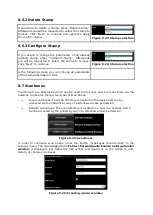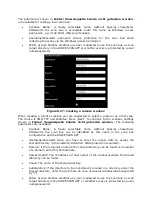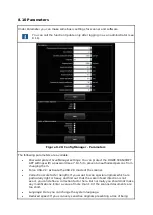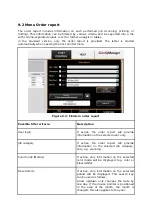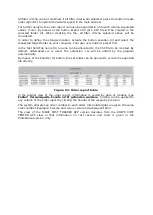
In the next step specify the parameters of the stamp:
Stamp name: Identifier of the stamp, can be an
arbitrary name without special characters.
Alignment hor./vert.: Specifies the position of
the stamp on the sheet. Can be in relation to
header or centered, top/bottom (resp.
left/right).
Offset hor./vert.: An optional offset in relation to
the selected alignment.
Rotation: The rotation of the stamp in 90° steps
or “Auto”.
Extend image: If this option is selected and the
stamp (or a part of it) would be out of the sheet,
then the dimension of the sheet will be
extended respectively. Otherwise the stamp will
be cut off eventually.
Pos. relative to output orientation: If this option
is selected, the stamp will be put onto the sheet
not until the sheet is rotated if applicable.
Otherwise the stamp will be applied before
rotation.
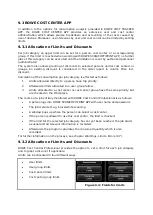
After specifying the desired settings press “Apply”. In
the next step an external tool (“inkscape”) will be
started in order to create the actual stamp drawing.
Figure 8.20: Stamp
parameter
Now create the the drawing. With the help of the editor
you can draw any user defined graphics and texts. All
objects can be applied with special effects like
transparencies for example.
You can use special placeholder texts in order to print
dynamically generated text contents onto your sheets.
Therefore insert text in the following format:
${placeholder_name}. Some of the most interesting
placeholders are:
DATE, TIME, USERNAME, PRINTER, JOBID, JOBNAME.
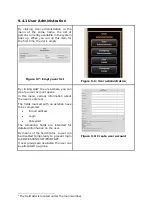
After creating the drawing, just close the editor. You will
be asked, if you want to save the drawing. Apply the
question by clicking “Save”.
Figure 8.21: Edit stamp
graphics
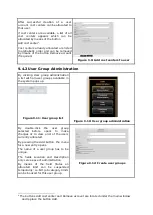
Subsequent the message occurs, that the installation
procedure is finished successfully. Press on “Main Menu”
to get back.
To use the new stamp please restart the
system resp. the application.
Figure 8.22: Stamp
installation finished
Summary of Contents for Scan 850i
Page 126: ...set ...
Page 137: ...C About this System Copyright 2003 2017 ROTH WEBER GmbH All rights reserved ...
Page 139: ...C 2 Production date The production date can be found on the type label ...
Page 140: ...D Declaration of conformity ...
Page 141: ......


