Section 2: Installing Hard Drive and Testing
21822662
2-1
Section 2: Installing Hard Drive and Testing
INSTALLING THE HARD DRIVE
The following steps describe how to install a hard drive in the jukebox.
CAUTION
Hard drives are extremely sensitive to physical mishandling. Always keep the hard drives
protected from accidental falls, banging, dust, or liquids. To avoid damage, do not remove drive
from tray.
WARNING
Never install or remove a hard drive when the unit is powered on. As an extra precaution,
always unplug the CC (Core Computer) from the UPS battery outlet before removing or
inserting a hard drive tray.
1. Unlock the jukebox and open the front door.
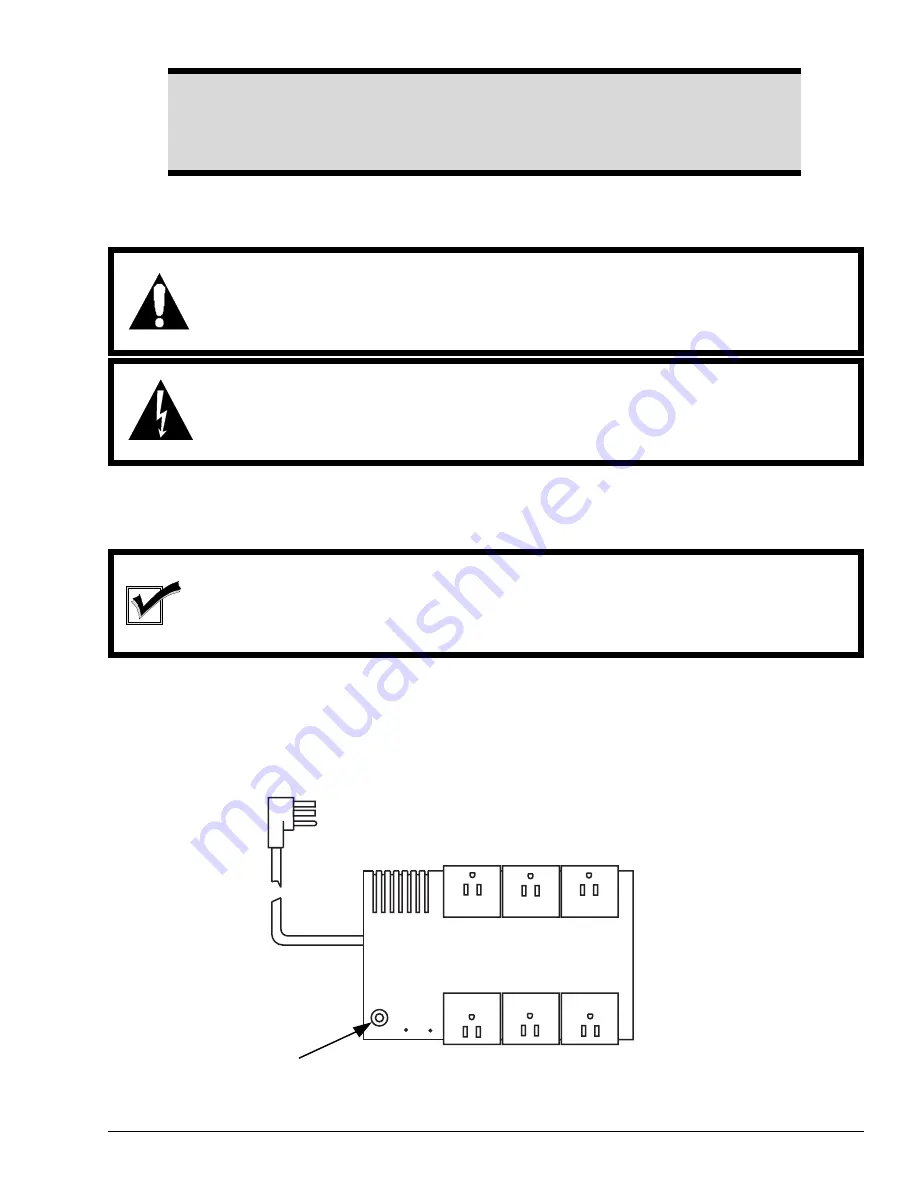
2. Unplug the CC from the UPS (see figure 2-1).
3. Unlatch the two latches on the side of the Core Computer. Swing the hard drive assembly open.
NOTE
All hard drives will be shipped in a removable hard drive tray, designed to fit the Rowe DLW-1
CC. Check that the data and power cables are securely seated in the drive in the tray before
installation.
4. With the tray handle at a 90 degree angle, slide the tray into the CC enclosure. When the tray reaches the
back of the bay, press the handle down 90 degrees. Lock the tray in place with the hard drive key. Close
and latch the hard drive assembly on the Core Computer locking the two latches. Plug the CC into the
UPS battery outlet.
Figure 2-1
SURGE
SURGE
SURGE
BATTERY
SURGE
BATTERY
SURGE
BATTERY
SURGE
POWER
ON
WIRING
FAULT
Power Button
Summary of Contents for StarLink DLW-1
Page 8: ......
Page 22: ...DLW 1Phonograph 1 12 21822662 This page left intentionally blank...
Page 37: ...Section 3 Venue Installation 21822662 3 11 THIS PAGE INTENTIONALLY LEFT BLANK...
Page 39: ...Section 3 Venue Installation 21822662 3 13 THIS PAGE INTENTIONALLY LEFT BLANK...
Page 50: ...DLW 1Phonograph 4 4 21822662 This page intentionally left blank...
Page 72: ...DLW 1 Phonograph 5 22 21822662 This page intentionally left blank...
Page 90: ...DLW 1Phonograph 8 8 21822662 This page intentionally left blank...
Page 96: ...DLW 1 Phonograph 9 6 This Page Intentionally Left Blank...
Page 120: ...DLW 1 Phonograph 10 24 21822662 SPANISHUSERINTERFACE...
Page 128: ...DLW 1 Phonograph 10 32 21822662 This page left intentionally blank...
Page 130: ...11 2 21822662 This page intentionally left blank...
Page 139: ...11 11 21822662 This page intentionally left blank...
Page 141: ...11 13 21822662 7 8 Figure 11 3A Shell Assembly Internal View 1000 Watt 2 Channel Preamp...
Page 145: ...11 17 21822662 This page intentionally left blank...


