
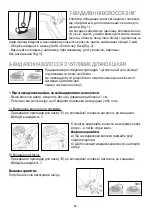
10-CLEANING THE APPLIANCE
• Cleaning the epilator head
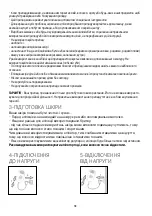
1. Unplug the epilator.
2. Press the release button on the head and remove the epilator head.
3. Rinse the epilator head under cold running water by turning it for 5 to 10 seconds.
4. Shake the epilator head vigorously and
dry it with a towel before fitting it to the
epilator again.
You can also use the small cleaning brush
supplied.
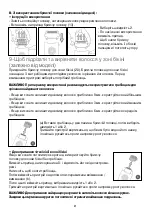
• Cleaning the shaving head (according to model)
- Stop and unplug the device.
- Remove the protective hood (18).
To do so: press the release buttons and pull upwards.
You will remove the protective hood (18) from the blade block (17).
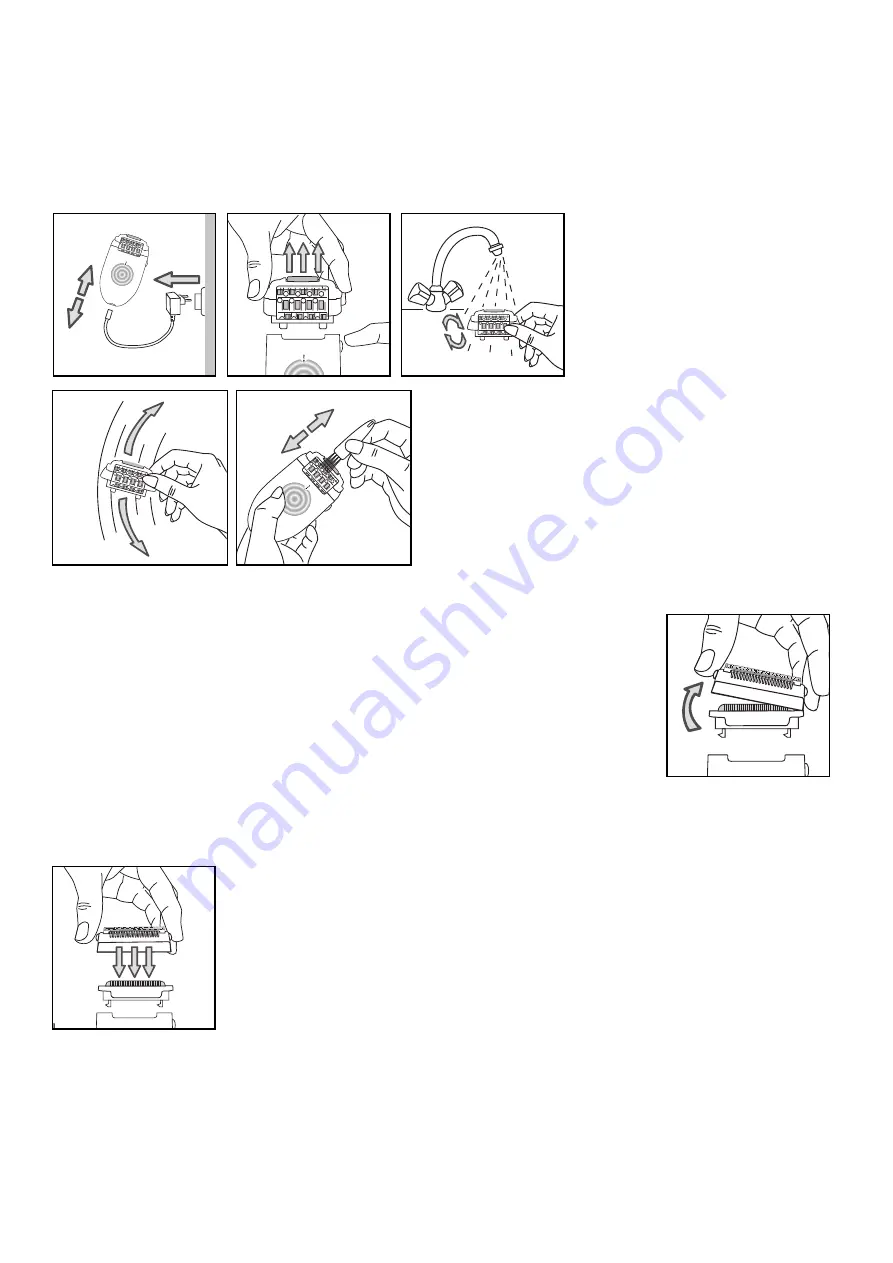
- Carefully remove the hairs by blowing on and around the micro
grid (14).
Never use the small brush for cleaning the micro grid (14).
You can also run the protective hood (18) and the blade block (17)
under running cold water to remove all the hair. Shake the parts well
and then dry them using a towel without pressing down on the
micro grid before reassembling them.
- Put the protective hood (18) back on the blade block (17).
You will hear a click.
DO NOT PRESS ON THE MICRO GRID WHEN PUTTING IT BACK INTO PLACE.
Do not apply alcohol to the body of the appliance in order to avoid damaging
its colours. Do not use a metal or sharp tool.
6
1
2
1
Summary of Contents for EP5344D0
Page 2: ...7 2 4 3 8 9 12 18 5 19 a b 15 16 14 17 15 13 10 11 6 1...
Page 11: ...9 RU 1 2 3 4 5 6 7 2 c opoc 8 9 EM2A2 10 11 12 13 14 15 16 17 18 19 a b 3 6 9...
Page 12: ...10...
Page 13: ...1 2 2 3 11 2 1 1 2...
Page 14: ...fig 1 0 5 soft fast fig 2 fig 3 12 1 11 1 CLIC b CLIC...
Page 15: ...B 13 2 13 2 12 1 a b 2 CLIC...
Page 16: ...14 1 2 1...
Page 17: ...15...