30/40
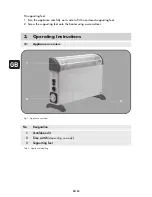
3. Then turn the temperature control (see Fig. 2, No. 3) clockwise to "MAX"
4. Once the desired room temperature has been reached, turn the temperature control
(see Fig. 2, No. 3) anticlockwise until you hear a distinct click. An integrated thermostat
now automatically switches the appliance on and off, thereby ensuring a more or less
constant temperature.
When first put into operation or after a longer period without heating
a short-term odour can arise.
3.3
Switching off the appliance
1. Switch off the two switches for setting the heat output (see Fig. 2, No. 2). The red pilot
lamps go out.
2. Pull the power plug out of the socket.
Wait until the appliance has cooled down before covering it or putting it away.
3.4 Storage
Protect the appliance against dust, dirt and insects. Cover the appliance with the foil pro-
vided so that it is protected from impurities and damage or malfunctions caused this.
3.5
Repacking for private transport purposes
Always pack the appliance in its original packaging for transportation to prevent transport
damage.
4.
Cleaning and Maintenance
4.1 Safety measures
P
Pull the mains plug out of the socket before servicing the appliance.
P
Only begin the maintenance or repair work once the appliance has cooled down.
4.2
Cleaning the appliance
The appliance should be covered after each use to prevent contamination by impurities.
Do not cover the appliance until it has fully cooled down.
If the appliance has nevertheless become dirty, observe the following notes during cleaning:
GB

